
Chapter 5 — the last chapter of a 5-part case study on a complete Mediterranean mansion remodel we did in Los Angeles. Previous chapters: Grand Entry + Staircase, Formal Rooms, Kitchen, Bathrooms. This chapter is the one that chapters 1–4 ride on top of: the prep, the spraying, and the hand-work on the ornate pieces that could not be sprayed.
Mansions this ornate look casual in finished photos. The reason they look casual is that absolutely nothing about the way they were painted and finished was casual. Fresh plaster, newly carved limestone, a chandelier the size of a car, picture-frame moldings on every wall, hand-fabricated iron railings — all of it has to come out of the paint phase without a single drip, overspray spot, or burn-through on a sharp line. Here is what that actually requires.
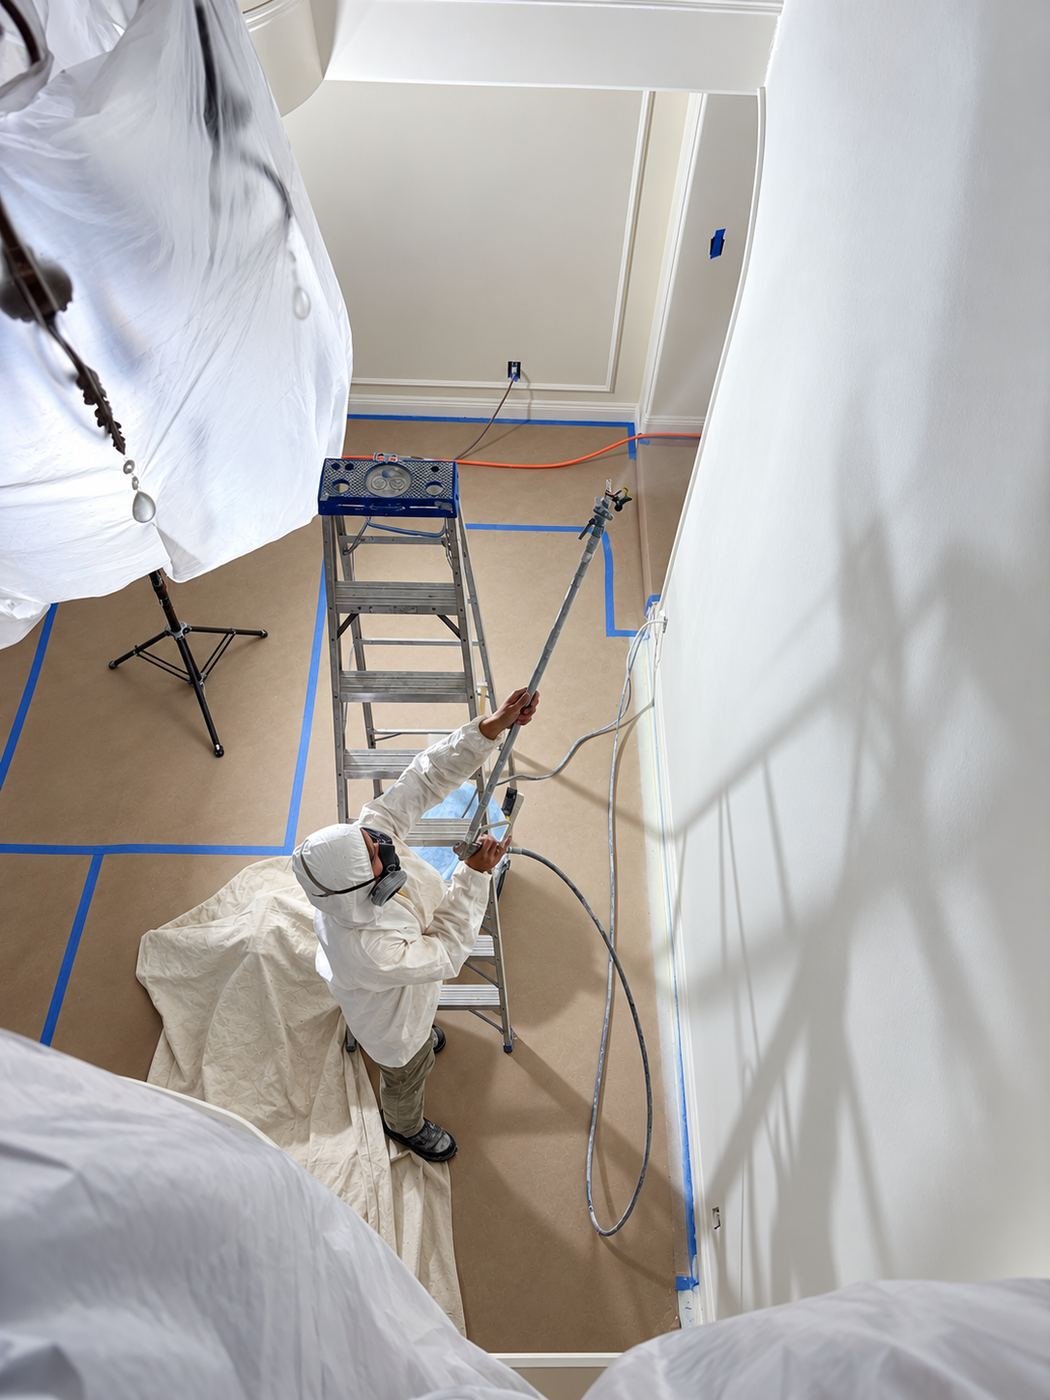
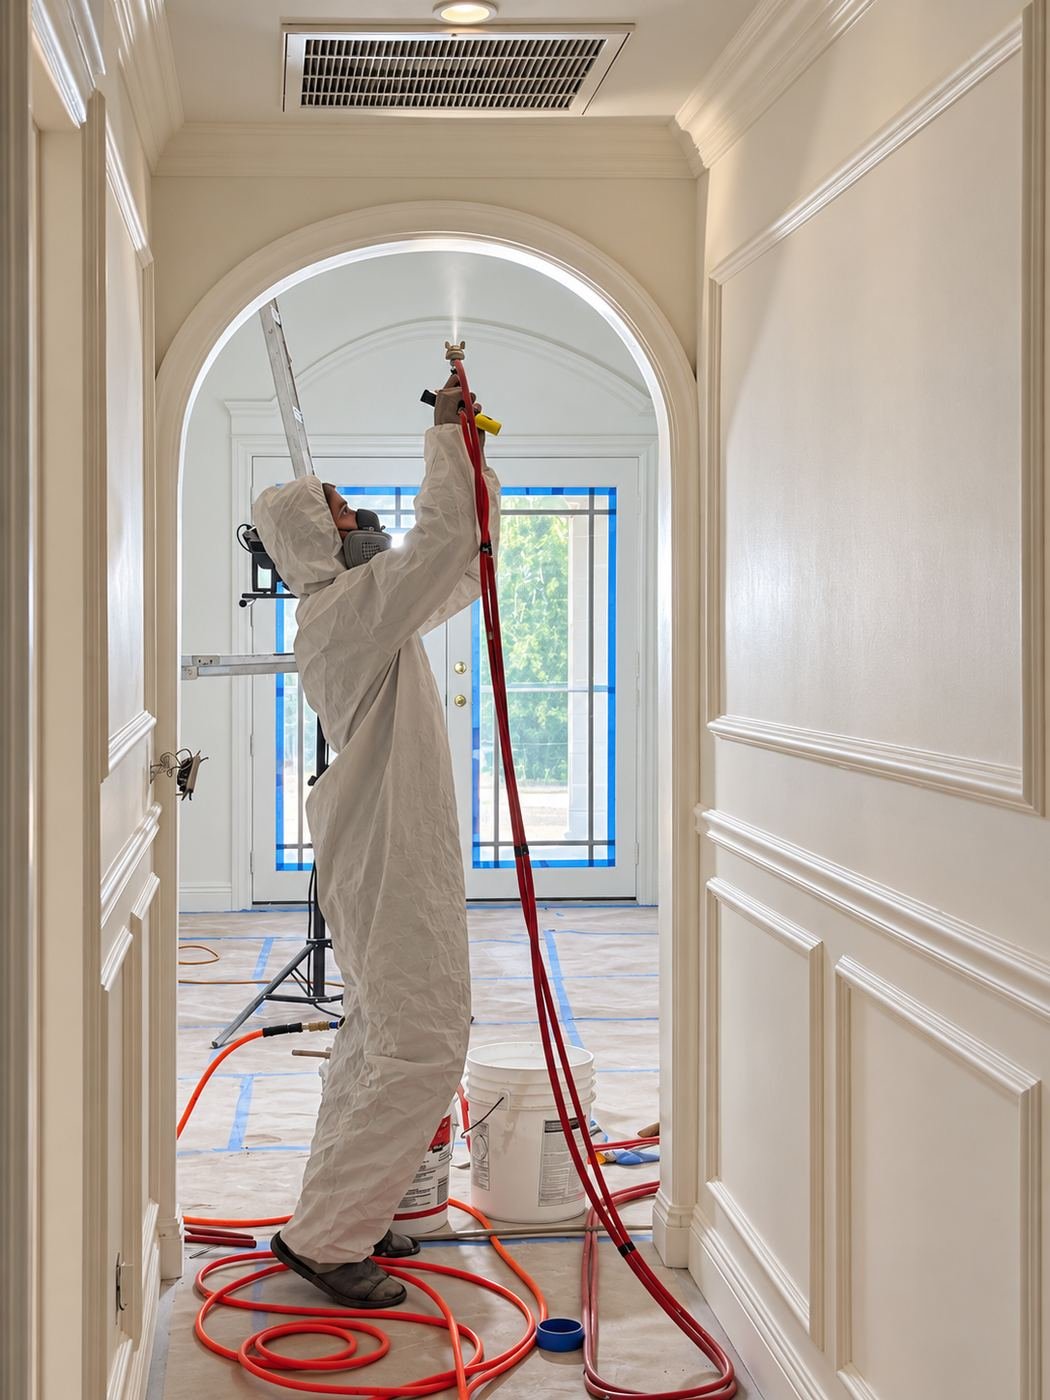
Prep: wrap, mask, isolate — before any spray gun comes out
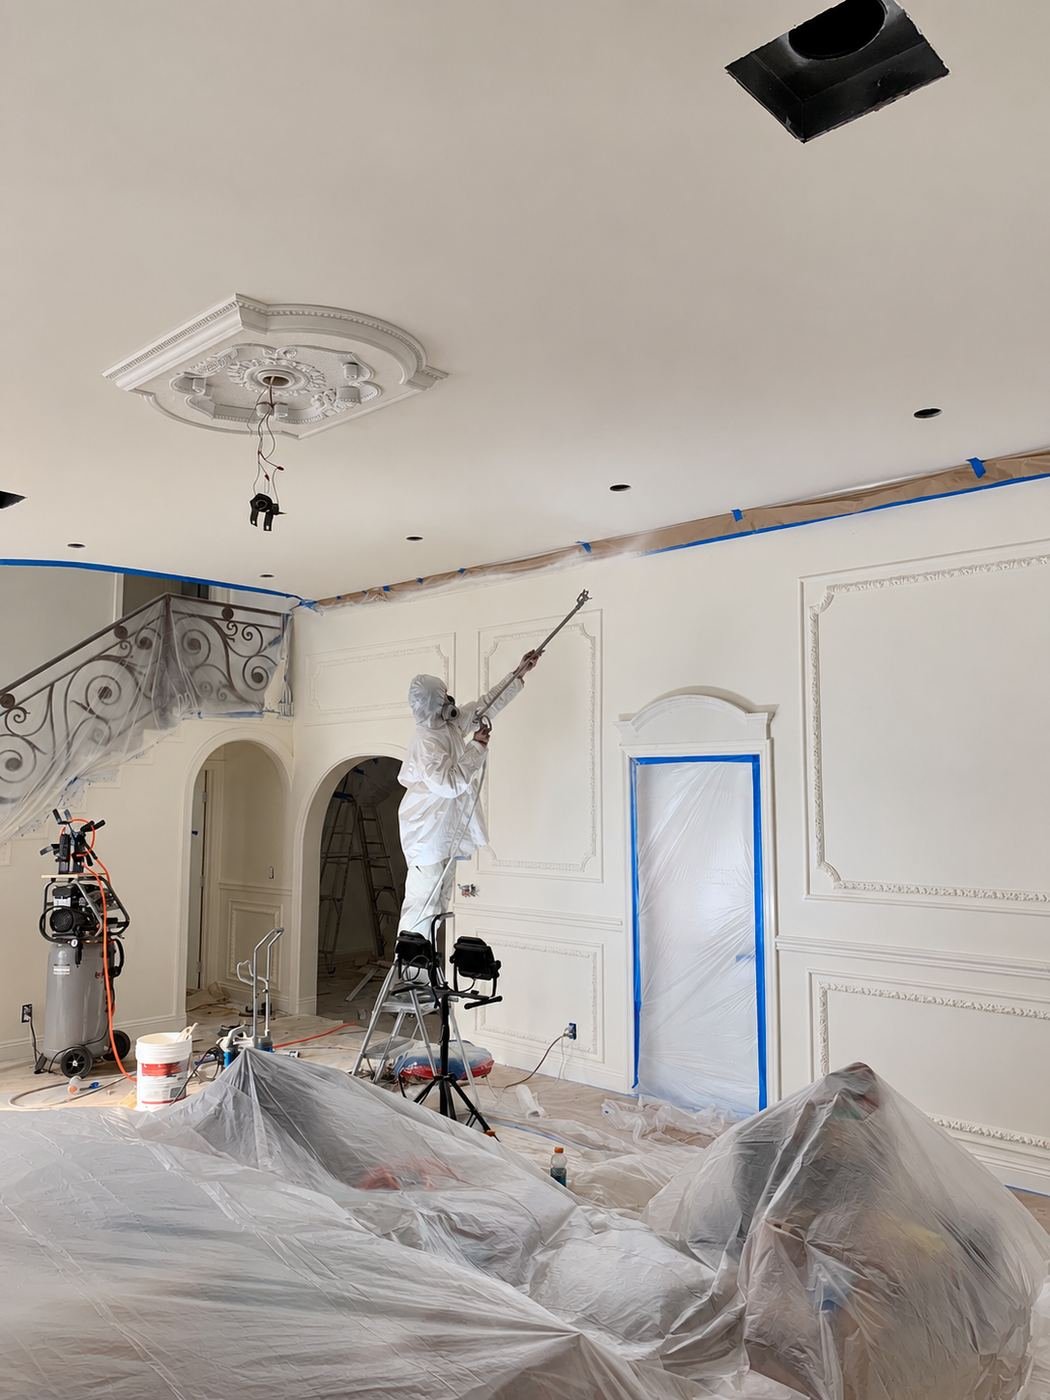
- Every chandelier wrapped in plastic sheeting, tied off at the stem so overspray cannot reach the arms or the glass. In this house that includes the large iron piece in the two-story foyer from Chapter 1 — covering it was a 20-minute job per fixture, not a two-minute job.
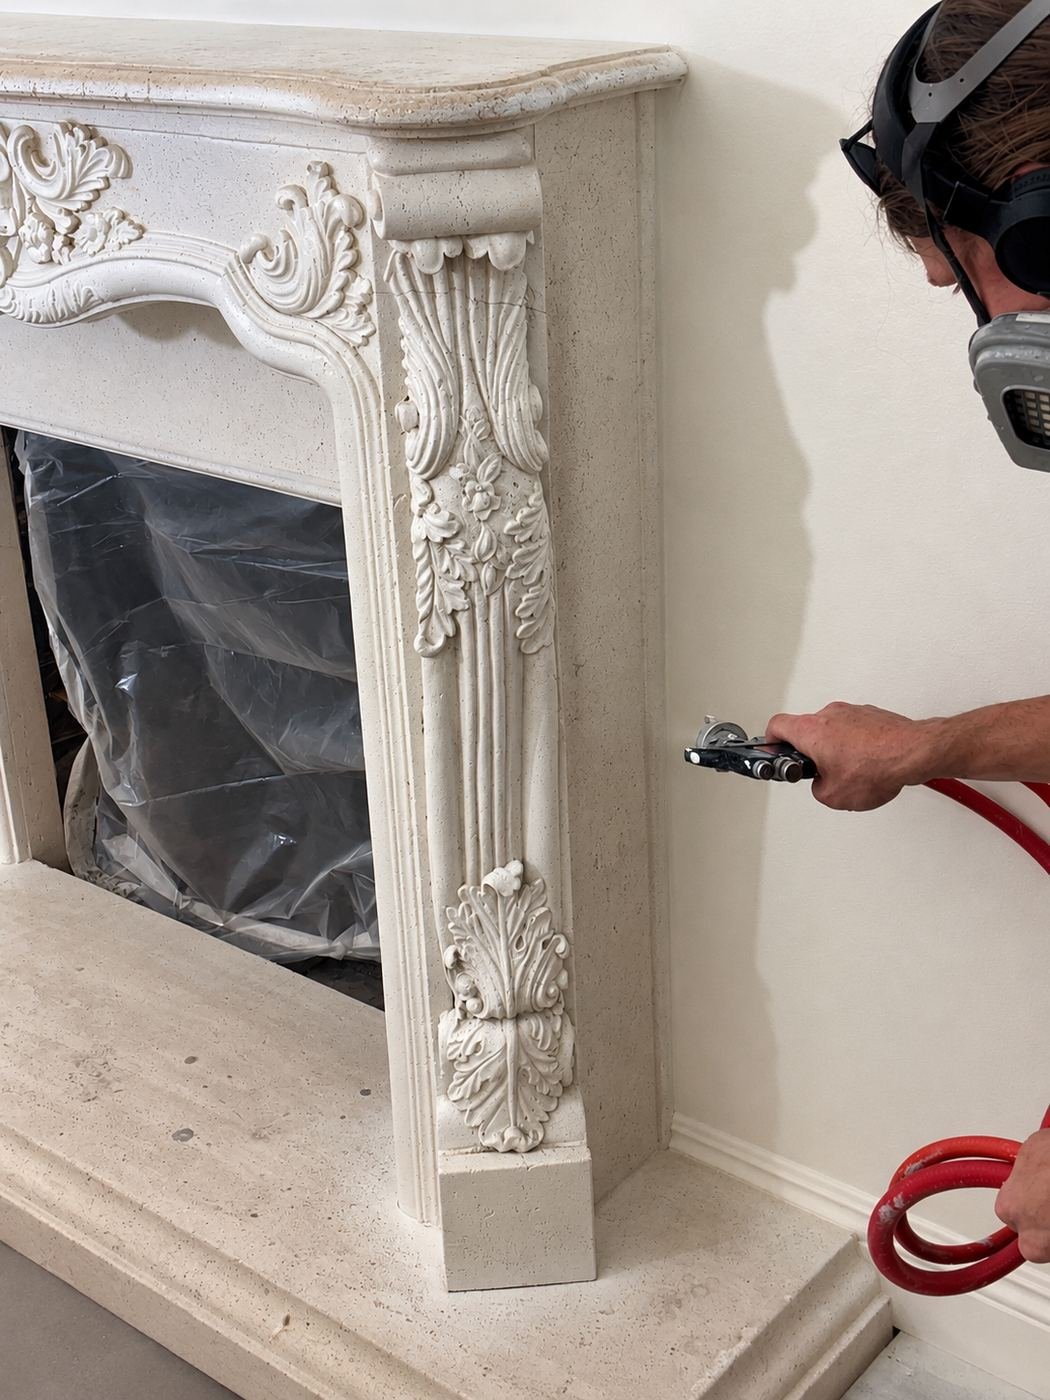
- Fireboxes and limestone mantels sheeted before any trim adjacent to them was sprayed, so no paint lands on the carved stone.
- Travertine and herringbone floors fully masked with rosin paper, every seam taped against the baseboards with blue painter’s tape. In a 7,000-square-foot house that is a lot of rosin paper.
- HVAC supplies and returns sealed, so the spray atomization does not get pulled through the ductwork into other rooms.
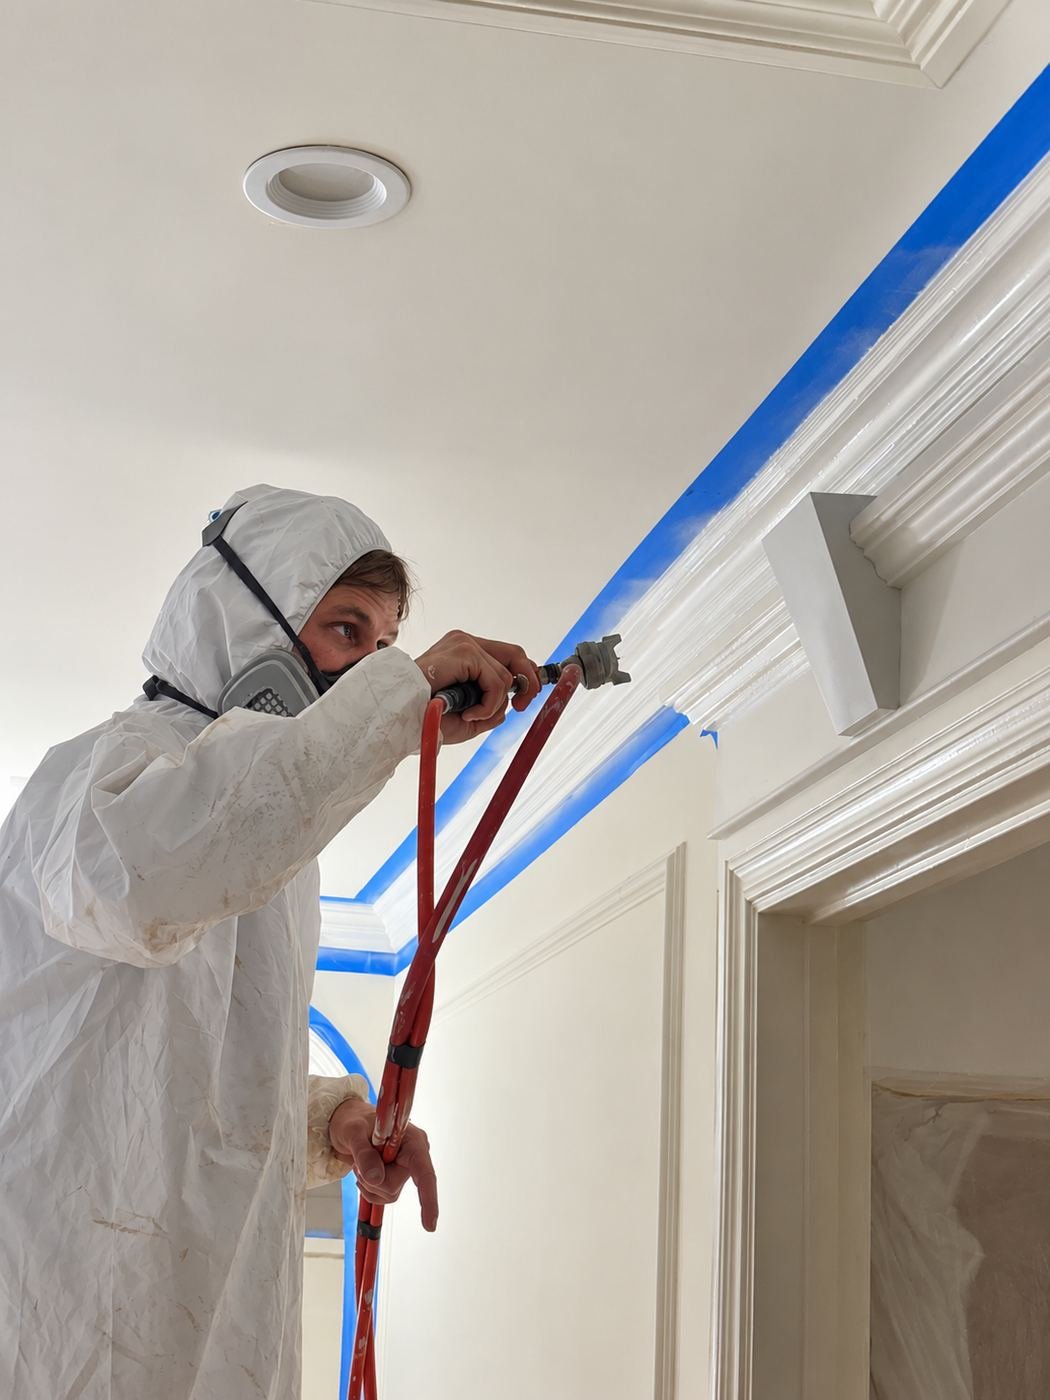
- Trim lines snapped and taped before priming — chair-rail height, wainscot cap, picture-frame outlines. The sharpness you see in finished Chapter-2 photos is only possible because the tape line was set once, not re-taped halfway through.
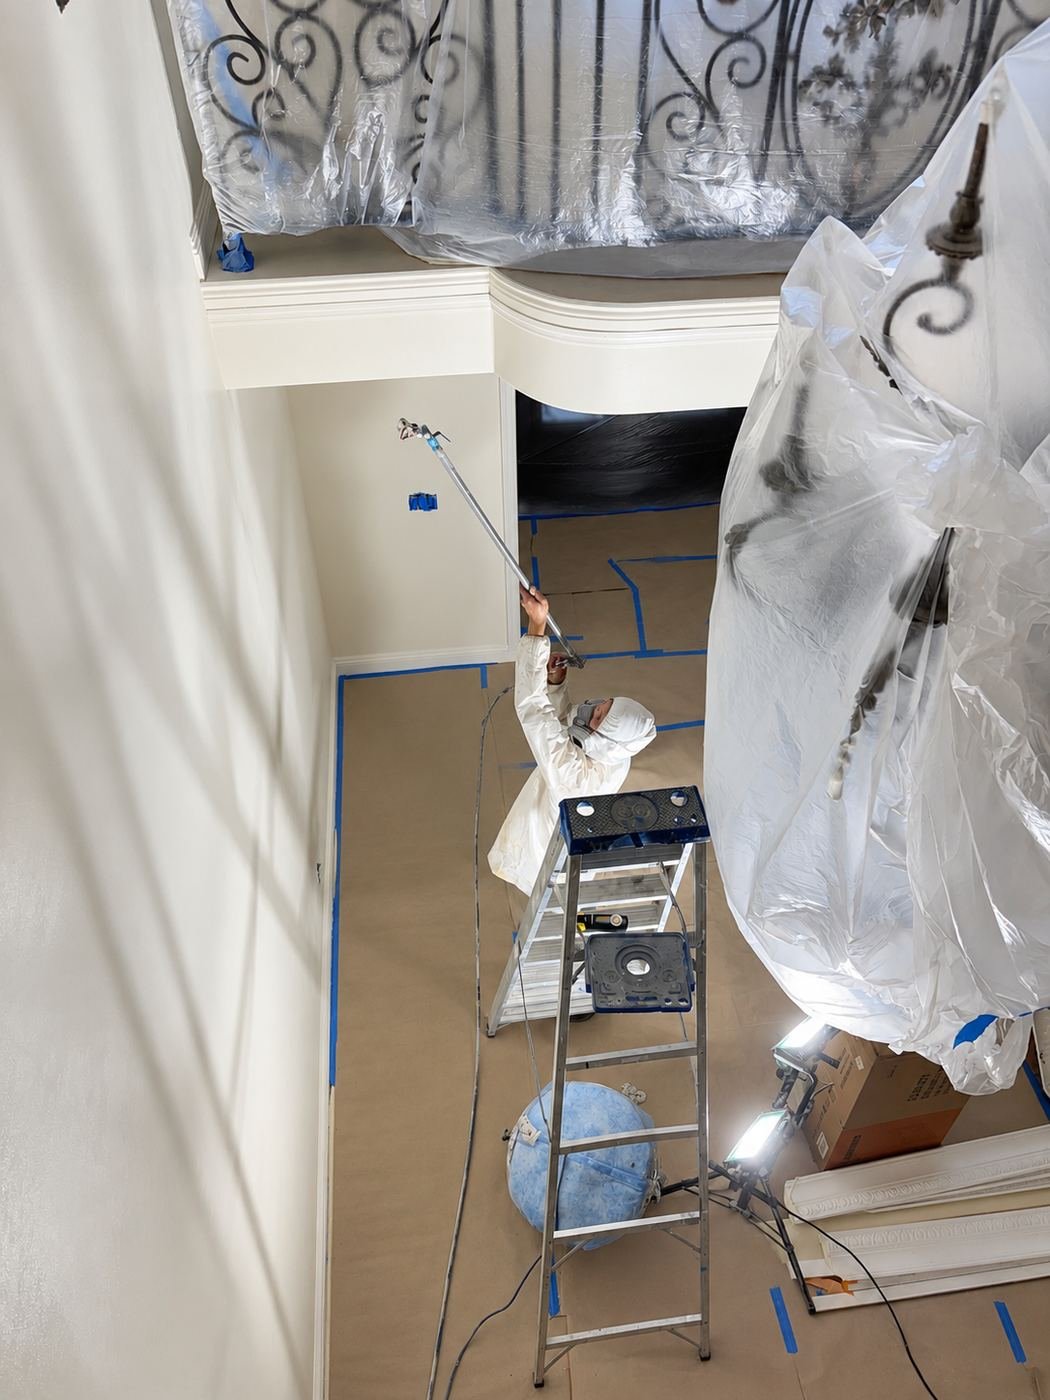
Spraying: airless + full PPE, room by room
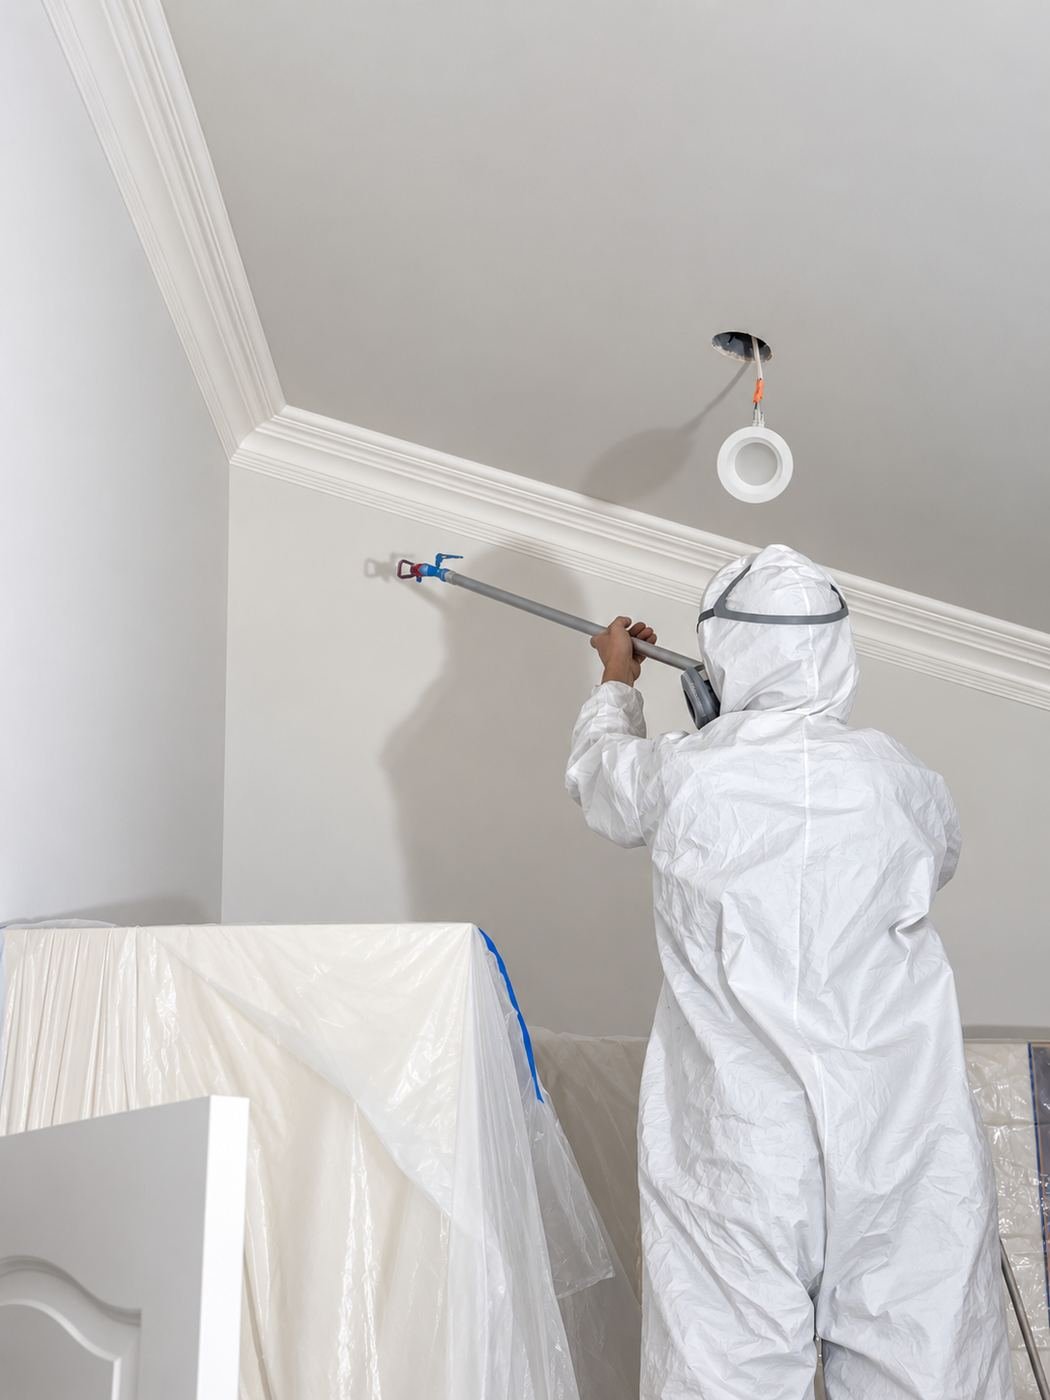
Walls, ceilings and trim were airless-sprayed room by room so each room got its finish coat at the same wetness and read as one surface. The painters stayed in full Tyvek + respirator because atomized paint belongs on the wall, not in anyone’s lungs. We rotated rooms so each one had time to dry before the next crew moved through — a sprayed room that gets walked through too early is a sprayed room with footprints baked into the finish.
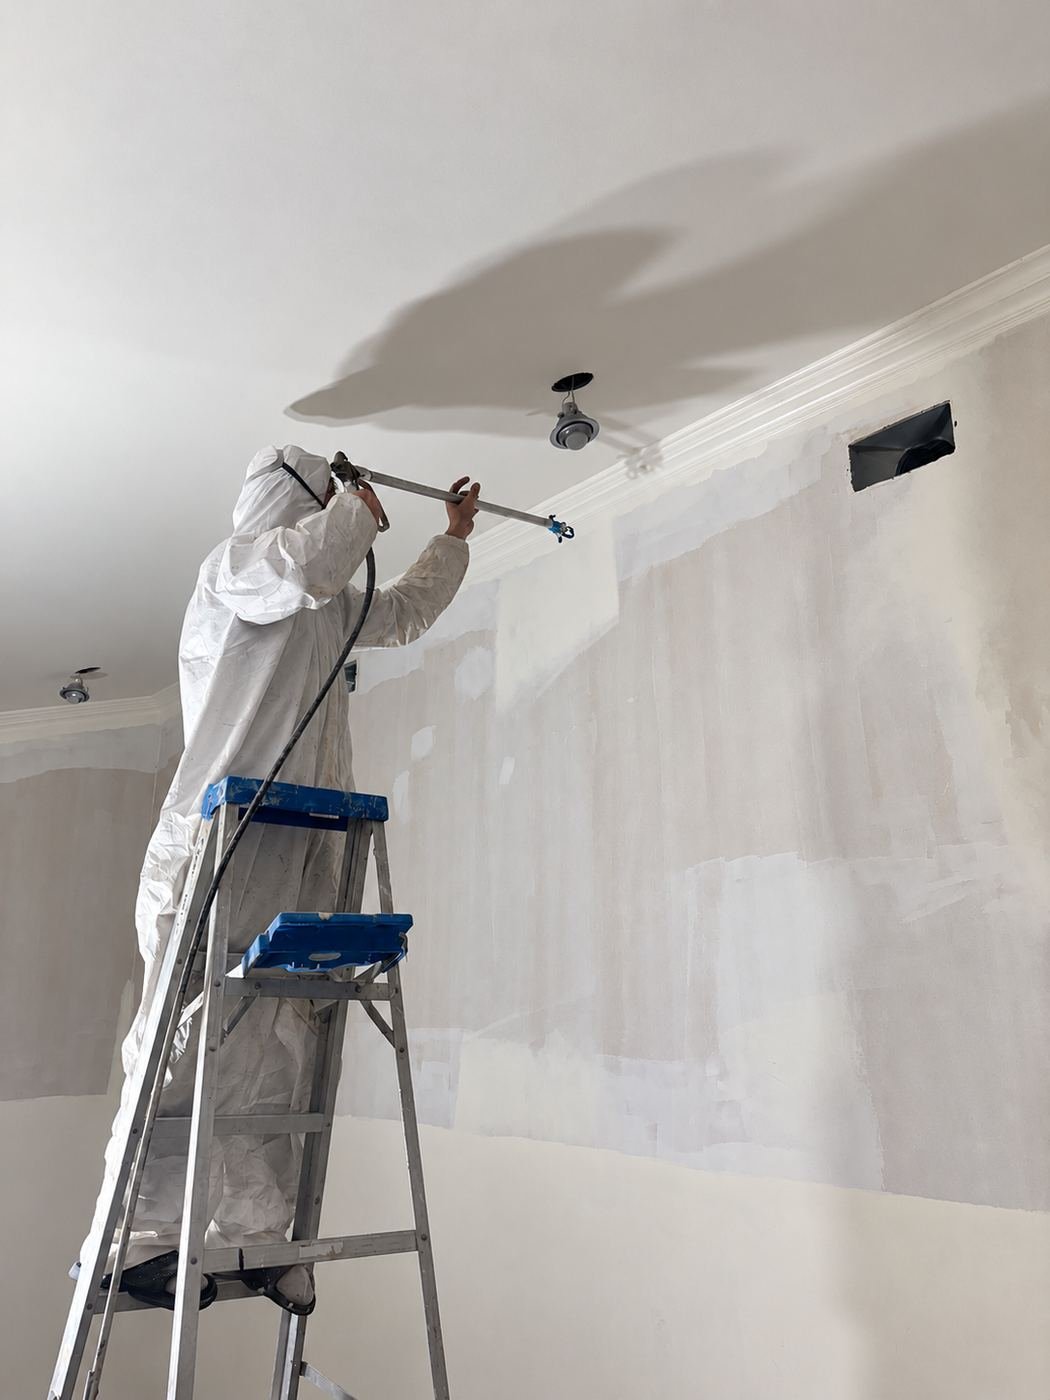
Ceilings and patches: roller + extension pole
Flat ceiling fields that have had drywall patches skimmed into them get a roller finish rather than a spray coat — the roller stipple reads consistent across the whole ceiling, and the airless would show every patch edge as a slight ghost. The same goes for ceiling medallion flats around the chandelier mounts.
Niches, mantels and ornament: brushed and small-sprayed by hand
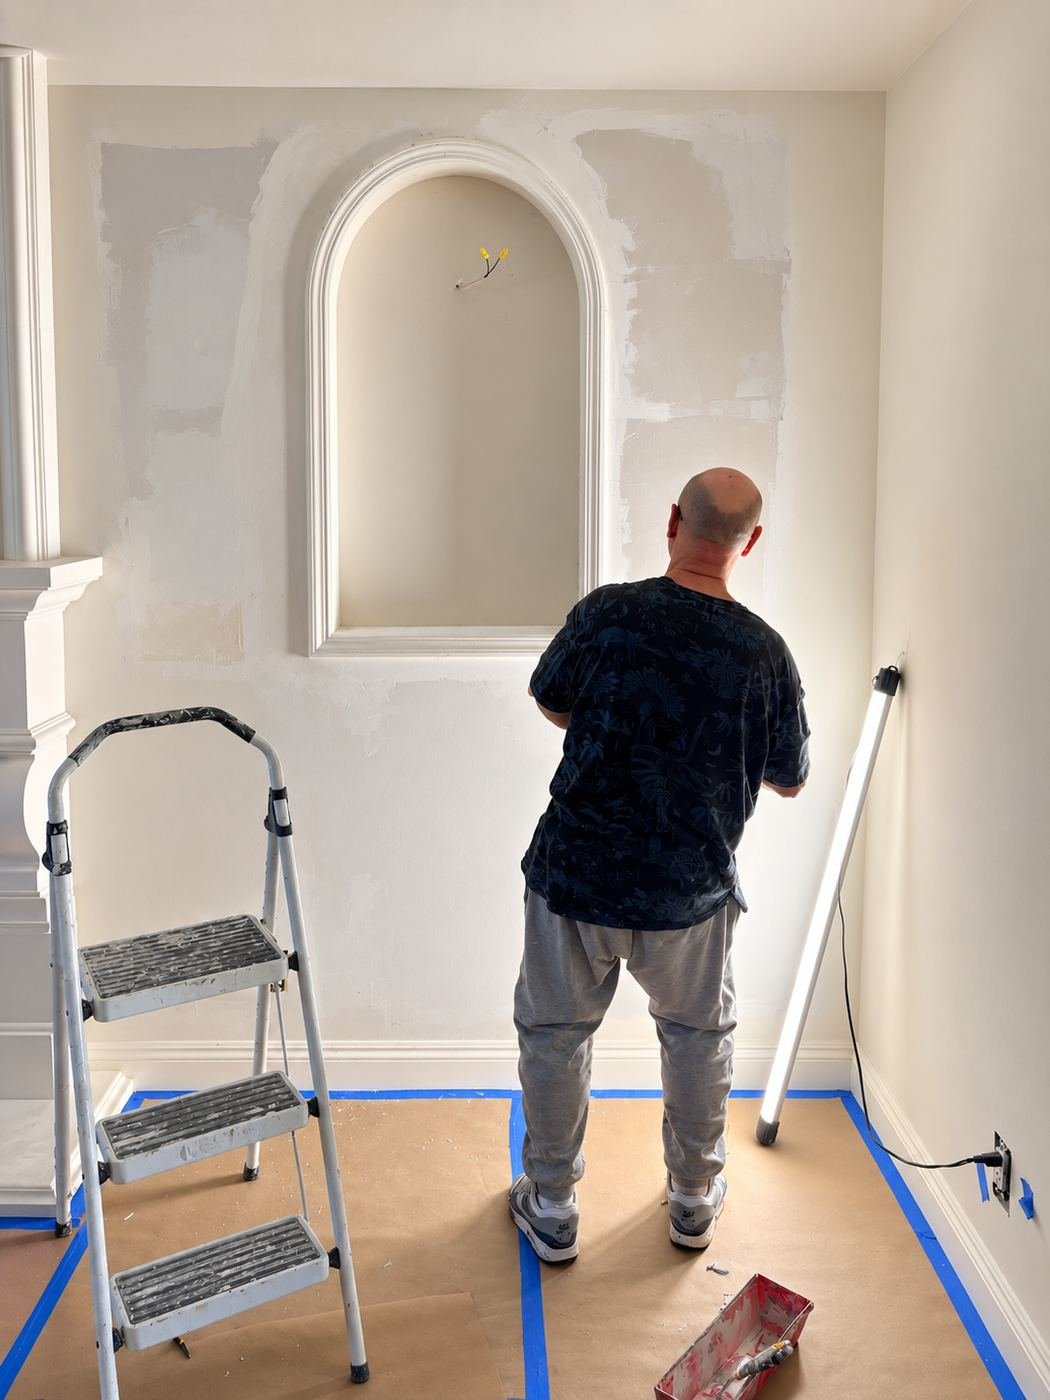
Airless is right for flat walls and long trim runs. It is wrong for the inside of a tight arched niche where overspray will pool at the top and run, and it is wrong for the carved ornament on a limestone mantel. Those get finished slowly, by hand — brushed on the plaster niches, mist-sprayed on the mantels with a small HVLP gun inches from the stone, with the firebox and the floor sheeted so nothing lands where it should not. The detail stays sharp instead of being filled in with paint build-up.
What all of this is in service of
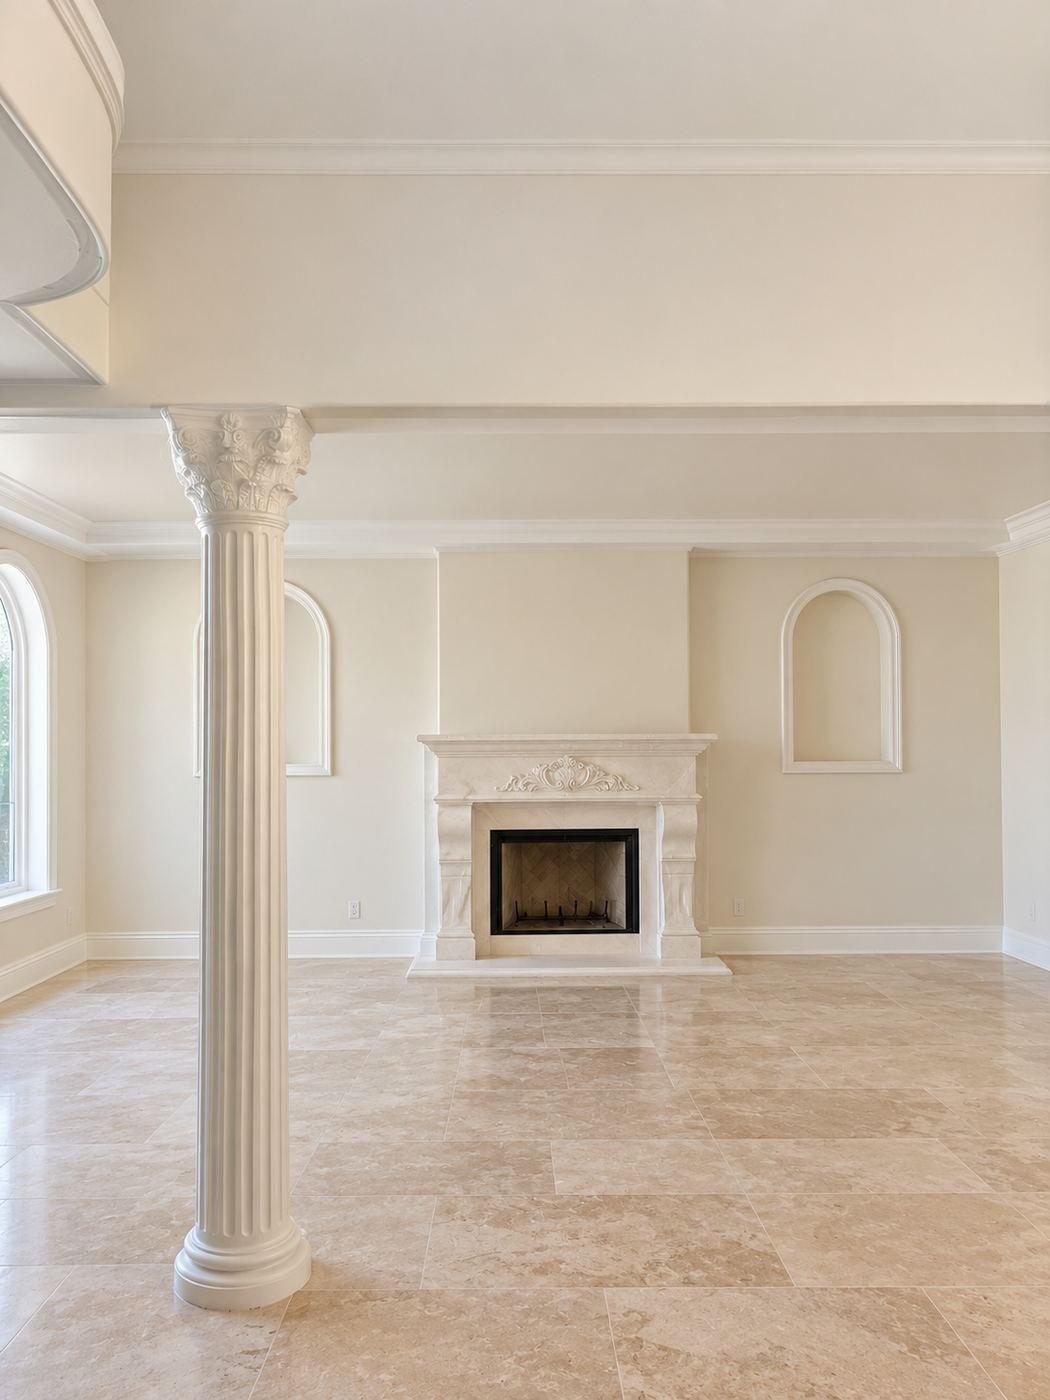
Every photo above is from the same house as the Corinthian columns, the picture-frame wainscot, the herringbone-and-travertine floors and the two matched limestone fireplaces from Chapter 2. The reason those formal rooms photograph the way they do is because the prep behind them was done the way it was done. A finished mansion is what you see when the prep was invisible.
How the 5 chapters fit together
Chapter 1 was the entry and staircase — the first room anyone sees. Chapter 2 was the formal rooms — the volume of the build. Chapter 3 was the kitchen — the room that has to work. Chapter 4 was the bathrooms — the room with the most tile and the most plumbing. This chapter is what makes all of them look the way they do: a shared paint spec, a shared trim profile, a shared insistence that nothing gets a drop of overspray it does not want.
If you planned a full-home remodel in Los Angeles the way this one was planned — gut-to-studs, one crew end to end, one architectural vocabulary across every room — this is the finish standard you should ask for. If you are looking at a quote where “paint” is a line item without a prep plan, the finished house will tell you.
Planning a complete home remodel in LA? Call ProHands at (818) 401-7766 or email info@prohandshandyman.com for a free on-site walkthrough. Greater Los Angeles.