
The goal was to bring an old solid-oak parquet floor back to life — fully sand off the worn finish, close the gaps, apply a rich dark stain, and seal it with a durable satin topcoat that will hold up to daily traffic for years.
Parquet floors in older Los Angeles homes are almost always worth restoring instead of replacing. The wood underneath the tired finish is usually solid oak, laid decades ago, and it can be refinished several times over. What looks like a floor that needs to be torn out is very often a floor that just needs to be sanded back to bare wood and refinished properly.
Project Overview
This project included several stages:
The floor was a solid oak parquet in a herringbone-style pattern, installed years ago, with a finish that had gone dull, scratched, and uneven from foot traffic and furniture. In a few spots the original color had worn through to bare wood. Small gaps had opened between blocks as the wood moved seasonally.
The restoration work included:
- Full inspection of the floor for loose blocks, cupping, and water damage
- Re-gluing and re-securing any lifting parquet blocks
- Multi-stage sanding from coarse to fine grit with a drum sander and edger
- Corner and edge detail sanding by hand
- Gap and crack filling with a matching wood filler
- Final screen sanding to a smooth, uniform surface
- Full dust cleanup with HEPA vacuum
- Application of a custom dark stain to bring out the grain
- Sealing with multiple coats of durable satin polyurethane finish
- Buffing between coats for a smooth, professional feel underfoot
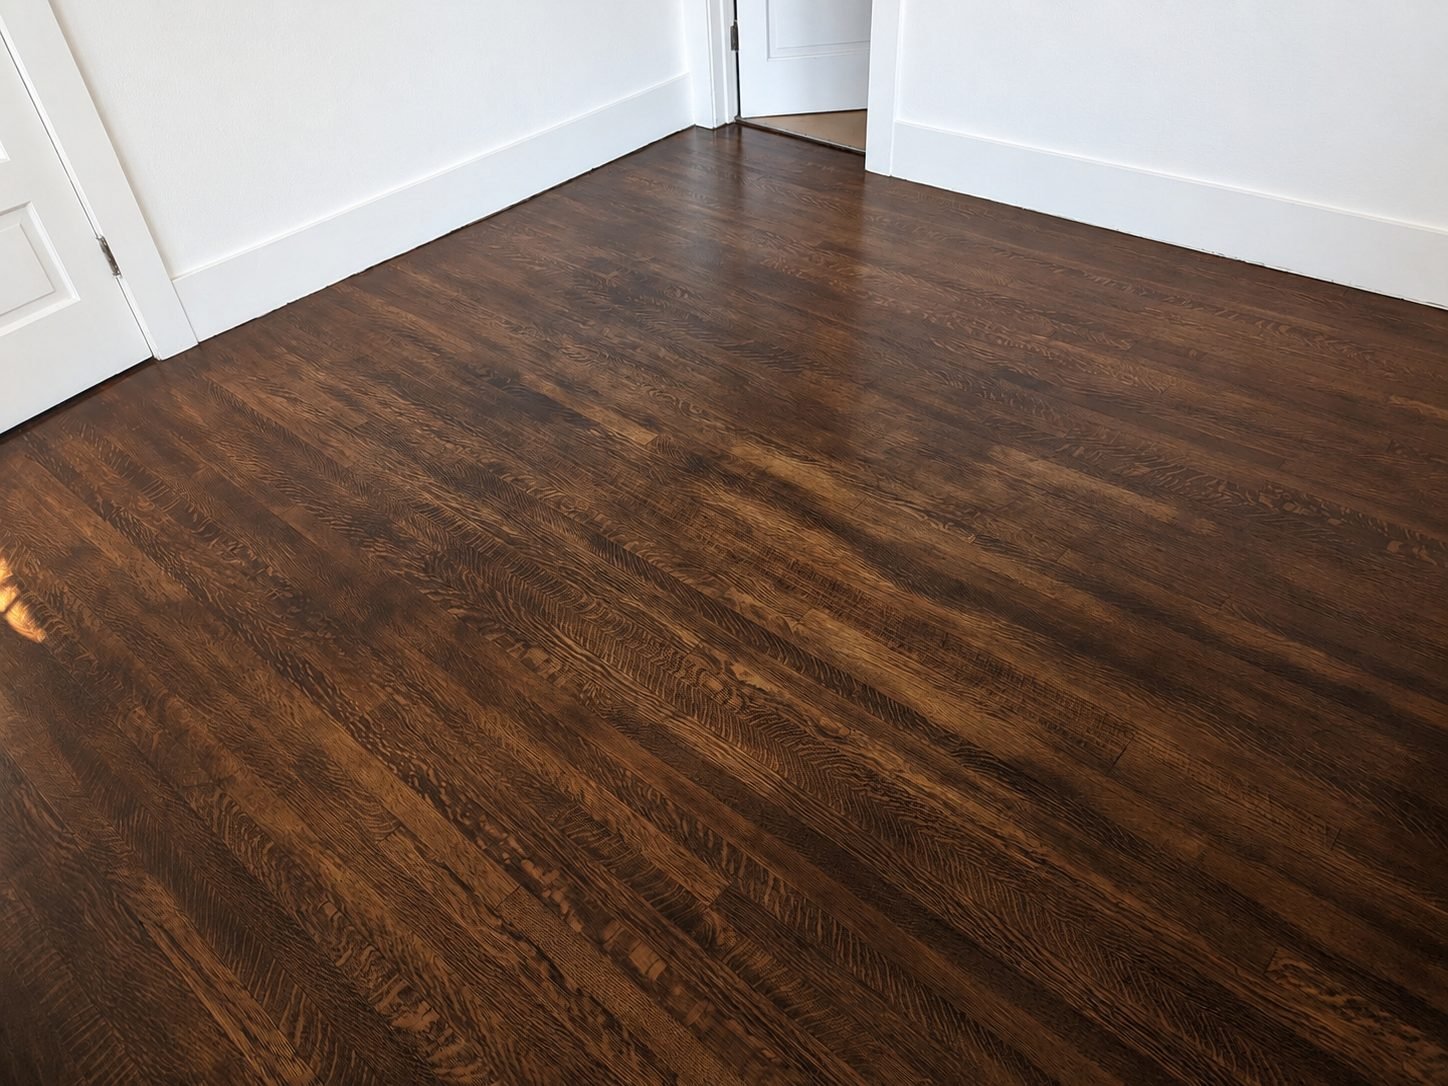
The main challenge was matching the color across the whole floor. Old parquet takes stain unevenly — some blocks are denser, some have more grain, and any leftover finish will block absorption. Getting the sanding right is what makes the stain look uniform in the end.
Why Full Restoration Beats Replacement
Before the work started, the floor looked tired: dull finish, scratches, uneven color, and worn-through spots near doorways and in front of the couch. It is the kind of look that makes homeowners assume the floor is done and needs to be ripped out.
It almost never is. The wood on a solid oak parquet floor is usually 3/4″ thick, or a solid block laid over a base — either way, there is enough material left to sand and refinish. Tearing it out and replacing it with new flooring costs many times more than refinishing, and you lose the original character of the room in the process.
The right sequence is:
- Inspect for structural issues (loose blocks, deep water damage, cupping)
- Repair anything that will not sand out
- Sand progressively down to bare wood
- Fill gaps and cracks
- Stain to the desired color
- Seal with a durable topcoat
Done properly, a restored parquet floor looks better than most brand-new flooring — because the wood is real, solid, and has years of natural aging in it.
Inspection and Prep
Before any sanding started, the whole floor was walked and inspected:
- Any block that moved or made a hollow sound was noted for re-glueing
- Cupping (edges higher than the middle of a block) was checked with a straightedge
- Gaps and open joints were measured
- Baseboards, doorways, and vents were protected with tape and plastic
- All furniture was removed, and the room was completely emptied
Any loose block that could be re-secured was glued back down before sanding. A sander cannot fix a floor that is moving under it — the block will just chatter, and the finish will show it.
Multi-Stage Sanding
The heart of any parquet restoration is the sanding. Done wrong, it leaves swirl marks, chatter marks, or an uneven surface that shows through the stain and finish forever. Done right, the floor comes out flat, smooth, and ready to take color evenly.
The sanding went in stages:
- Coarse grit (36–40): to strip off the old finish, level the surface, and remove worn-through areas. Because parquet has grain running in multiple directions, sanding is done diagonally to the pattern to avoid tearing the grain.
- Medium grit (60–80): to remove the marks from the coarse pass and start smoothing the surface.
- Fine grit (100–120): to bring the surface to a fine, uniform texture ready for stain.
- Edger and hand sanding: every edge, corner, and area next to the baseboard where the drum sander cannot reach was worked with an edger and, in the tightest corners, by hand.
- Screen buffing: a final pass with a screen pad to knock down any raised grain and blend the drum-sanded field with the hand-sanded edges.
Between every stage the floor is vacuumed thoroughly. Any grit or dust left behind gets pressed into the next pass and shows up later as a scratch.
Gap and Crack Filling
Older parquet floors almost always have small gaps between blocks where the wood has moved with humidity over the years. Some are cosmetic, some are wide enough to catch dirt.
After the medium sanding pass, a color-matched wood filler was worked into all the gaps and cracks with a trowel. Once cured, the filler is sanded flush during the fine sanding stage. The result is a floor that reads as one continuous surface — the gaps disappear visually but the wood is still allowed to expand and contract normally.
Final Cleanup Before Stain
Stain will pick up every speck of dust on the floor. Before the color went down, the room was:
- HEPA-vacuumed corner to corner, including baseboards and window sills
- Tack-clothed with a damp microfiber to lift the last of the airborne dust
- Left to settle so any dust still in the air had time to fall
- Vacuumed one more time
Skipping this step is how “professional refinishing jobs” end up looking gritty and dull. It is not a shortcut worth taking.
Custom Dark Stain
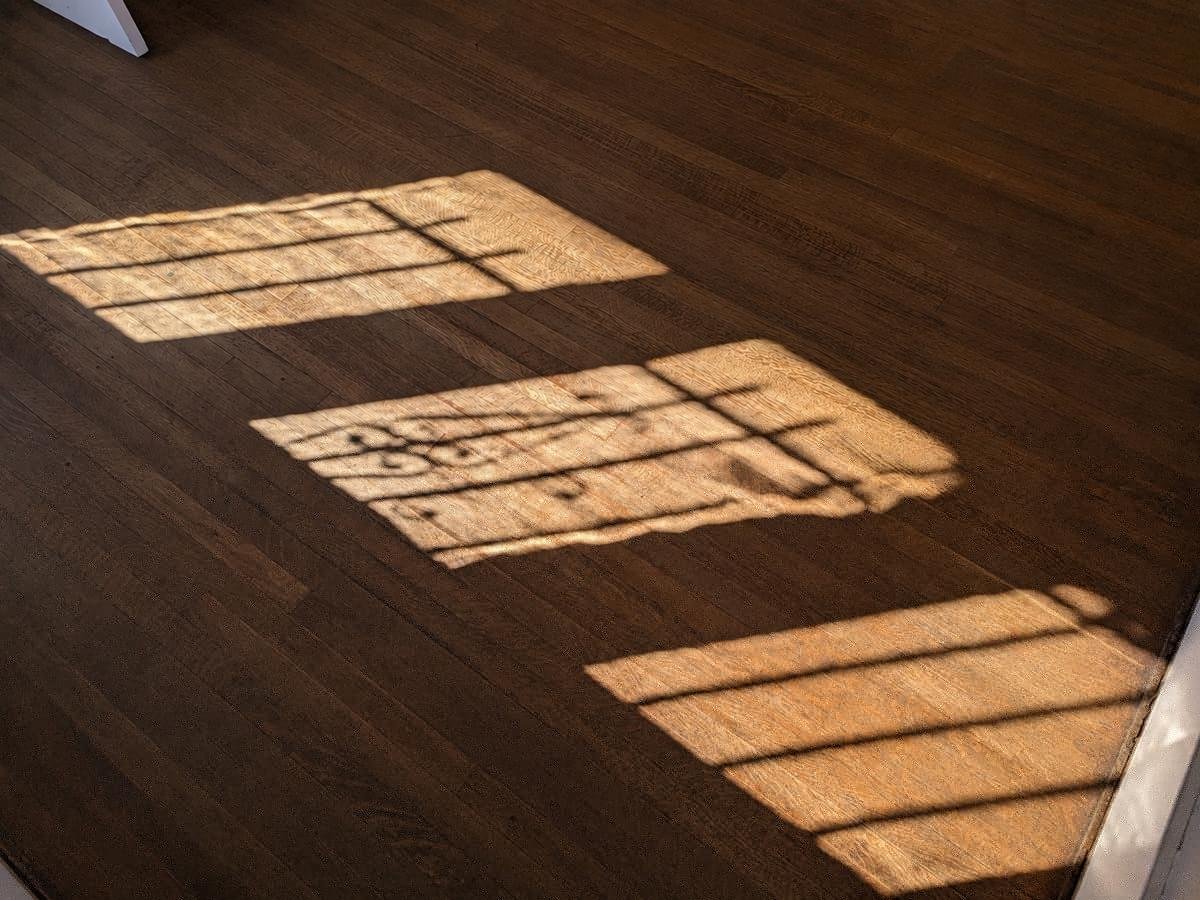
The homeowner wanted a rich, dark tone — something closer to walnut or wenge than natural oak. Getting that look on oak requires:
- Pre-conditioning where needed to make sure the stain absorbs evenly across dense and open grain areas
- Test patches in an out-of-the-way spot to confirm color before committing to the whole room
- Working with the grain in long, even strokes with a lambswool applicator or brush
- Wiping off the excess at a consistent time interval across the whole floor so nothing sits longer in one spot than another
- Full dry time before any topcoat — usually overnight — to let the pigment set
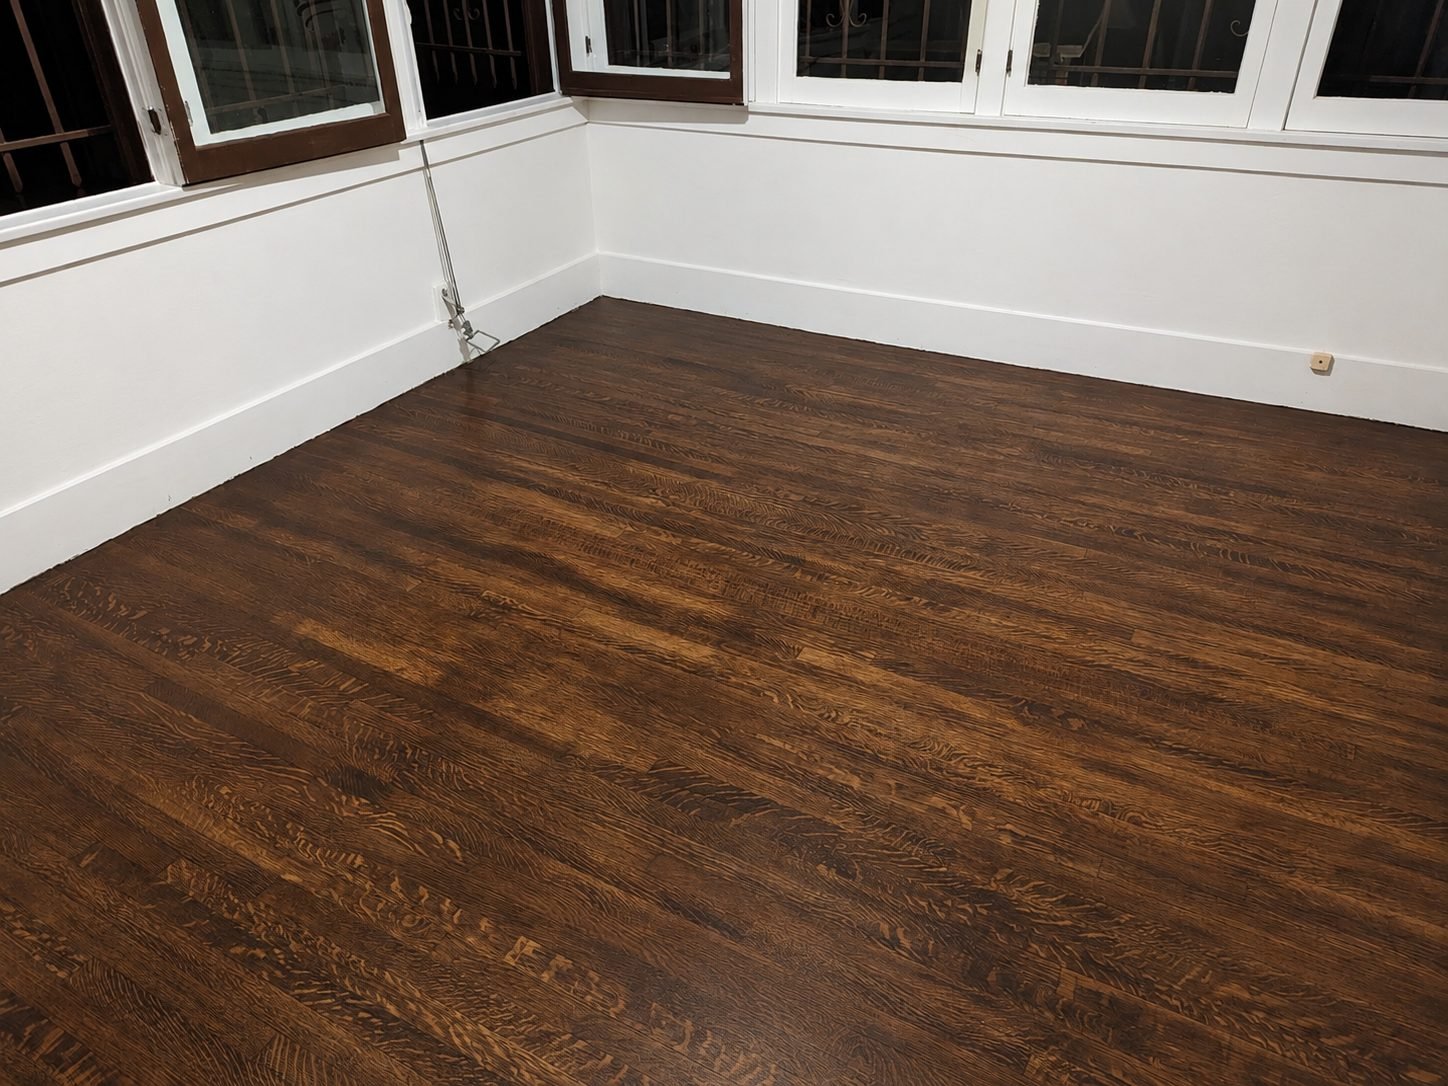
The result is a deep, uniform color that reads as a single tone across the whole floor while still letting the oak grain show through.
Sealing With Satin Polyurethane
Stain alone does not protect a floor. It just adds color. What makes the floor durable is the topcoat.
For this project, a high-quality polyurethane in a satin sheen was chosen. Satin is the sweet spot for parquet:
- Deep enough to bring the grain forward
- Not so glossy that every scratch and dust particle shows
- Easier to maintain and touch up than gloss
- Durable enough to stand up to daily traffic, furniture, and pets
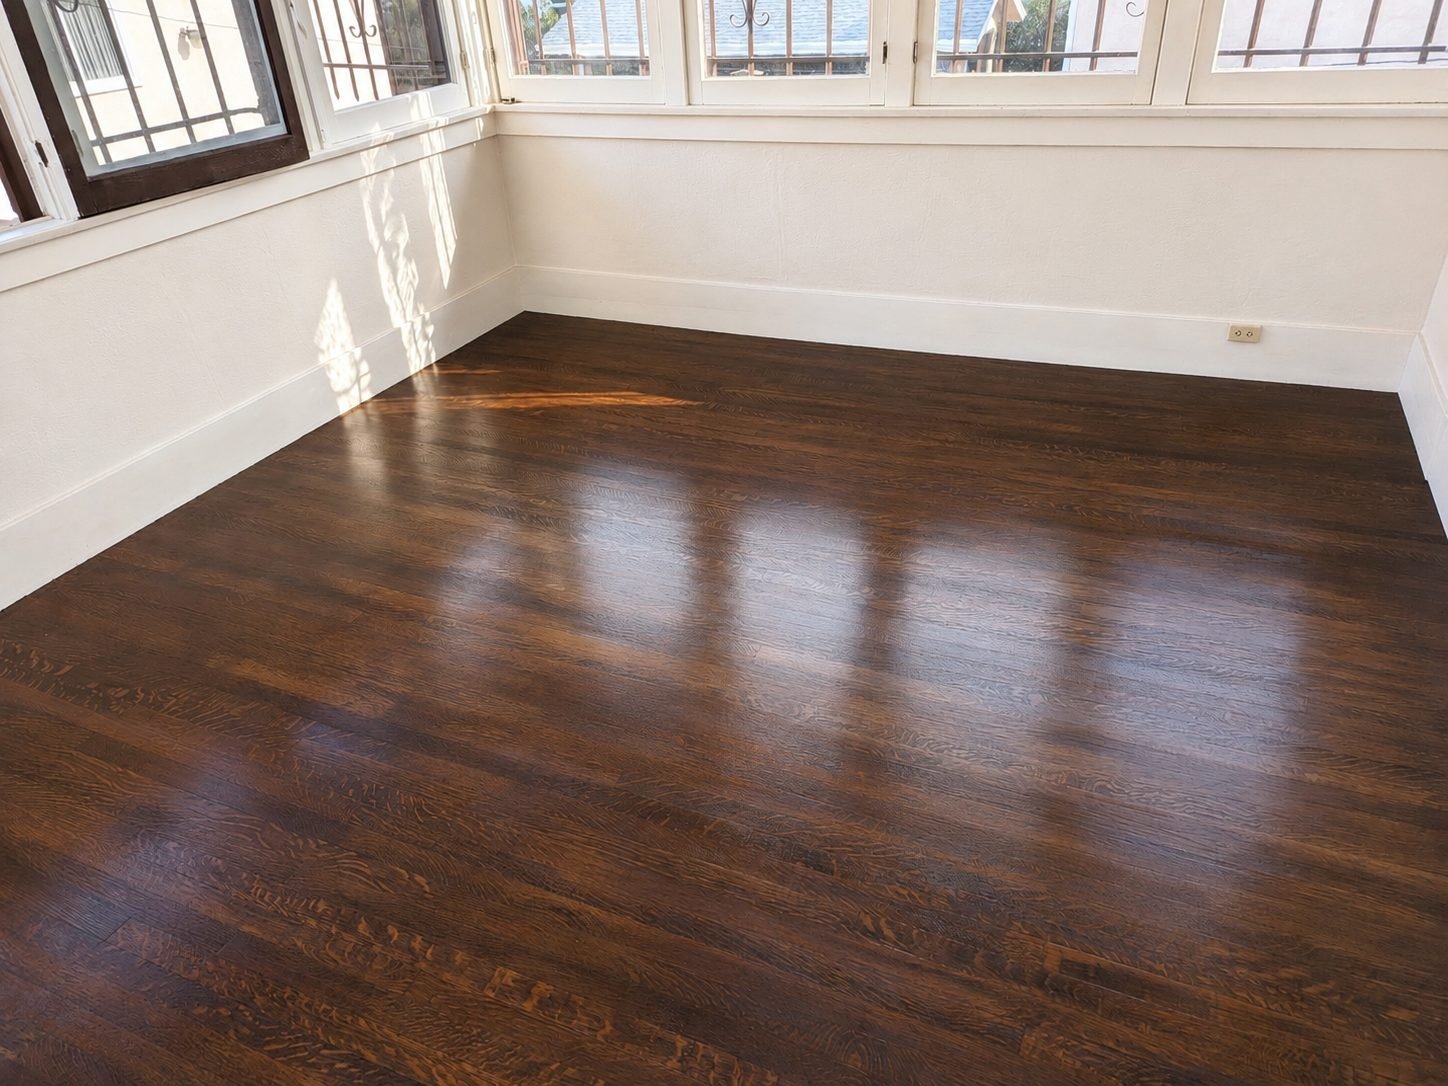
Multiple coats were applied, with a light buff between coats to remove any dust nibs and give the next coat something to bond to. The final coat was laid down last and left to fully cure before the room was walked on.
Why Sheen and Finish Choice Matters
Homeowners often ask whether to go gloss, semi-gloss, satin, or matte. On real oak parquet in a home that gets normal use:
- Gloss looks impressive on day one, but shows every scuff, footprint, and dog nail scratch. Refinishing spots is very visible.
- Semi-gloss is a middle ground but still highlights wear.
- Satin is what most professionals recommend for real wood floors — good depth, hides small wear, easy to maintain, ages gracefully.
- Matte is a modern look but can feel washed out on dark-stained oak.
Satin was the right call for this floor and matches how the room is actually used.
What Homeowners Should Watch For on Their Own Floors
Common signs an old parquet floor is ready for restoration instead of replacement:
- Finish is dull, scratched, or uneven but no rotting or deep gouges
- Some worn-through spots where the finish is gone but the wood is still solid
- Minor gaps between blocks that fillers can close cosmetically
- A few loose blocks that can be re-glued
- No large water damage that has stained deep into the wood
If the floor has any of those signs — but not rot, structural damage, or major water staining — restoration is almost always the better economic and aesthetic choice.
Floors that usually need replacement instead of restoration:
- Wood is rotted through in large areas
- Blocks are cupped so severely they would sand out to nothing
- Significant water damage with black staining deep into the wood
- Sagging or structural issues with the subfloor underneath
Even in those cases, replacement of a section is often possible without replacing the whole floor.
Oak Parquet Restoration in Los Angeles
At ProHands Handyman, we work on hardwood floor sanding, staining, and refinishing, parquet and herringbone restoration, floor board and block repair, gap and crack filling, and full interior remodel work throughout Los Angeles and nearby areas.
We can help with:
- Oak parquet floor sanding and refinishing
- Herringbone and chevron floor restoration
- Solid hardwood floor refinishing
- Custom stain color matching
- Loose block and lifting parquet repair
- Gap and crack filling
- Water damage and dark spot repair on wood floors
- Satin, semi-gloss, and matte polyurethane finishes
- Baseboard and trim replacement to match new floors
- Full interior remodel with floor as part of the scope
Whether it is a single room of tired oak parquet, a whole floor of herringbone, or a full interior remodel where the floor is part of the scope, the process is the same: inspect, repair, sand properly, fill gaps, stain evenly, and seal with a finish that will actually hold up.
Conclusion
This project involved full restoration of an old solid-oak parquet floor in a Los Angeles home. The work included inspection and block repair, multi-stage sanding, gap filling, custom dark staining, and multiple coats of durable satin polyurethane.
The result is a floor that looks better than new, keeps all the character of the original wood, and is ready for another decade or two of daily use.
If you have an old parquet, herringbone, or hardwood floor in Los Angeles, Glendale, Burbank, Pasadena, or nearby areas, before you tear it out — get it looked at. Most of the time it is worth restoring, and ProHands Handyman can walk you through what that would look like.
Call or text ProHands Handyman: (818) 401-7766
Send us photos of the floor, and we can help review the condition, walk through what a restoration would involve, and provide an estimate.
Free Estimate · Glendale · Burbank · Pasadena