
The goal was to safely remove heavy mold contamination from an interior room and attic space in an older Los Angeles home, treat the exposed framing, isolate the HVAC area, and prepare the space for full interior rebuild.
This type of work looks straightforward on the surface, but mold remediation done correctly requires containment, PPE, controlled demolition, HEPA cleanup, and careful protection of the rest of the home. Cutting corners here does not save money — it just moves the problem behind new drywall.
Project Overview
This project included several stages:
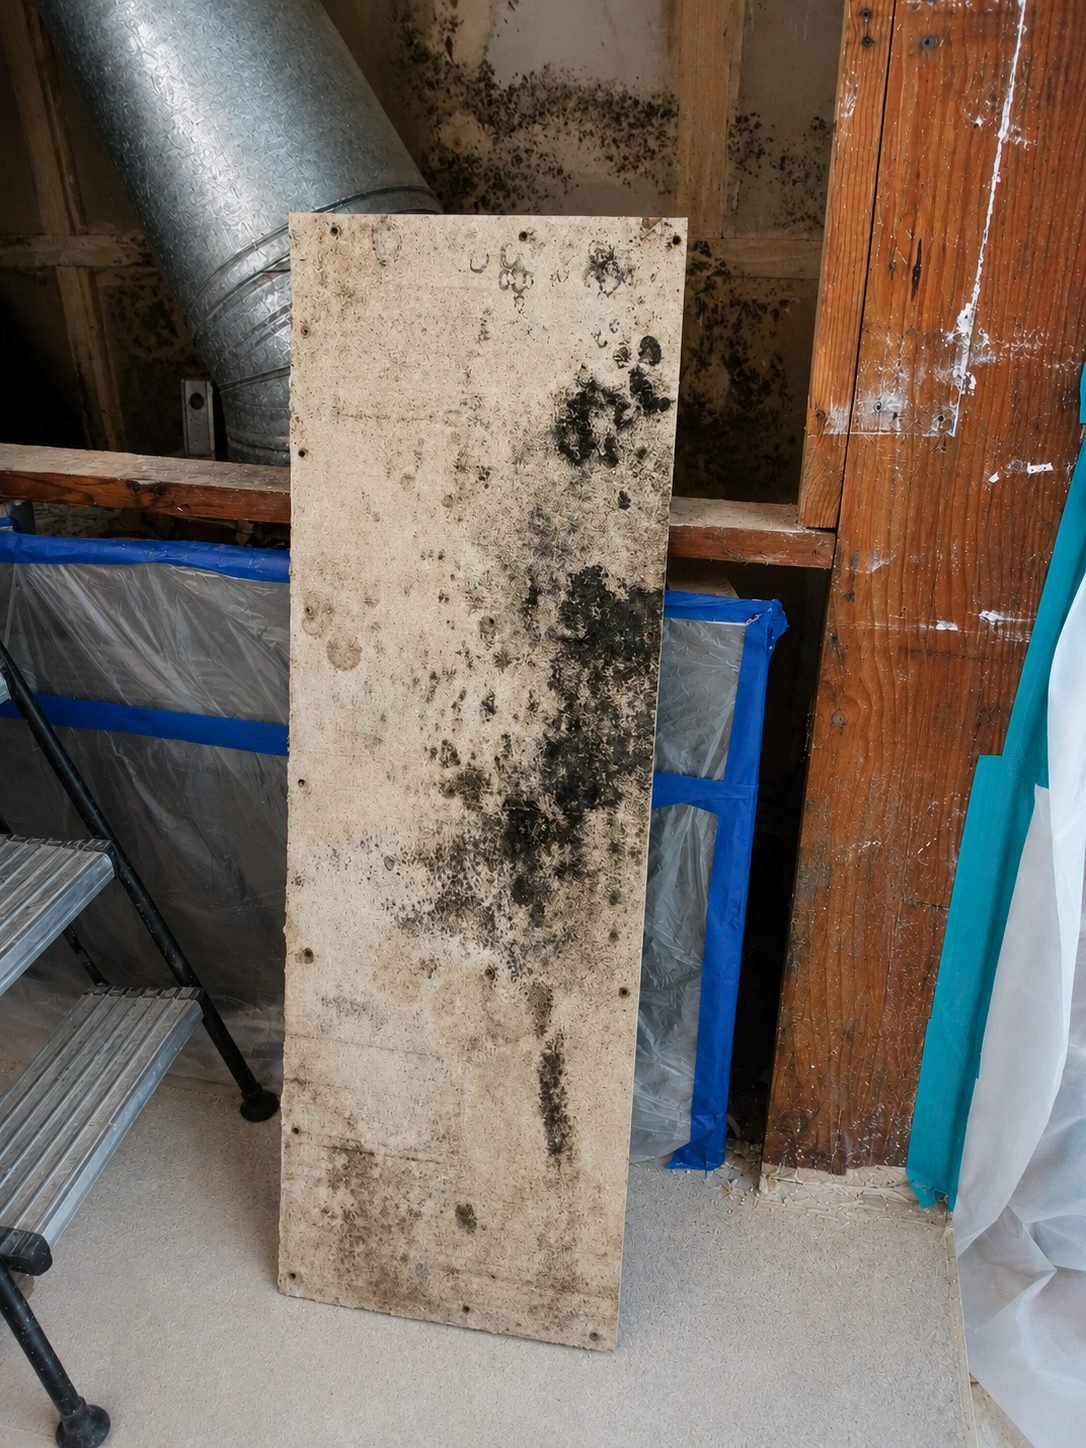
The room and connected attic space had visible black mold across drywall panels, on framing lumber, on OSB sheathing, and around HVAC ductwork. We isolated the work area, removed contaminated materials, treated exposed framing, and prepared everything for the finishing crew to rebuild.
The remediation work included:
- Setting up containment with plastic sheeting and painter’s tape
- Full PPE: Tyvek suits, P100 respirators, safety glasses, nitrile gloves
- Removing contaminated drywall, insulation, and loose OSB
- Bagging and sealing all contaminated debris
- HEPA-vacuuming framing, subfloor, and adjacent surfaces
- Antimicrobial treatment of exposed wood framing
- Cleaning and inspecting HVAC-adjacent ductwork
- Drying the cavity fully before rebuild
- Prepping the framing for new insulation, drywall, and finishes
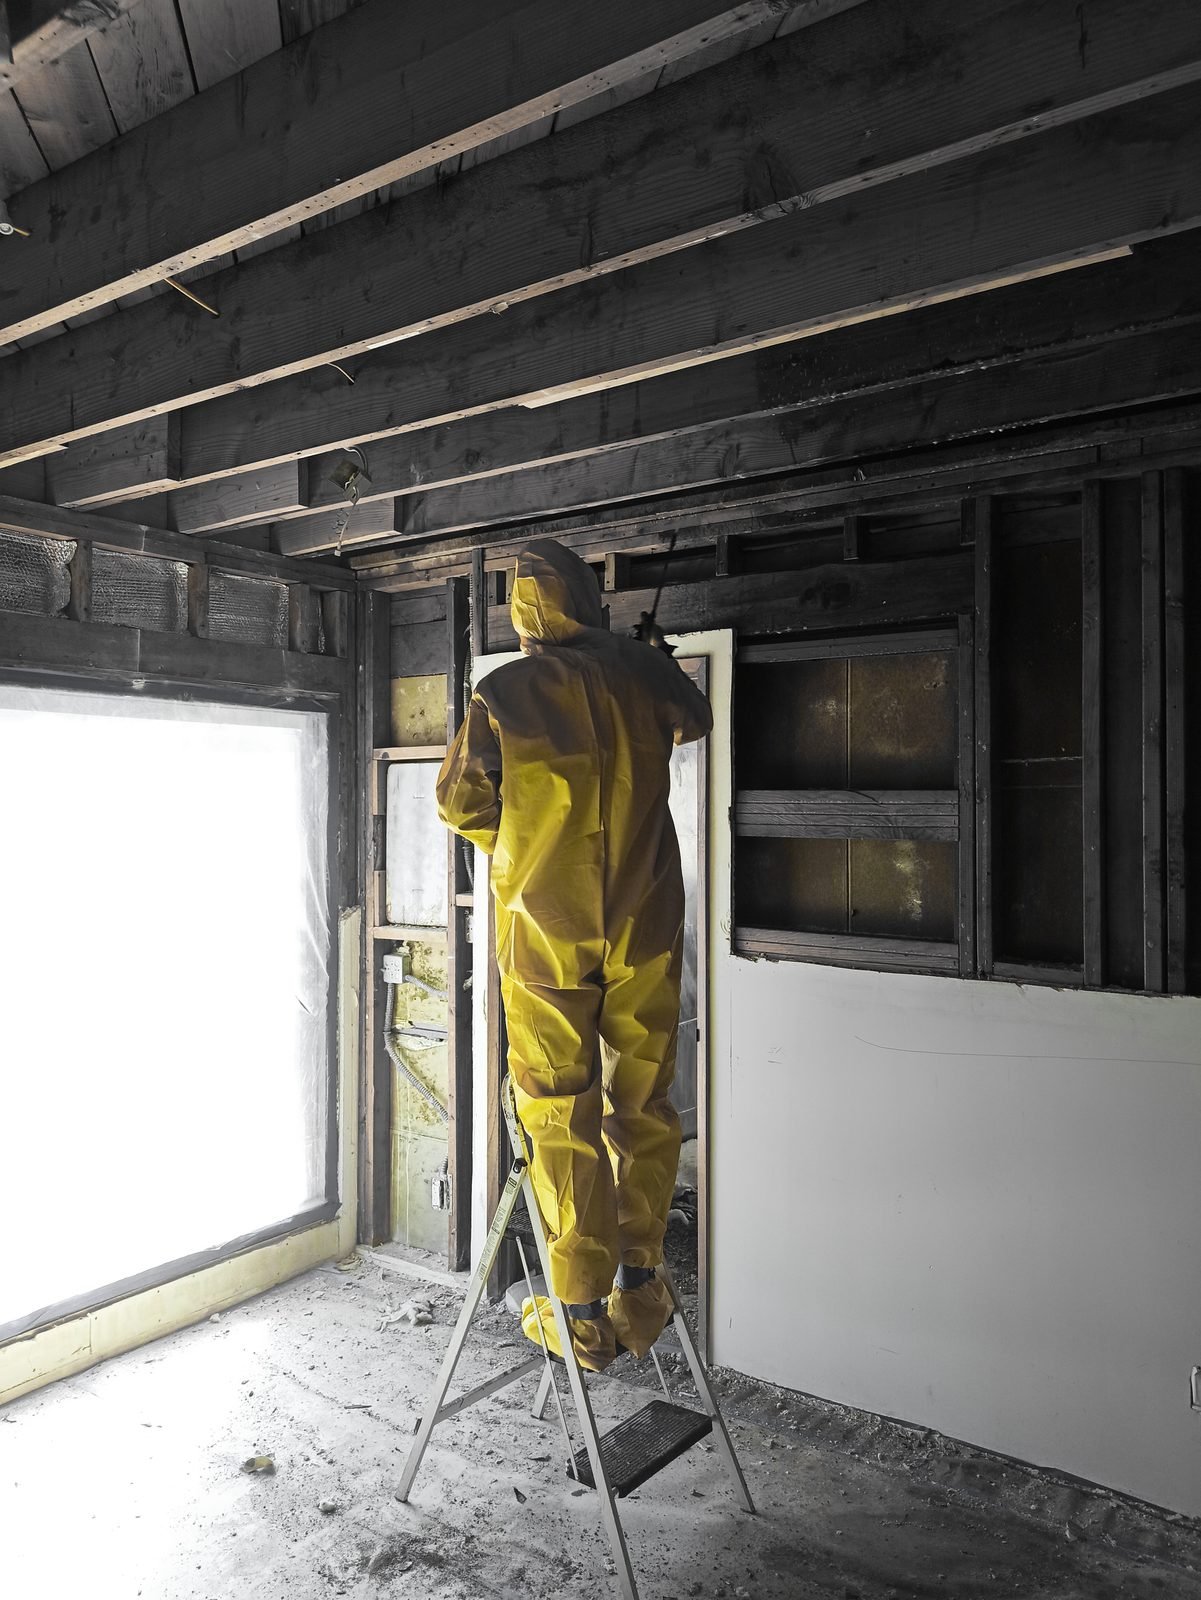
The main challenge was the amount of mold visible on structural framing and how close the contamination was to the HVAC duct. Any airborne spores near the duct will spread through the whole house the next time the system runs.
Why Full Remediation Was Necessary
Before the work started, black mold was visible on multiple surfaces:
- Framing studs and top plates
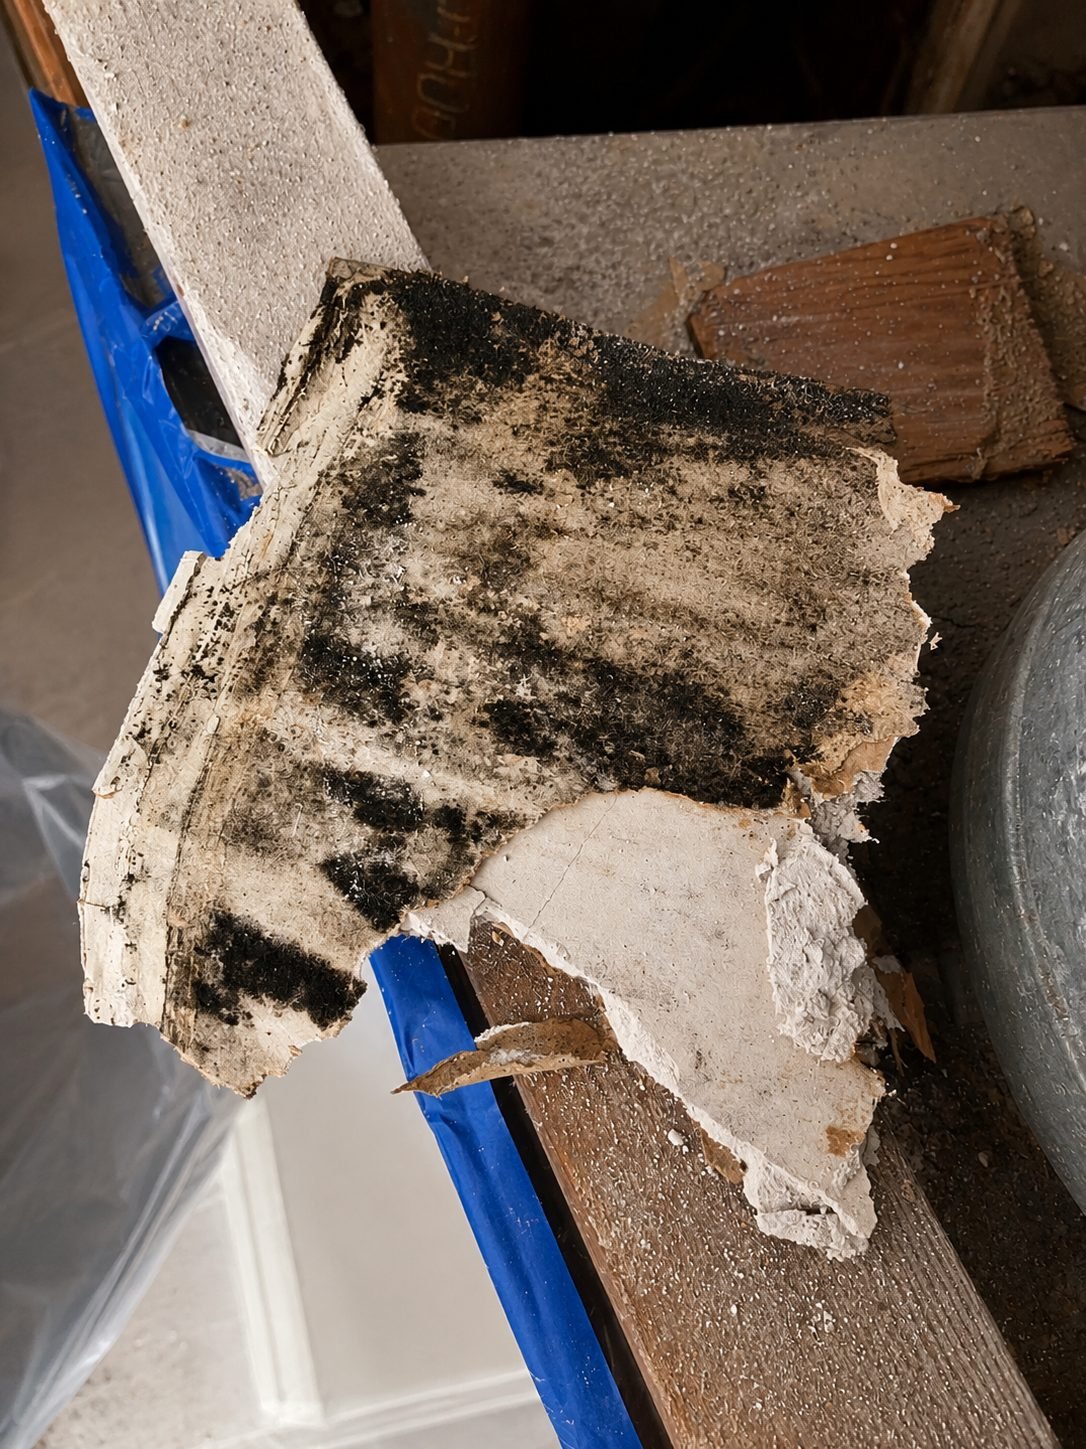
- The back side of drywall panels
- OSB or plywood sheathing
- Insulation batts
- Wood surrounding the HVAC penetration
When mold reaches this stage, painting over it, spraying bleach on it, or hiding it behind new drywall does not solve the problem. The spores are alive. As soon as moisture returns — a small roof leak, a plumbing drip, high humidity — the colony grows back through the finish.
The only lasting fix is:
- Contain the area so spores do not spread
- Remove every porous contaminated material (drywall, insulation, damaged wood sheathing)
- Physically clean and treat the remaining framing
- Verify the source of moisture is fixed before closing the walls
- Rebuild with fresh, dry materials
That is what this project did.
Containment and Personal Protection
Before any material was disturbed, the work area was sealed off from the rest of the home. Doorways were closed with plastic sheeting and blue tape. Adjacent rooms were protected so that mold spores released during demolition would not travel through the house.
Every worker inside the containment area wore full PPE:
- Disposable Tyvek coverall with hood
- Half-face respirator with P100 (pink) cartridges — the level required for mold spores
- Sealed safety glasses
- Chemical-resistant gloves over cut-resistant liners
- Shoe covers, changed when leaving the containment
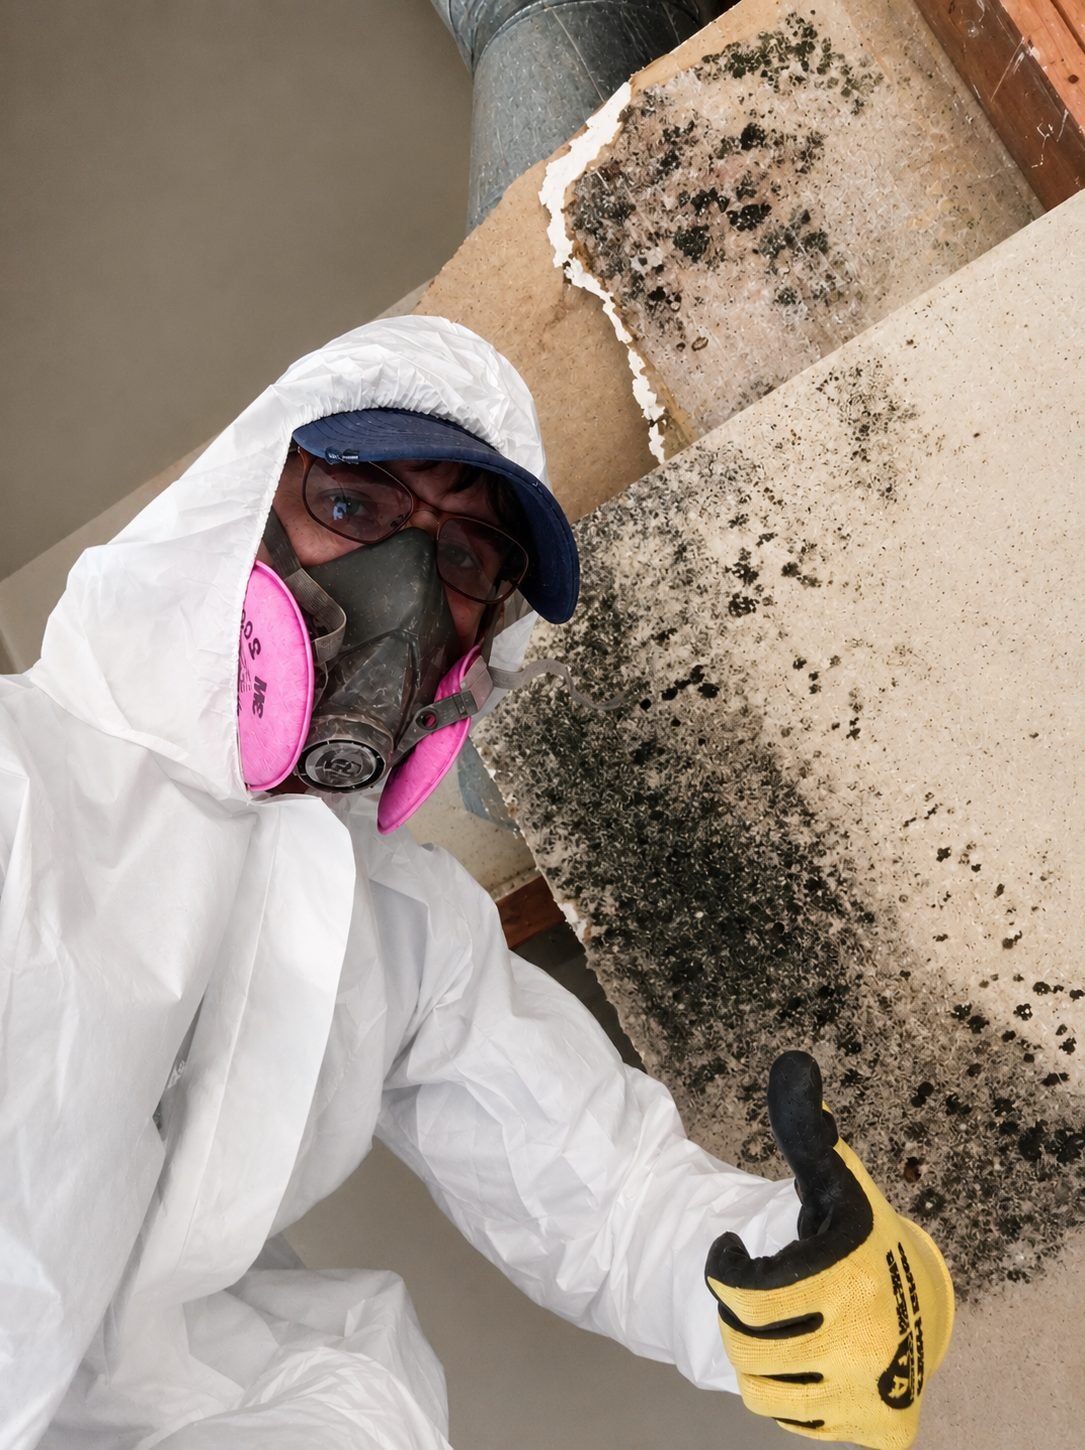
This looks like overkill until you see the mold up close. The affected drywall panels were covered in dense black spots — the kind of active surface growth that releases spores the moment it is touched or cut. Without a respirator, that is what you breathe. With one, it stays out of the lungs and off the skin.
Controlled Demolition
Contaminated materials were removed in a specific order to limit spore release:
- HEPA-vacuum the surface first, wherever possible
- Mist lightly with water or an approved surfactant to knock down loose spores
- Cut drywall in manageable sections instead of ripping
- Bag each section immediately in heavy contractor bags
- Seal the bag inside the containment, then wipe it down before it leaves
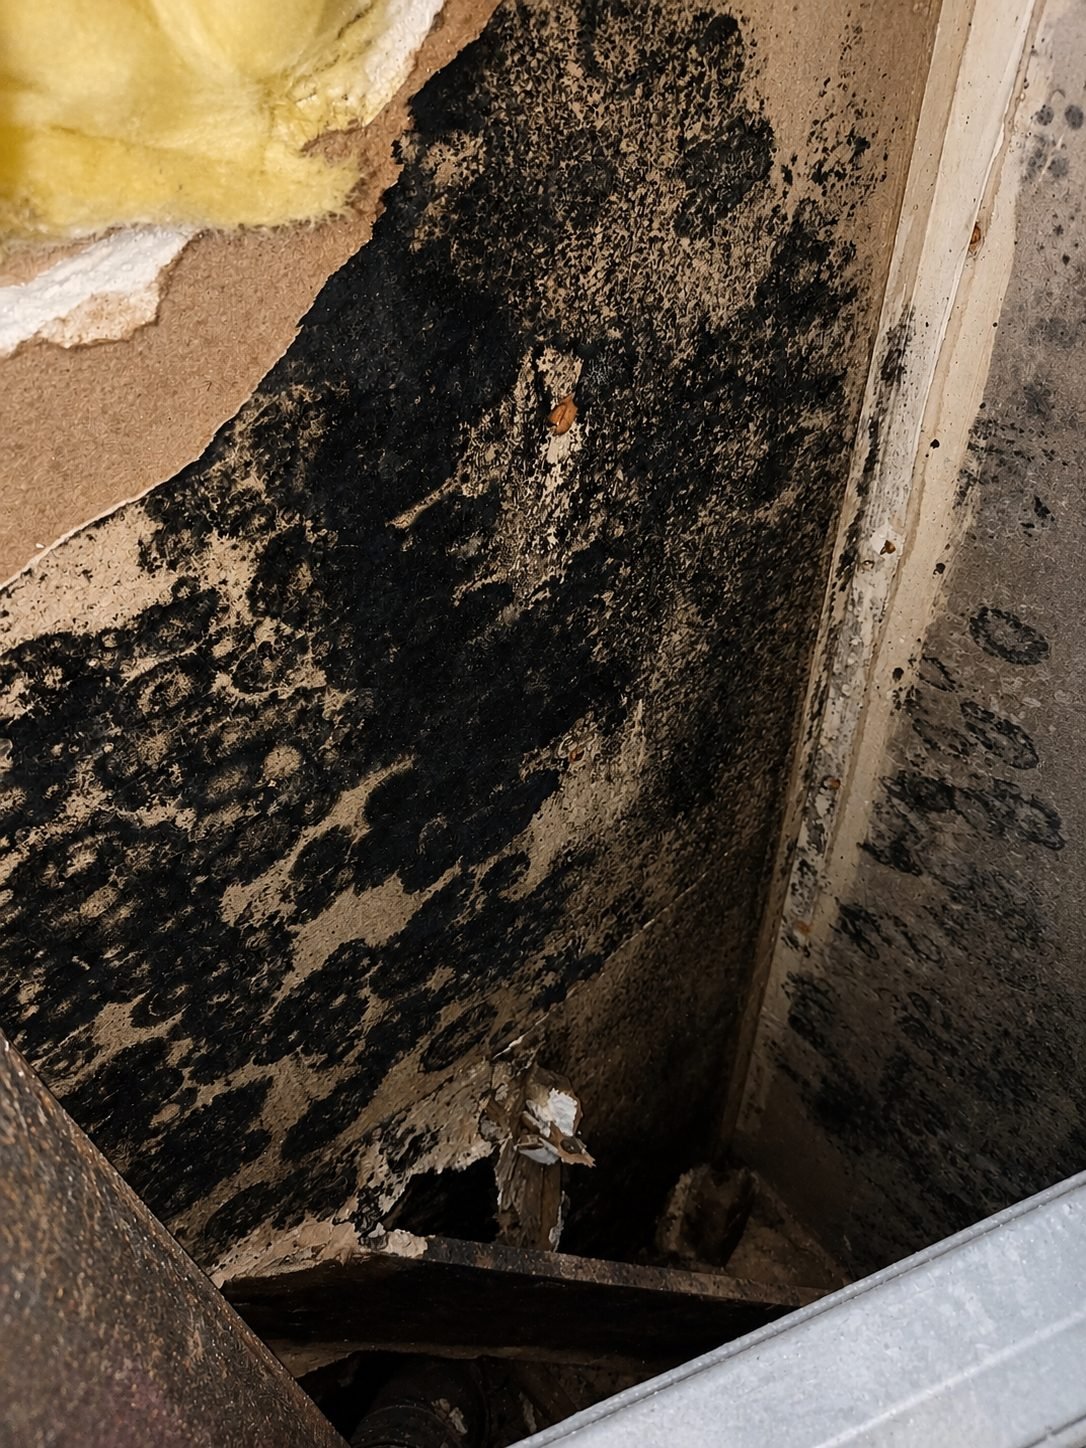
Contaminated insulation was pulled out and bagged the same way. Any wood sheathing that had gone soft or was too deeply colonized to save was cut out and replaced. Framing lumber that was still structurally sound was kept — it can be cleaned and treated in place.
At every stage, the goal was to keep the mess inside the containment. Once a piece of drywall or a batt of insulation leaves that bubble, spores travel with it.
HEPA Cleanup and Framing Treatment
After demolition, the exposed cavity was HEPA-vacuumed from top plates down to the subfloor. Regular shop vacs blow spores back into the air through the exhaust — a true HEPA unit does not, and that is the difference that matters on a mold job.
Once the cavity was vacuumed, the framing was cleaned and treated:
- Stiff-brush scrubbing on stained surfaces to remove surface growth
- Wipe-down with an antimicrobial cleaner rated for mold
- Time to fully dry
- Second inspection to confirm no remaining active growth
- Sealer or encapsulant on any lingering staining that could not be fully removed
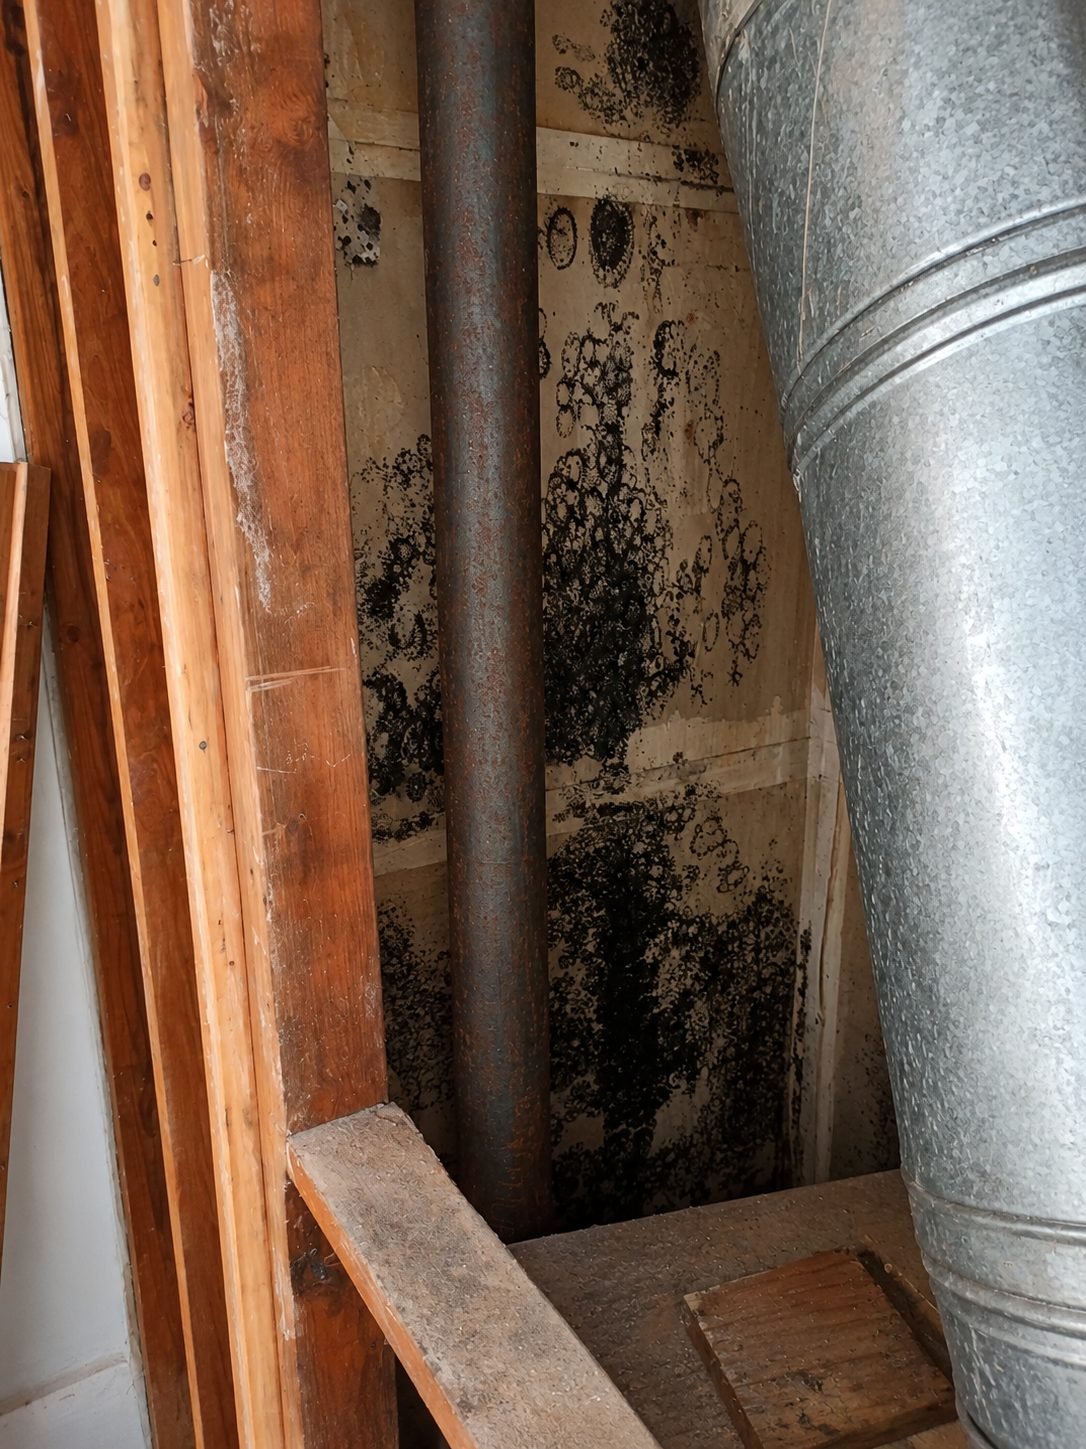
The result is exposed framing that is clean, dry, and safe to close in.
Working Near the HVAC Duct
The HVAC duct penetration was one of the highest-risk areas on this job. Ductwork moves air through the whole home. If mold spores get pulled into the return or blown out of the supply, contamination spreads room to room.
Because of that, the duct area got extra attention:
- The duct itself was inspected for visible growth on the exterior and at the seams
- The register or boot was sealed off during demolition so no debris entered the system
- The framing and drywall around the duct were the first areas cleaned after the panels came out
- The HVAC was kept off during active demolition to avoid pulling spores through the coil
If contamination is found inside the ductwork, that becomes a separate step — professional duct cleaning by a licensed HVAC contractor — before the system is turned back on.
Drying the Cavity Before Rebuild
Mold does not grow without moisture. If the cavity is closed back up while it is still damp, the problem returns.
Before any new insulation or drywall goes back in, the cavity has to be:
- Fully dry to the touch on all wood surfaces
- Verified with a moisture meter where possible
- Free of any active water source (patched roof leak, repaired plumbing, sealed exterior penetration, corrected condensation issue)
If the moisture source has not been identified and fixed, the whole remediation is wasted. This is the step most cheap mold jobs skip.
Preparing for Rebuild
Once the cavity was clean, dry, and treated, it was ready for the finish crew to come in and rebuild:
- Fresh insulation in the correct R-value
- New drywall, cut clean and screwed to the treated framing
- Taping, mudding, and sanding
- Primer rated for stain- and odor-blocking
- Finish paint
At that point, the room can look brand new — and stay that way, because the underlying problem was actually solved instead of hidden.
Why This Kind of Work Matters in Older LA Homes
Los Angeles has a lot of housing stock built decades ago. Many of those homes have:
- Original single-pane windows and gaps around trim
- Old roofing that has been patched more than replaced
- Plumbing that has been repaired but not fully re-run
- Framing that has already been through one or two water events
- HVAC systems that were added later, with penetrations that were never properly sealed
Any one of those situations can produce a slow moisture problem behind a wall, and it will grow mold before the homeowner ever sees a stain on the finish side. By the time you see it, it has usually been there for months.
Full remediation — containment, PPE, controlled demolition, HEPA cleanup, framing treatment, drying, and rebuild — is what actually resolves it.
What Homeowners Should Watch For
Common early signs of hidden mold:
- Musty smell that comes and goes with the weather or the HVAC cycle
- Peeling paint or bubbling drywall in one specific spot
- Discoloration around window frames, baseboards, or HVAC registers
- Recurring “dust” that shows up quickly after cleaning
- Unexplained allergy-type symptoms in one room of the house
Any of those, especially in a room that had a leak or moisture event in the past, is worth opening up and inspecting before the problem spreads.
Mold Remediation in Los Angeles
At ProHands Handyman, we work on interior mold remediation, water and moisture damage repair, drywall and framing restoration, HVAC-area cleanup, and full interior rebuild throughout Los Angeles and nearby areas.
We can help with:
- Interior mold cleanup and remediation
- Contaminated drywall and insulation removal
- Framing treatment and encapsulation
- Attic mold remediation
- Water damage repair
- Post-leak restoration
- HVAC-area disinfection
- Full interior rebuild after remediation
- Drywall, insulation, and paint work
- Moisture source diagnosis
Whether it is a small patch of hidden mold behind a bathroom wall or a full attic-and-room remediation like the project above, the same rules apply: contain it, remove it correctly, treat what stays, dry the cavity, then rebuild.
Conclusion
This project involved full mold remediation in an interior room and attic of an older Los Angeles home. The work included containment setup, full PPE, controlled removal of contaminated drywall and insulation, HEPA cleanup, antimicrobial treatment of the framing, HVAC-area protection, and full rebuild preparation.
The result is a clean, dry, treated cavity that is ready to be closed up with new insulation, drywall, and finish — without the mold coming back the first time it rains.
If you need mold remediation, water damage repair, drywall and framing restoration, or full post-remediation interior rebuild in Los Angeles, Glendale, Burbank, Pasadena, or nearby areas, ProHands Handyman can help.
Call or text ProHands Handyman: (818) 401-7766
Send us photos of the affected area, and we can help review the scope, walk through what remediation would look like, and provide an estimate.
Free Estimate · Glendale · Burbank · Pasadena