
Project Overview: Installing a Built-In Closet
A functional and stylish built-in closet can significantly improve a room’s organization and aesthetics. Here’s a detailed look at how we transformed a plain wall into a practical storage solution with a sleek built-in closet.
OUR WORKSINTERNAL REPAIRSDRYWALLPAINTING & STAININGDOORS
1/18/20251 min read
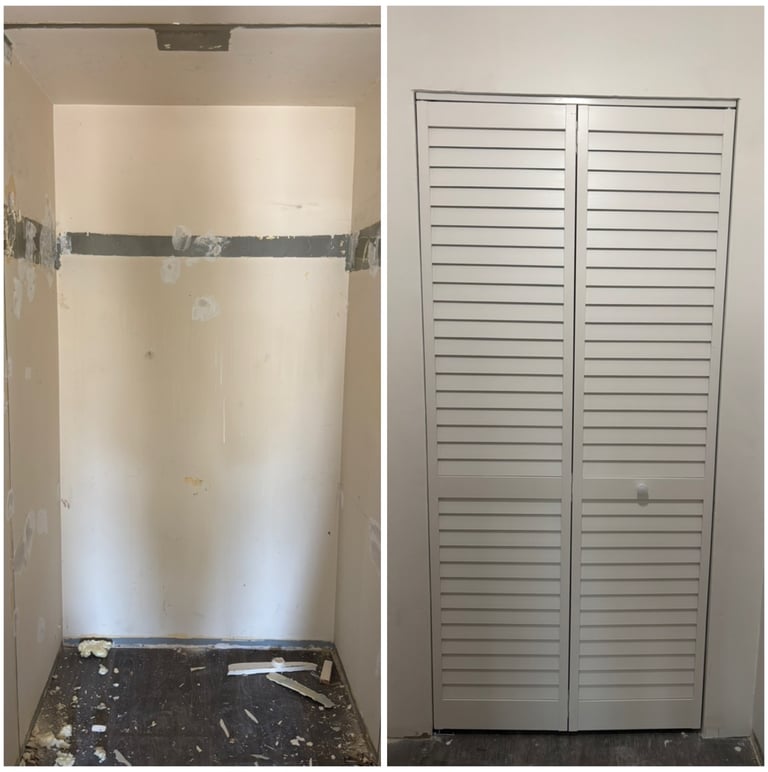
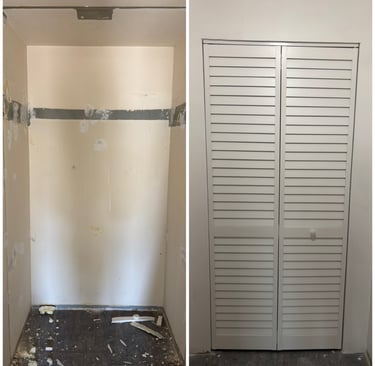
Before
• Condition: The space initially had a bare and unfinished look with visible imperfections and no storage functionality.
• Challenges: The walls required preparation, including patching holes, smoothing surfaces, and creating a precise framework for the closet doors.
Steps We Followed
1. Preparation
• Removed debris and old wall attachments.
• Repaired wall surfaces with putty and sanding to ensure a smooth and even base.
2. Framework Installation
• Measured the dimensions accurately to fit the closet doors seamlessly.
• Installed a sturdy framework to support the doors and create a balanced structure.
3. Door Selection and Installation
• Chose bi-fold louvered doors for a clean, modern look and ventilation.
• Installed the doors with precision to ensure smooth opening and closing.
4. Finishing Touches
• Painted the closet interior and doors in a neutral shade to match the room’s decor.
• Added a simple yet functional doorknob for ease of use.
After
The completed built-in closet features:
• Aesthetic Appeal: The sleek louvered doors add a modern and tidy look to the space.
• Functionality: Maximized storage potential without compromising room space.
• Durability: High-quality materials and precise installation ensure long-lasting performance.
Transform your living space with customized storage solutions. Contact ProHands Handyman:
• Phone: 818-401-7766
• Website: www.prohandshandyman.com
• Email: info@prohandshandyman.com