
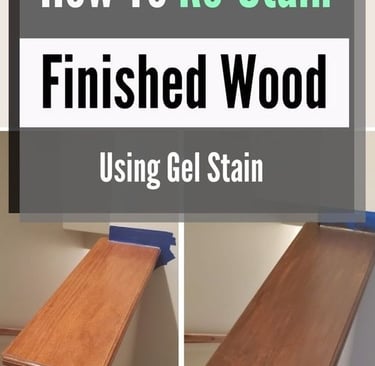
How to Re-Stain Finished Wood Using Gel Stain
If you want to give your finished wood a fresh new look without the hassle of completely sanding it down, gel stain is the perfect solution. This guide will walk you through the process of re-staining finished wood using gel stain to achieve a professional and long-lasting result.
ARTICLES
2/13/20251 min read

Why Choose Gel Stain?
Gel stain is an excellent choice for refinishing wood because:
It doesn’t require extensive sanding.
It provides even coverage without blotching.
It works well on finished surfaces, including previously stained or varnished wood.
It offers rich color with minimal effort.
Materials Needed:
Gel stain of your desired color
Sanding sponge (fine grit)
Lint-free cloths or rags
Foam brush or staining pad
Protective gloves
Wood cleaner or degreaser
Polyurethane or topcoat (optional for sealing)
Painter’s tape (to protect surrounding areas)
Step-by-Step Guide to Re-Staining Wood
Step 1: Prepare the Surface
Clean the wood surface thoroughly with a wood cleaner or degreaser to remove dirt, grease, or wax buildup. If the wood has a glossy finish, lightly scuff it with a fine-grit sanding sponge to help the stain adhere better.
Step 2: Protect Surrounding Areas
Use painter’s tape to cover any areas you don’t want to stain, such as walls or adjacent furniture.
Step 3: Apply the Gel Stain
Using a foam brush or staining pad, apply a thin and even coat of gel stain following the grain of the wood. Allow the stain to sit for a few minutes to penetrate the surface, then wipe off the excess with a lint-free cloth.
Step 4: Let the Stain Dry
Gel stain requires longer drying times than traditional stain. Follow the manufacturer’s instructions, but generally, allow it to dry for at least 24 hours before applying a second coat if needed.
Step 5: Apply Additional Coats (If Needed)
For a darker finish, repeat the staining process by adding another coat. Be sure to let each coat dry completely before applying the next.
Step 6: Seal the Surface (Optional)
To protect your newly stained wood, apply a polyurethane or topcoat. This adds durability and enhances the finish.
Final Thoughts
Re-staining finished wood with gel stain is an easy and effective way to refresh its appearance. With minimal sanding and effort, you can achieve a professional-grade finish and extend the life of your wood surfaces. If you need expert help with your home projects, feel free to contact me!
📞 Contact Me: 818-401-7766