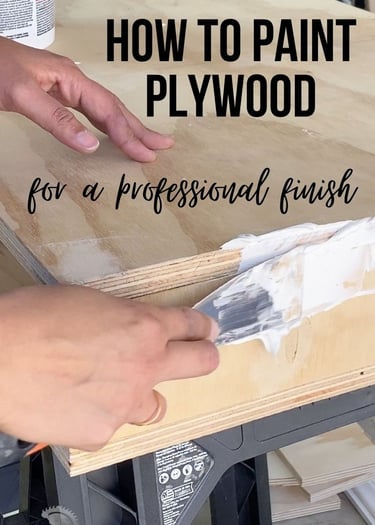
How to Paint Plywood for a Professional Finish
Painting plywood can seem tricky due to its porous surface and layers. However, with the right techniques and materials, you can achieve a smooth, professional finish. Follow this step-by-step guide to get the best results for your plywood painting project.
ARTICLES
2/9/20252 min read
Materials Needed:
Sandpaper (80-grit, 120-grit, and 220-grit)
Wood filler
Putty knife
Primer (preferably a wood primer)
Paint (latex, acrylic, or oil-based, depending on your project)
Paintbrush and roller (foam roller for smoother finishes)
Tack cloth or damp rag
Drop cloth or protective covering
Painter’s tape
Step-by-Step Instructions
1. Prepare Your Workspace
Lay down a drop cloth to protect your floors or work area.
Ensure the plywood is placed on a stable surface.
Use painter’s tape to mask off any edges or areas you don’t want painted.
2. Sand the Plywood
Start by sanding the surface with 80-grit sandpaper to remove rough patches and imperfections.
Progress to 120-grit sandpaper to smooth the surface further.
Finish with 220-grit sandpaper for a refined, even surface.
Wipe the surface clean with a tack cloth or damp rag to remove dust.
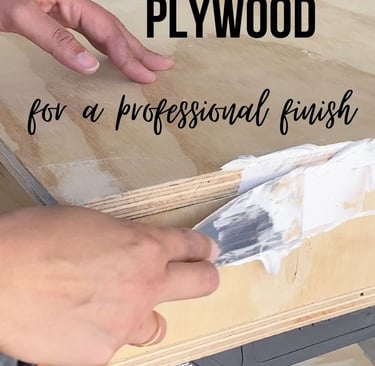
3. Fill Imperfections
Apply wood filler to any visible gaps, cracks, or knots using a putty knife.
Smooth the filler and allow it to dry completely, following the manufacturer’s instructions.
Sand the filled areas with 220-grit sandpaper for a seamless finish.
4. Apply Primer
Use a high-quality wood primer to seal the surface and ensure even paint application.
Apply the primer with a paintbrush for corners and edges, and a foam roller for large areas.
Allow the primer to dry completely before proceeding (check the primer’s label for drying time).
Lightly sand the primed surface with 220-grit sandpaper for a smooth base.
Wipe away any dust with a tack cloth.
5. Paint the Plywood
Choose a paint suitable for your project (latex or acrylic for indoor, oil-based for outdoor use).
Use a foam roller for a smooth finish on large areas and a paintbrush for corners and edges.
Apply thin, even coats of paint, allowing each coat to dry completely before applying the next.
Depending on the paint and desired finish, apply 2-3 coats for the best coverage.
6. Finishing Touches
Once the final coat is dry, inspect for any uneven areas and touch up as needed.
If desired, apply a clear polyurethane or varnish to protect the painted surface, especially for high-traffic or outdoor areas.
Tips for Success:
Always sand between coats to ensure a smooth finish.
Avoid overloading the roller or brush with paint to prevent drips and uneven application.
Work in a well-ventilated area to allow for proper drying.
For professional painting services or additional DIY tips, feel free to contact me! I’m here to help with all your home improvement needs.
Alex | ProHands Handyman
Phone: 818-401-7766
Email: info@prohandshandyman.com