
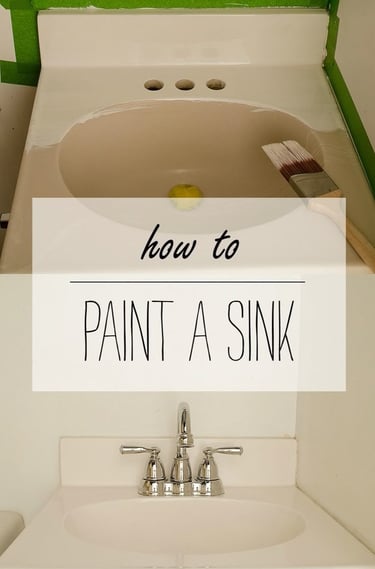
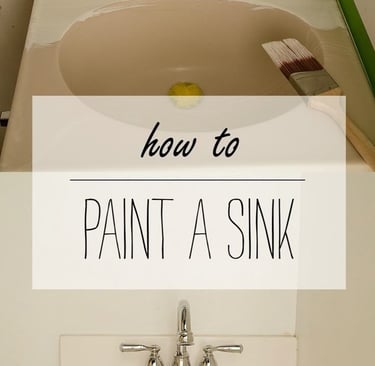
How to Paint a Sink: A Step-by-Step Guide
If your bathroom or kitchen sink looks outdated or stained but you’re not ready for a full replacement, painting it can be an affordable and effective solution. With the right materials and preparation, you can achieve a fresh, durable finish that revitalizes your sink. Follow this step-by-step guide to ensure a professional result.
ARTICLES
3/6/20251 min read
Why Paint a Sink?
Cost-Effective – A fraction of the cost of replacing a sink.
Restores Appearance – Covers stains, scratches, and discoloration.
Customizable – Choose any color to match your decor.
Increases Longevity – A protective coating extends the sink’s lifespan.
Materials Needed
Heavy-duty cleaner (degreaser or abrasive cleaner)
Sandpaper (400-600 grit)
Painter’s tape
Drop cloths or plastic sheeting
Epoxy-based sink paint or refinishing kit
Paintbrush or foam roller
Respirator mask and gloves
Clear protective topcoat (optional for added durability)
Step-by-Step Instructions
Step 1: Clean the Sink Thoroughly
Before painting, remove any soap scum, dirt, or grease using a heavy-duty cleaner. Rinse well and let it dry completely.
Step 2: Sand the Surface
Lightly sand the sink with 400-600 grit sandpaper to create a rough texture that helps the paint adhere. Wipe away dust with a clean, damp cloth.
Step 3: Protect Surrounding Areas
Use painter’s tape to mask off edges, drains, and faucets. Cover nearby surfaces with plastic sheeting or drop cloths to prevent accidental paint splatters.
Step 4: Apply the Epoxy Paint
Use a high-quality epoxy-based paint or sink refinishing kit designed for porcelain, ceramic, or metal.
Apply a thin, even coat with a foam roller or brush.
Let the first coat dry according to the manufacturer’s instructions, then apply a second coat if needed.
Step 5: Allow Proper Drying and Curing
Most sink paints require 24-48 hours to dry before light use.
Avoid using harsh cleaners for at least 7 days to allow the paint to fully cure.
If desired, apply a clear protective topcoat for added durability.
Maintenance Tips for a Painted Sink
Use non-abrasive cleaners to avoid damaging the surface.
Avoid scrubbing pads or harsh chemicals that may wear down the finish.
Prevent heavy impacts from dropping objects that could chip the paint.
Reapply a topcoat every few years to maintain shine and protection.
Need Professional Sink Refinishing?
While painting a sink can be a DIY project, achieving a flawless, long-lasting finish requires precision. If you prefer expert refinishing, ProHands Handyman offers professional sink restoration services for a durable and polished result.
📞 Call or text: 818-401-7766
📍 Serving Glendale, Burbank, Pasadena, and surrounding areas.
Contact us today for a free estimate and expert refinishing solutions!