
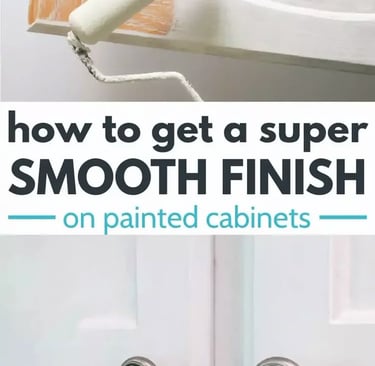
How to Get a Smooth Finish on Painted Cabinets
Painting cabinets is a great way to refresh your kitchen or bathroom without the cost of a full renovation. However, achieving a smooth, professional finish requires the right tools, techniques, and preparation. Follow this guide to ensure your cabinets look flawless and last for years.
ARTICLES
3/6/20252 min read
Why a Smooth Finish Matters
Professional Appearance – Eliminates brush marks and uneven textures.
Durability – A properly painted cabinet withstands daily wear and tear.
Easy Maintenance – Smooth surfaces are easier to clean and maintain.
Tools and Materials Needed
Degreaser or mild soap and water
Sandpaper (120-220 grit for prep, 320+ for smoothing between coats)
Tack cloth or microfiber cloth
Painter’s tape
Wood filler (if needed)
High-quality primer (bonding primer for laminate, stain-blocking primer for wood)
High-quality paint (enamel, acrylic, or alkyd-based)
Paint sprayer, foam roller, or high-quality brush
Polyurethane or polycrylic topcoat (optional for extra durability)
Step-by-Step Process
Step 1: Clean and Prep the Cabinets
Remove grease, dirt, and buildup with a degreaser.
Remove doors and hardware for better access.
Fill any holes or cracks with wood filler and sand smooth.
Tape off edges and surrounding areas to protect surfaces.
Step 2: Sand for a Smooth Base
Lightly sand the cabinet surfaces with 120-220 grit sandpaper.
Wipe off dust with a tack cloth before priming.
Step 3: Apply a High-Quality Primer
Use a bonding primer for laminate cabinets or a stain-blocking primer for wood.
Apply thin, even coats and let them dry completely.
Lightly sand between coats with 320+ grit sandpaper for extra smoothness.
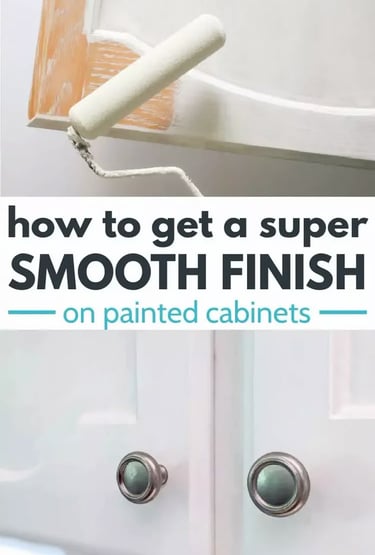
Step 4: Apply Paint Properly
Sprayer: Provides the smoothest, most professional finish.
Foam Roller: Best for a brush-stroke-free result.
Brush: Use a high-quality synthetic brush for detailed areas.
Apply multiple thin coats, allowing each to dry before applying the next.
Lightly sand between coats for a flawless surface.
Step 5: Seal with a Protective Topcoat (Optional)
Apply a polyurethane or polycrylic finish for extra durability.
Choose a matte, satin, or gloss finish based on your preference.
Pro Tips for a Perfect Finish
Work in a Dust-Free Area – Small particles can ruin a smooth finish.
Avoid Thick Layers – Multiple thin coats dry better and last longer.
Use a Tack Cloth Between Coats – Ensures no dust or debris affects the paint.
Let Paint Cure Fully – Cabinets need at least 7 days before heavy use.
Need Professional Cabinet Painting?
Achieving a smooth, durable cabinet finish takes time and skill. If you want professional-quality results, let ProHands Handyman handle the job for you.
📞 Call or text: 818-401-7766
📍 Serving Glendale, Burbank, Pasadena, Los Angeles, North Hollywood, West Hollywood, Sherman Oaks, Studio City, and surrounding areas.
Contact us today for a free estimate!