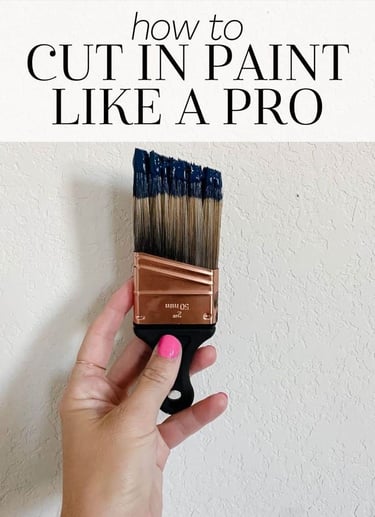
How to Cut in Paint Like a Pro
Cutting in paint is an essential skill for achieving clean, professional-looking edges when painting walls, ceilings, or trim. Whether you're painting a room, refreshing cabinets, or working on an accent wall, mastering this technique can save time and deliver a flawless finish. Here’s a step-by-step guide to help you cut in paint like a pro.
ARTICLES
2/11/20252 min read


What is Cutting In?
Cutting in refers to the technique of painting clean lines along the edges of surfaces—such as corners, ceilings, baseboards, and door frames—without using painter’s tape. This technique requires a steady hand and a high-quality brush but results in crisp, professional-looking edges.
Tools and Materials You'll Need:
Angled Paint Brush (2–2.5 inches): The angled bristles allow for better control and precision.
High-Quality Paint: Use the same paint as the rest of the wall for a seamless finish.
Painter’s Bucket: A small container or cut-in bucket is easier to manage than a large paint can.
Damp Rag: To quickly clean any mistakes.
Step Ladder: If you are working on ceilings or high areas.
Step-by-Step Guide to Cutting In Paint
Step 1: Prep the Area
Ensure the surface is clean and dry before you begin painting. Dust, dirt, or grease can affect paint adhesion and lead to uneven results. If necessary, wipe down the area with a damp cloth and allow it to dry completely.
Step 2: Load the Brush Properly
Dip only about one-third of the angled brush into the paint. Lightly tap the brush against the side of the bucket to remove excess paint. This prevents drips and gives better control over your strokes.
Step 3: Start with a Guiding Line
Begin about half an inch away from the edge and use a smooth, steady motion to draw a straight line. Then, go back over the line to bring the paint closer to the edge. This method helps prevent excess paint buildup along the edge.
Step 4: Use Long, Controlled Strokes
Keep a steady hand and use long, smooth strokes to maintain an even application. Avoid overloading the brush, as too much paint can create an uneven finish and cause bleeding onto adjacent surfaces.
Step 5: Blend the Cut-In Area with a Roller
Once you’ve cut in a section, immediately use a roller to blend the paint into the rest of the wall. This prevents visible brush marks and ensures a uniform appearance.
Step 6: Fix Any Mistakes Quickly
If you accidentally get paint where it shouldn’t be, wipe it off with a damp rag before it dries. A clean edge is key to achieving a professional result.
Tips for a Perfect Cut-In Paint Job
Practice on a Spare Surface: If you’re new to cutting in, try practicing on a spare board or cardboard to get a feel for the brush and technique.
Use a High-Quality Brush: Cheap brushes shed bristles and don’t provide the precision needed for clean edges.
Work in Sections: Cut in small areas at a time to prevent drying and visible seams.
Maintain a Light Touch: Pressing too hard can cause the bristles to spread, leading to uneven edges.
Use Painter’s Tape as a Guide (Optional): If you’re not confident in freehand cutting, apply painter’s tape to protect adjacent surfaces. Remove the tape while the paint is still wet for best results.
Final Thoughts
Mastering the art of cutting in paint takes practice, but with patience and the right tools, you can achieve professional-grade results without the hassle of taping. Whether you’re painting walls, trim, or ceilings, these techniques will help you create clean, sharp edges for a polished finish.
For expert painting services or home improvement assistance, contact Alex at 818-401-7766. Let’s bring your vision to life with precision and quality craftsmanship!
