
How to Cut Crown Molding Without a Miter Saw
Crown molding adds elegance and value to any room, but cutting it can be tricky, especially without a miter saw. Fortunately, you can achieve perfect angles using a miter box and a handsaw. Here’s a step-by-step guide on how to cut crown molding without a miter saw.
ARTICLES
2/28/20252 min read
1. Why Use a Miter Box?
Cost-Effective: A miter box is an affordable alternative to expensive power tools.
Precision: It provides precise angled cuts for perfect corner joints.
Easy to Use: It’s beginner-friendly and safer than a power saw.
2. Tools and Materials Needed
Tools:
Miter box and handsaw
Measuring tape
Pencil and paper
Sandpaper (for smoothing edges)
Materials:
Crown molding (wood or PVC)
Painter’s tape (optional, to reduce splintering)
3. Understanding Crown Molding Angles
Inside Corners: For inside corners, one piece is cut at an angle to fit against the other, which is cut straight.
Outside Corners: For outside corners, both pieces are cut at complementary angles to form a clean joint.
Common Angles: The most common crown molding angles are 45 degrees and 90 degrees. Double-check your corners before cutting.
4. How to Use a Miter Box for Crown Molding
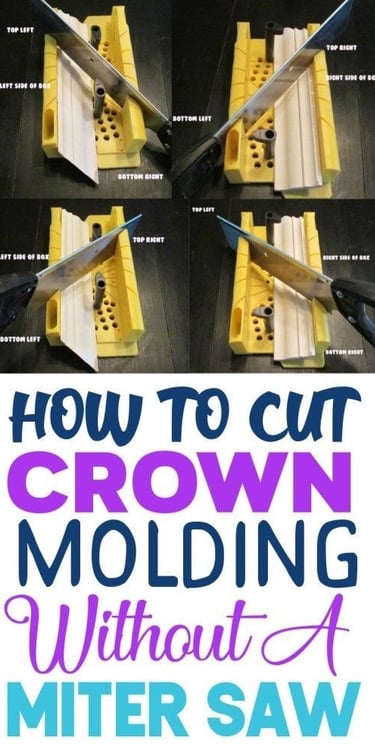
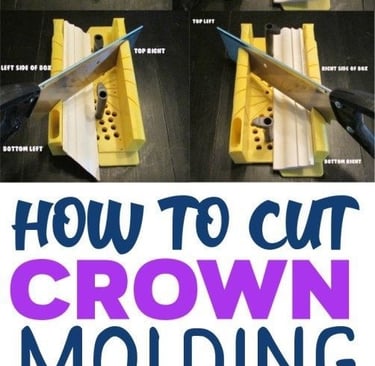
Positioning the Molding: Place the crown molding upside down in the miter box, with the flat edge against the back of the box. This simulates how it will sit on the wall.
Secure the Molding: Use clamps or hold the molding firmly to prevent movement while cutting.
Cutting Inside Corners:
Left Side of the Box: Cut at a 45-degree angle from left to right.
Right Side of the Box: Cut at a 45-degree angle from right to left.
Cutting Outside Corners:
Left Side of the Box: Cut at a 45-degree angle from right to left.
Right Side of the Box: Cut at a 45-degree angle from left to right.
Cutting Flat Ends: For straight cuts (e.g., for wall ends), use the 90-degree slot on the miter box.
5. Tips for Perfect Cuts
Use Painter’s Tape: Apply painter’s tape along the cut line to minimize splintering.
Sand the Edges: Smooth rough edges with sandpaper for a seamless fit.
Test Fit: Before installing, test fit the pieces to ensure accurate joints.
Take Your Time: Cutting crown molding requires patience and precision—measure twice, cut once!
6. Installing Crown Molding
Mark the Wall: Mark the wall where each piece of crown molding will be installed.
Apply Adhesive: Apply construction adhesive to the back of the molding for extra security.
Nail in Place: Secure the molding to the wall using finishing nails and a hammer or nail gun.
Fill Gaps: Fill any gaps with caulk and touch up with paint for a flawless finish.
Need Professional Help?
Cutting and installing crown molding can be challenging, especially for beginners. If you want perfectly mitered joints without the hassle, contact ProHands Handyman. Our team provides expert crown molding installation services for a polished and professional look.
📞 Call or text: 818-401-7766
📍 Serving Glendale, Burbank, Pasadena, and surrounding areas.
Contact us today for a free estimate and professional installation!