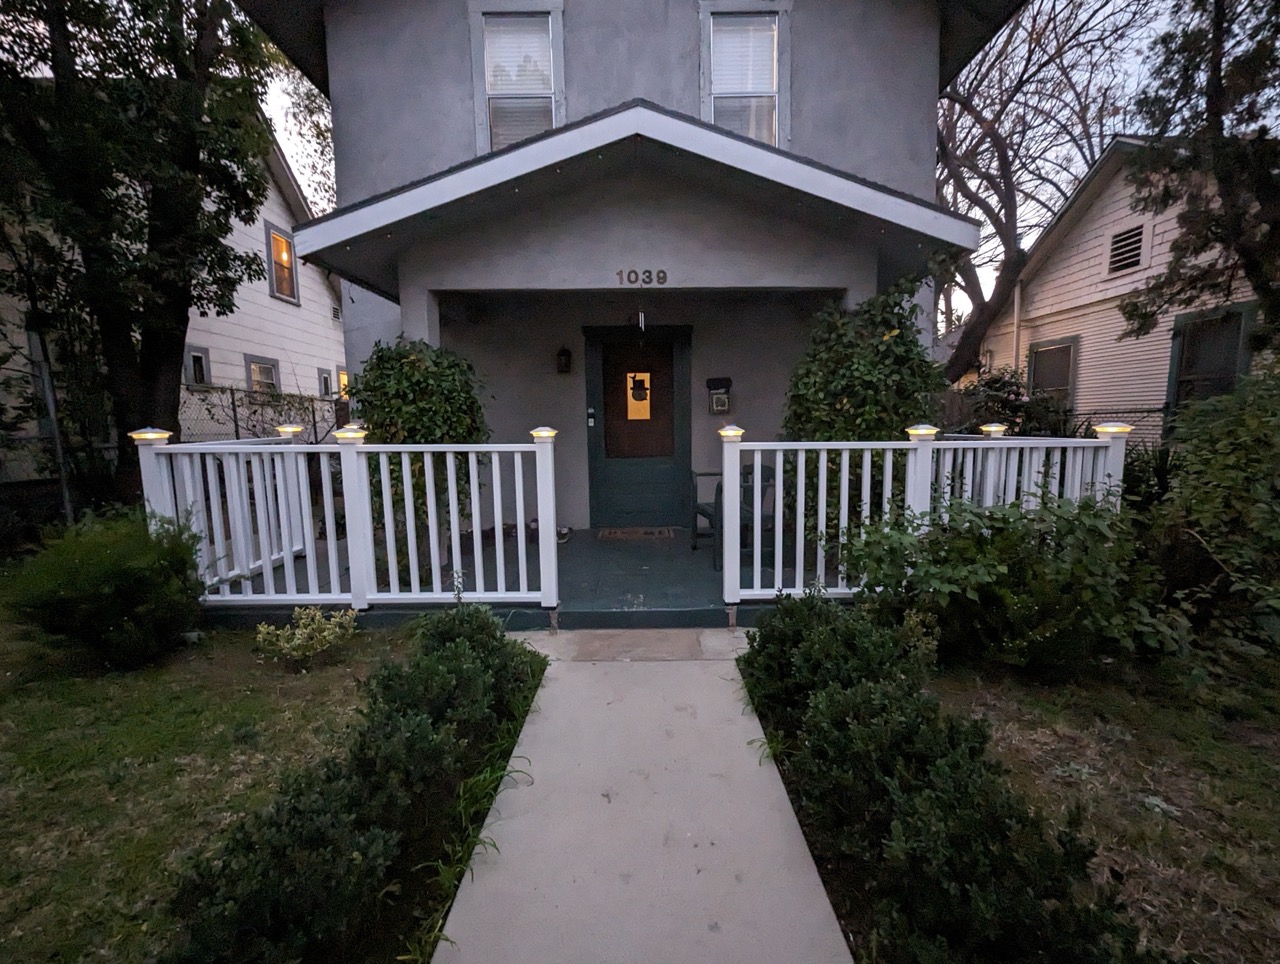
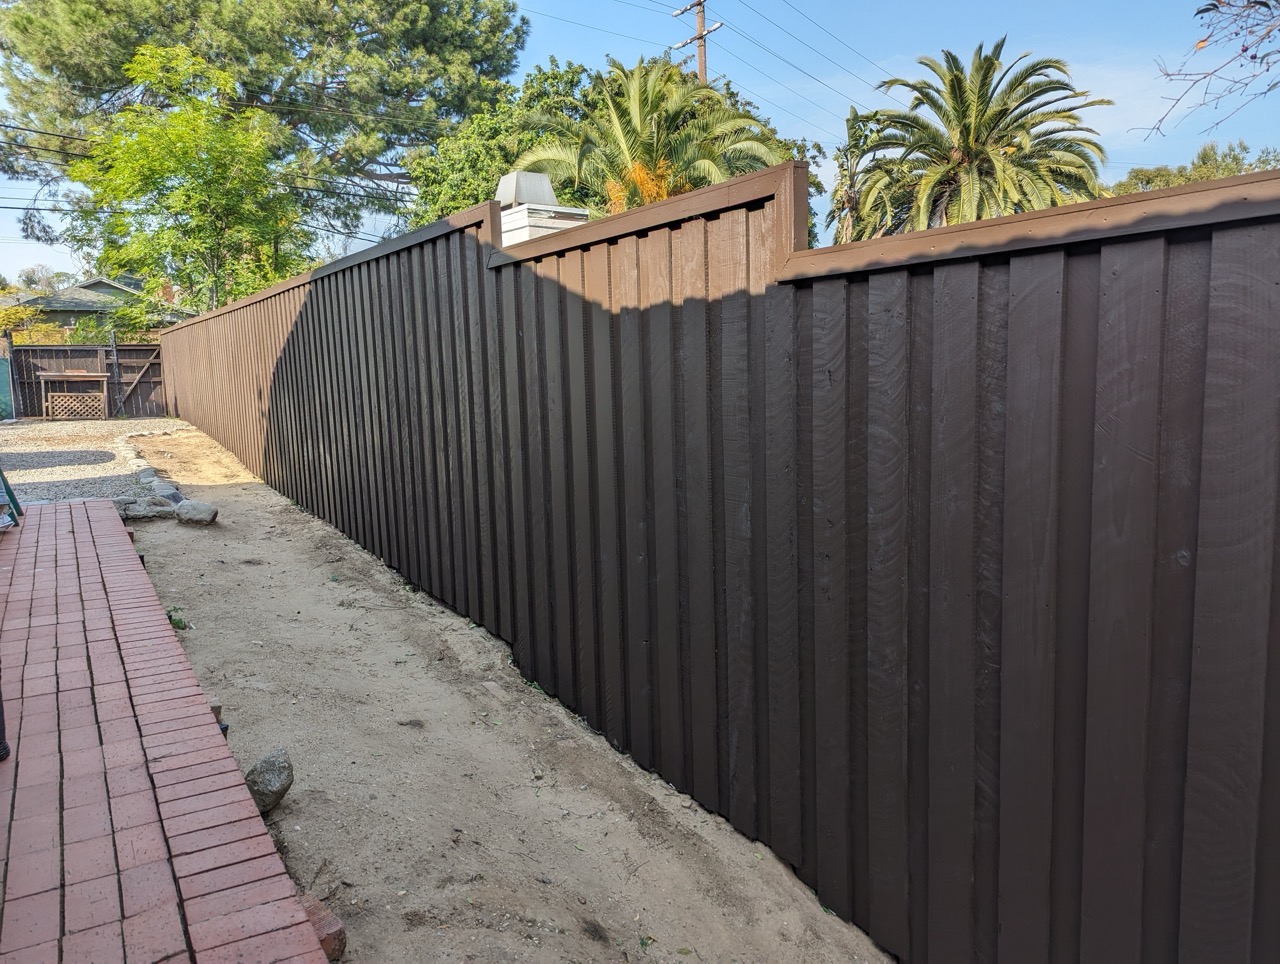
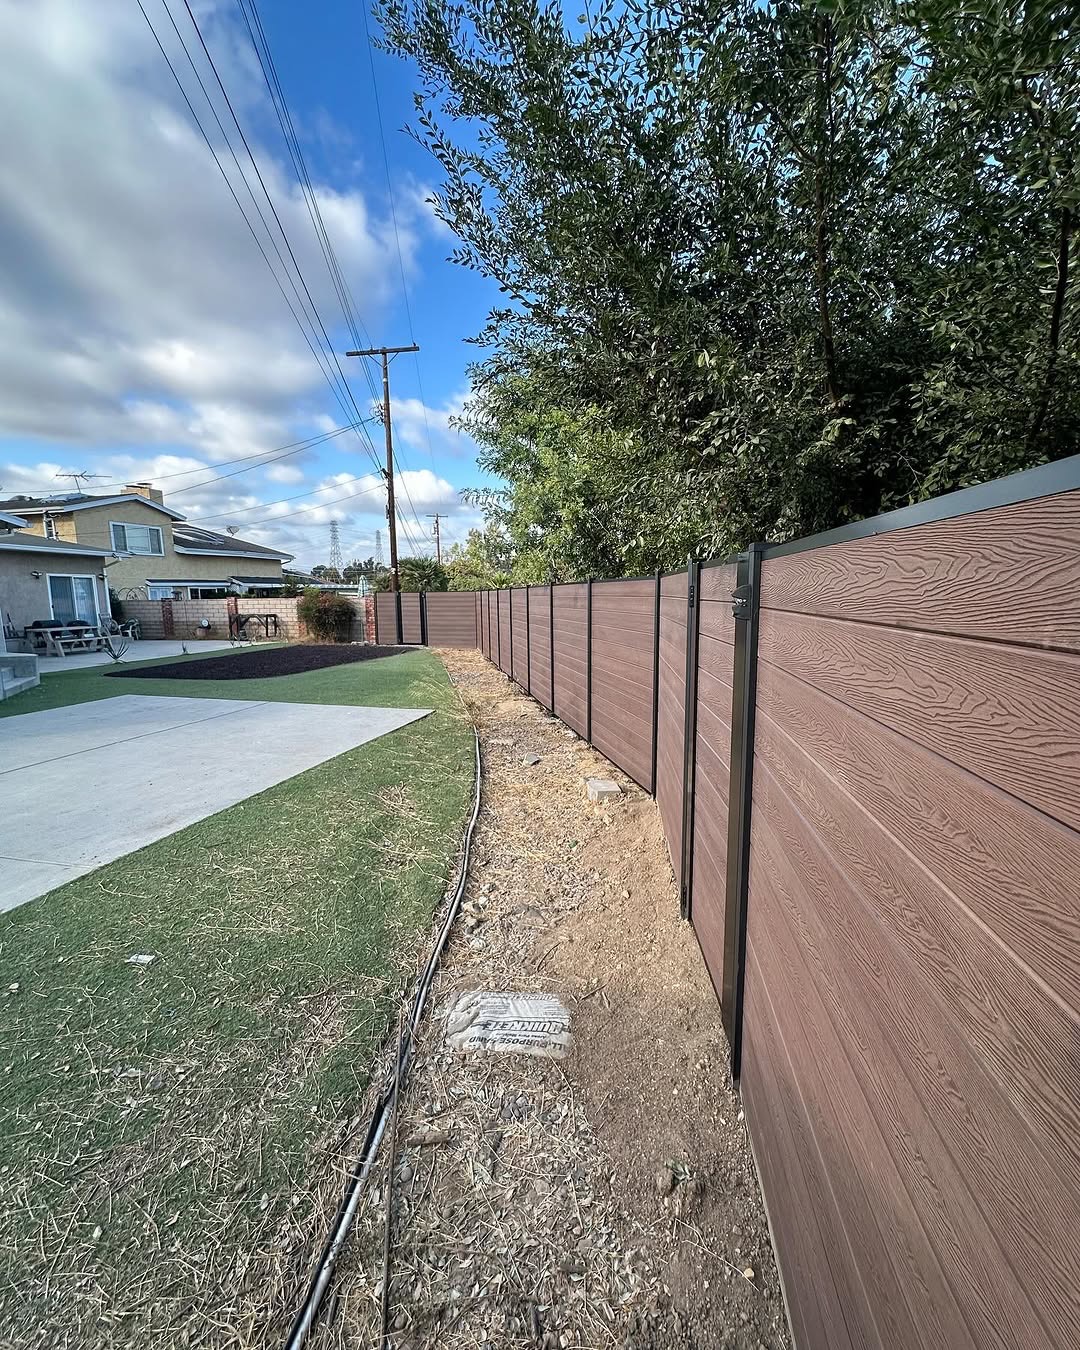
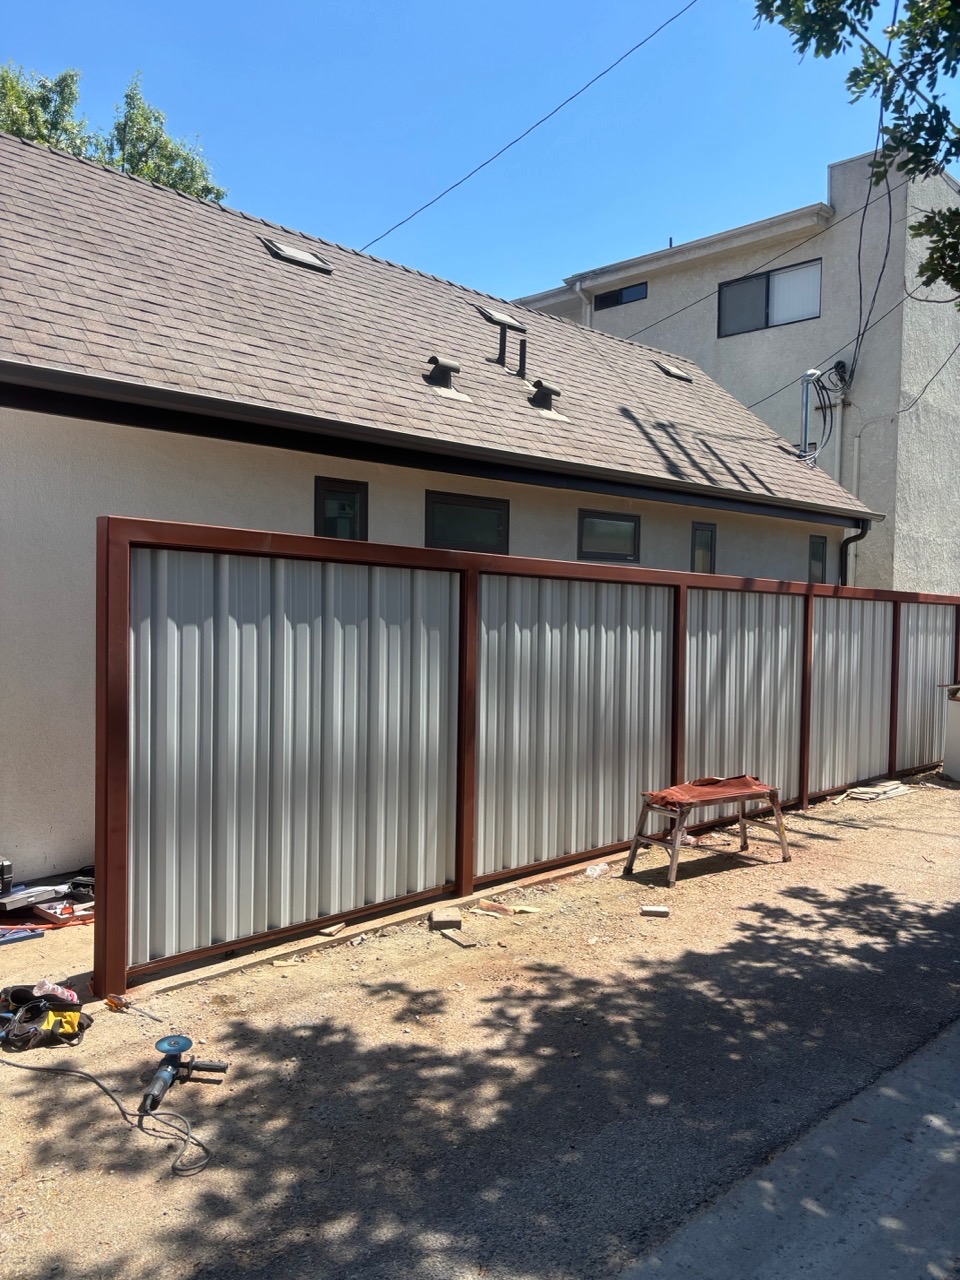
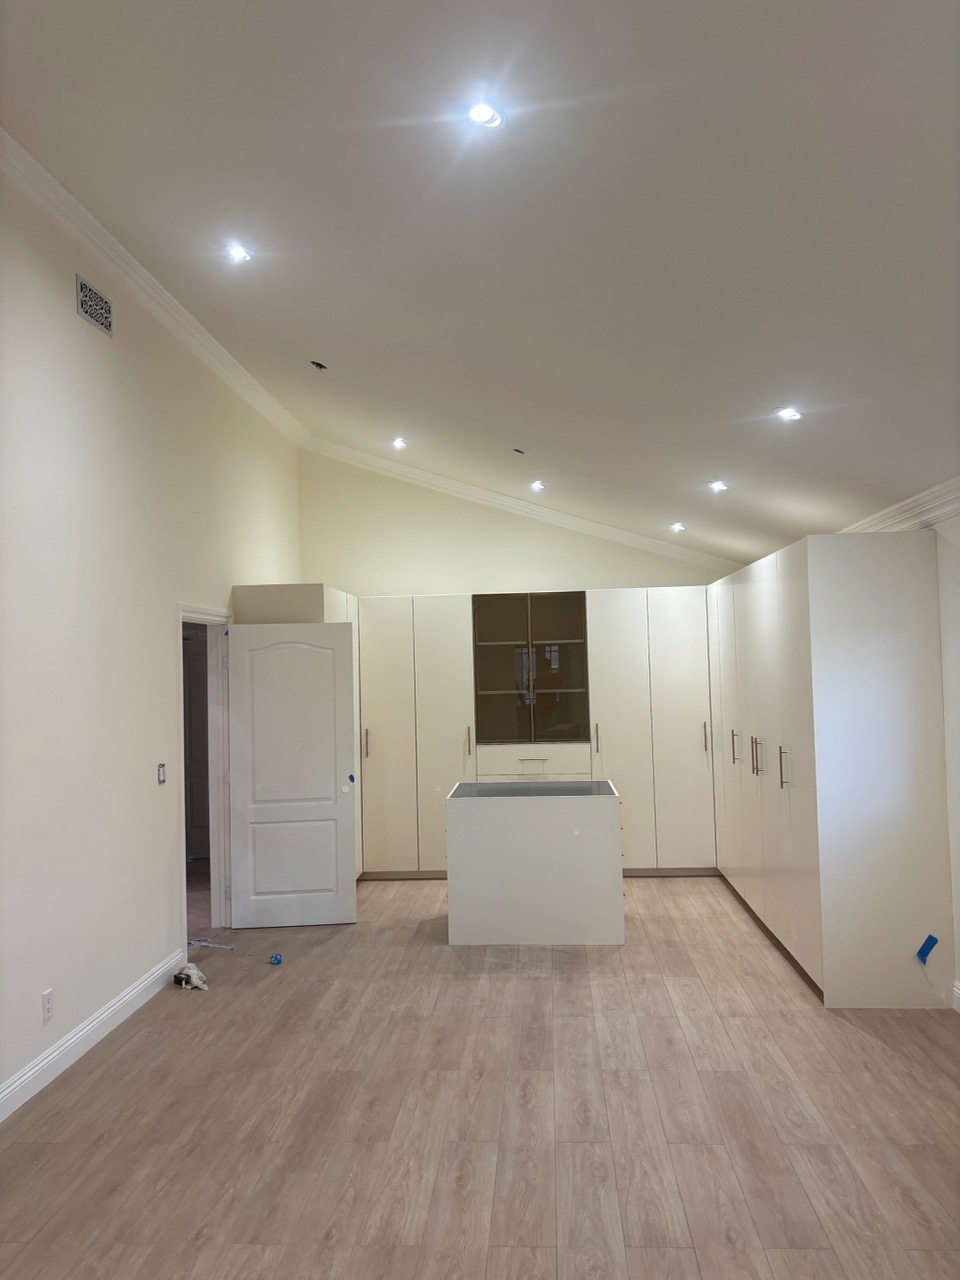
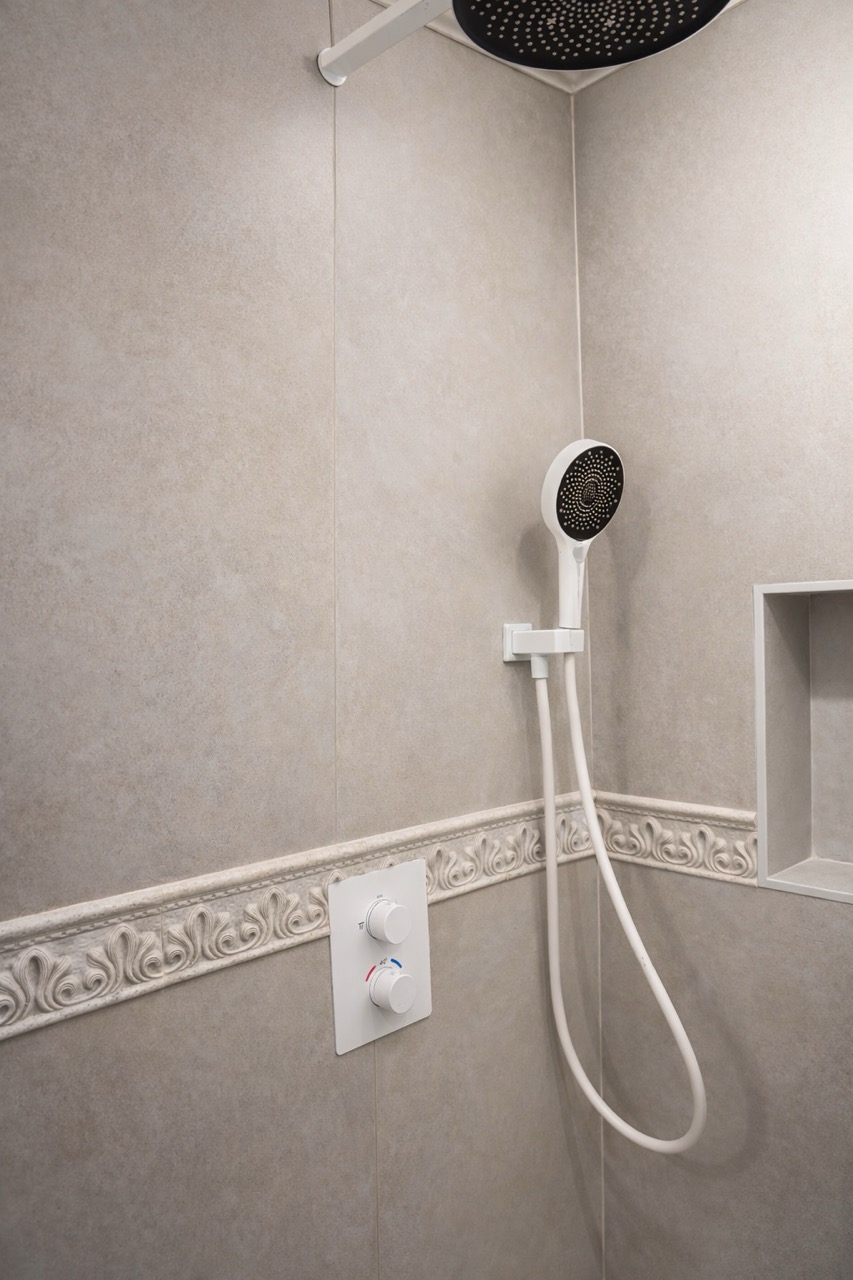
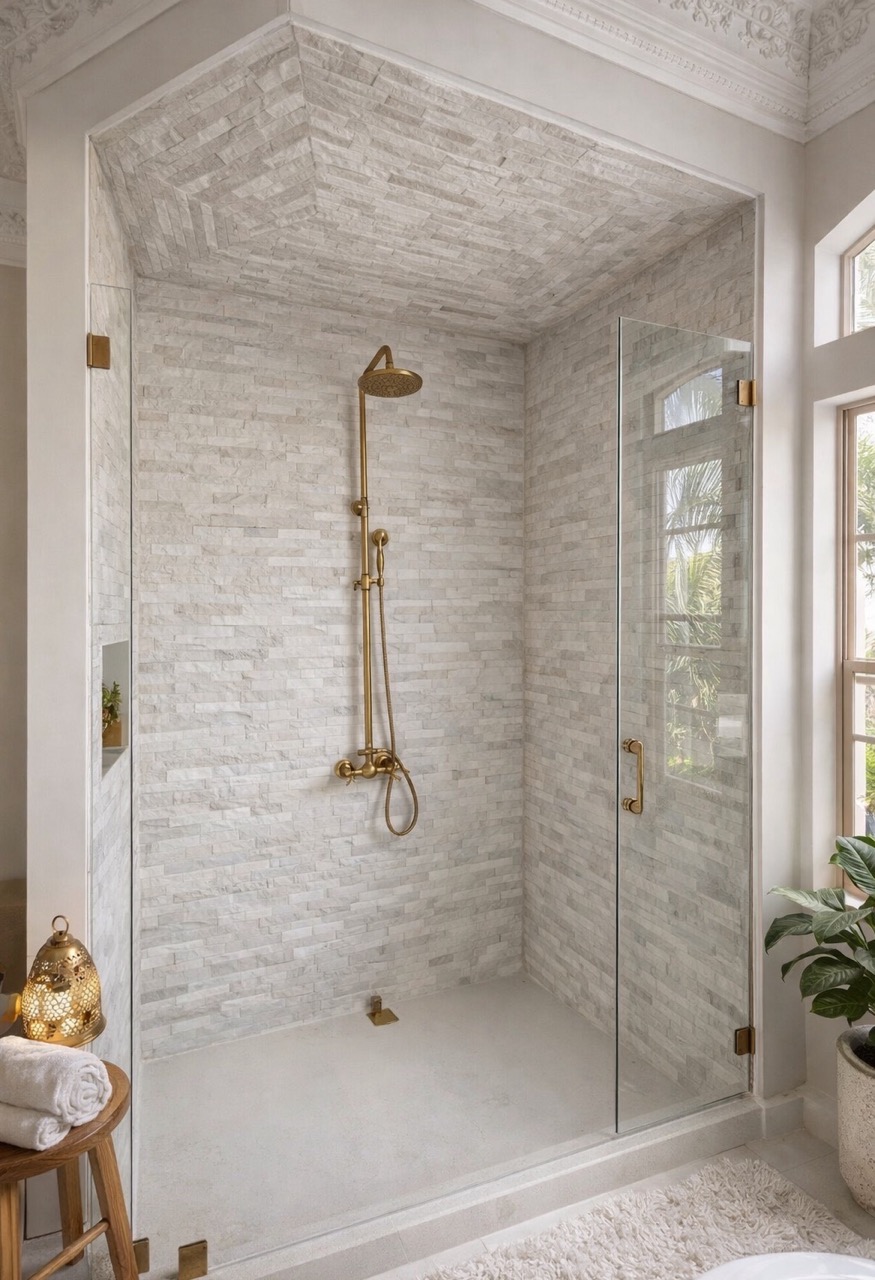
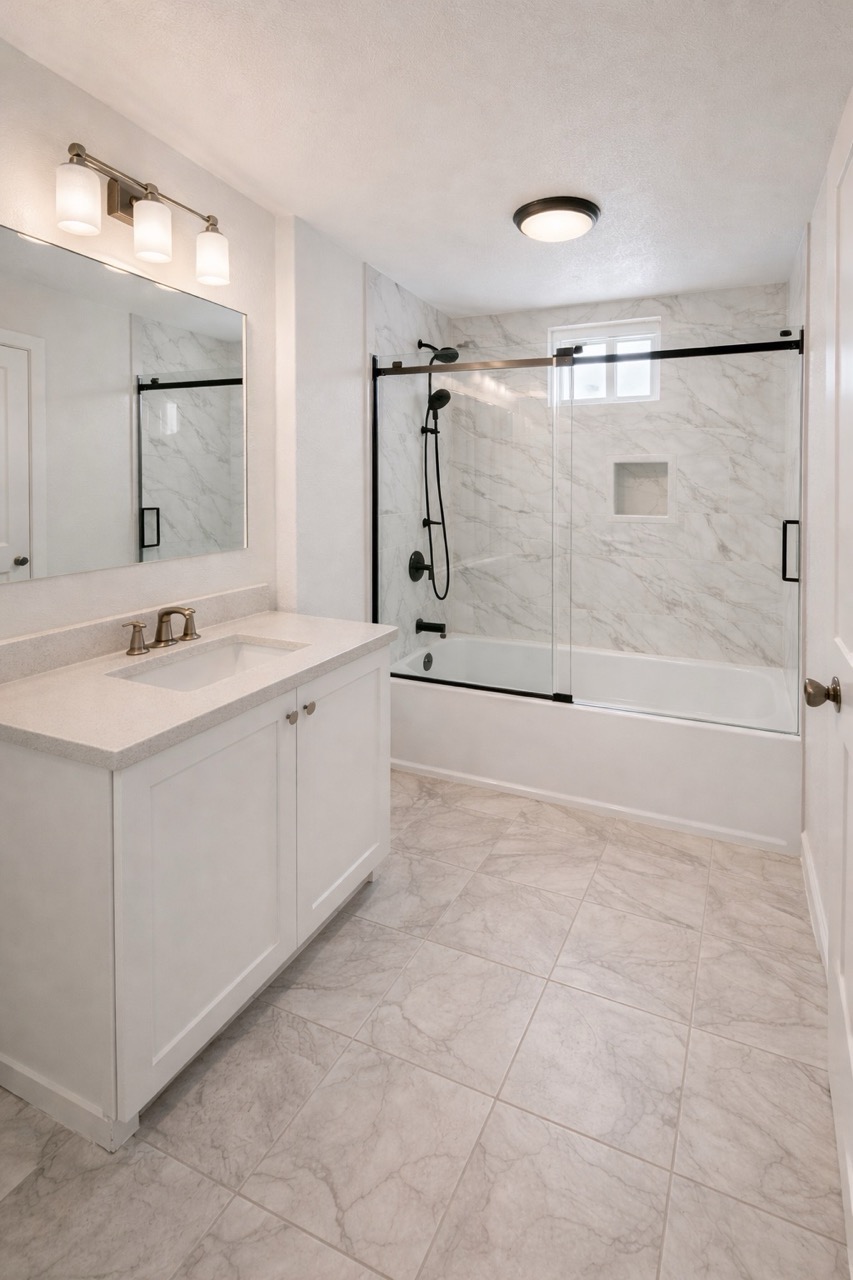
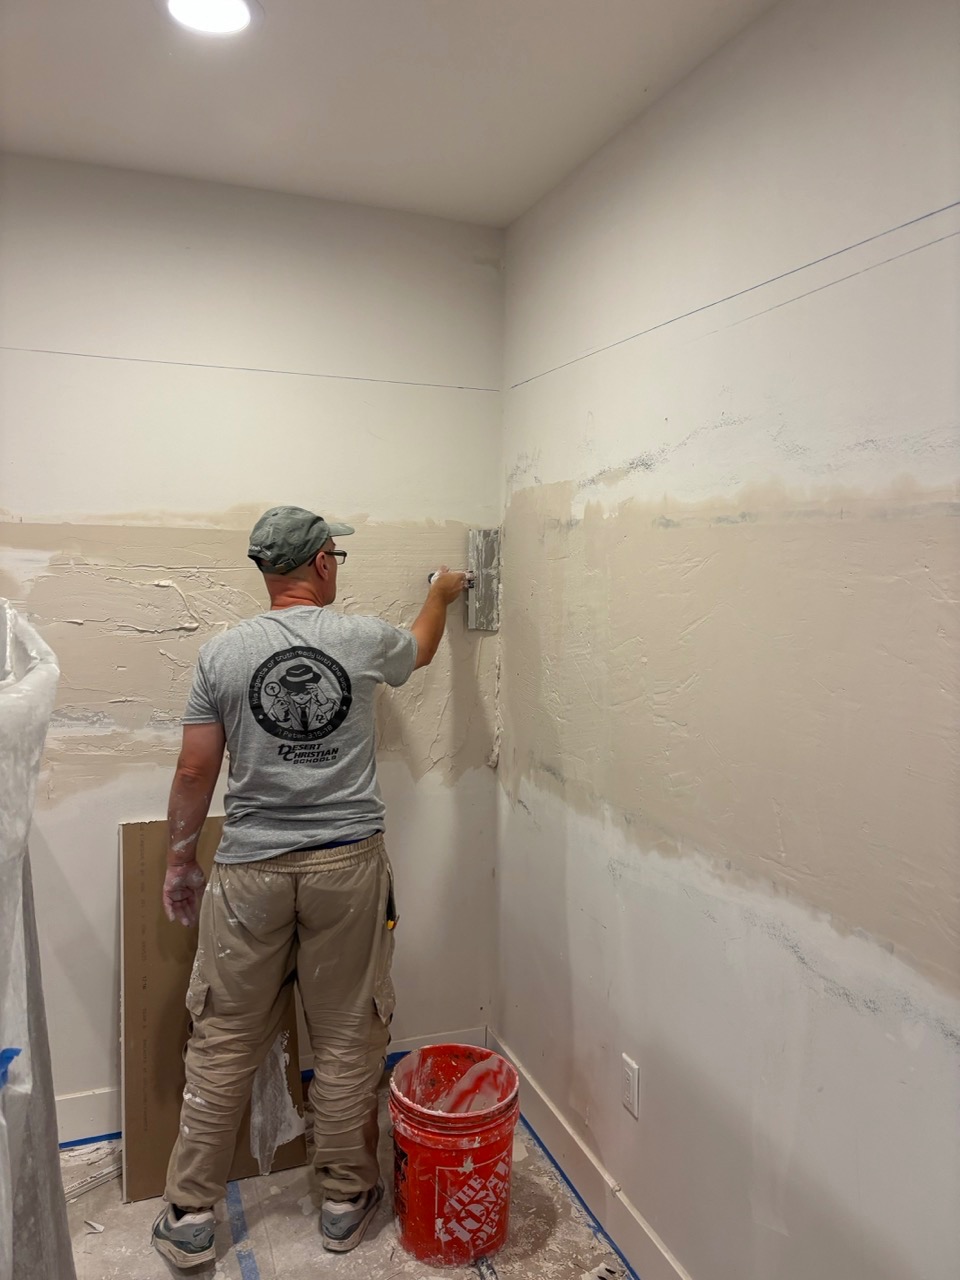
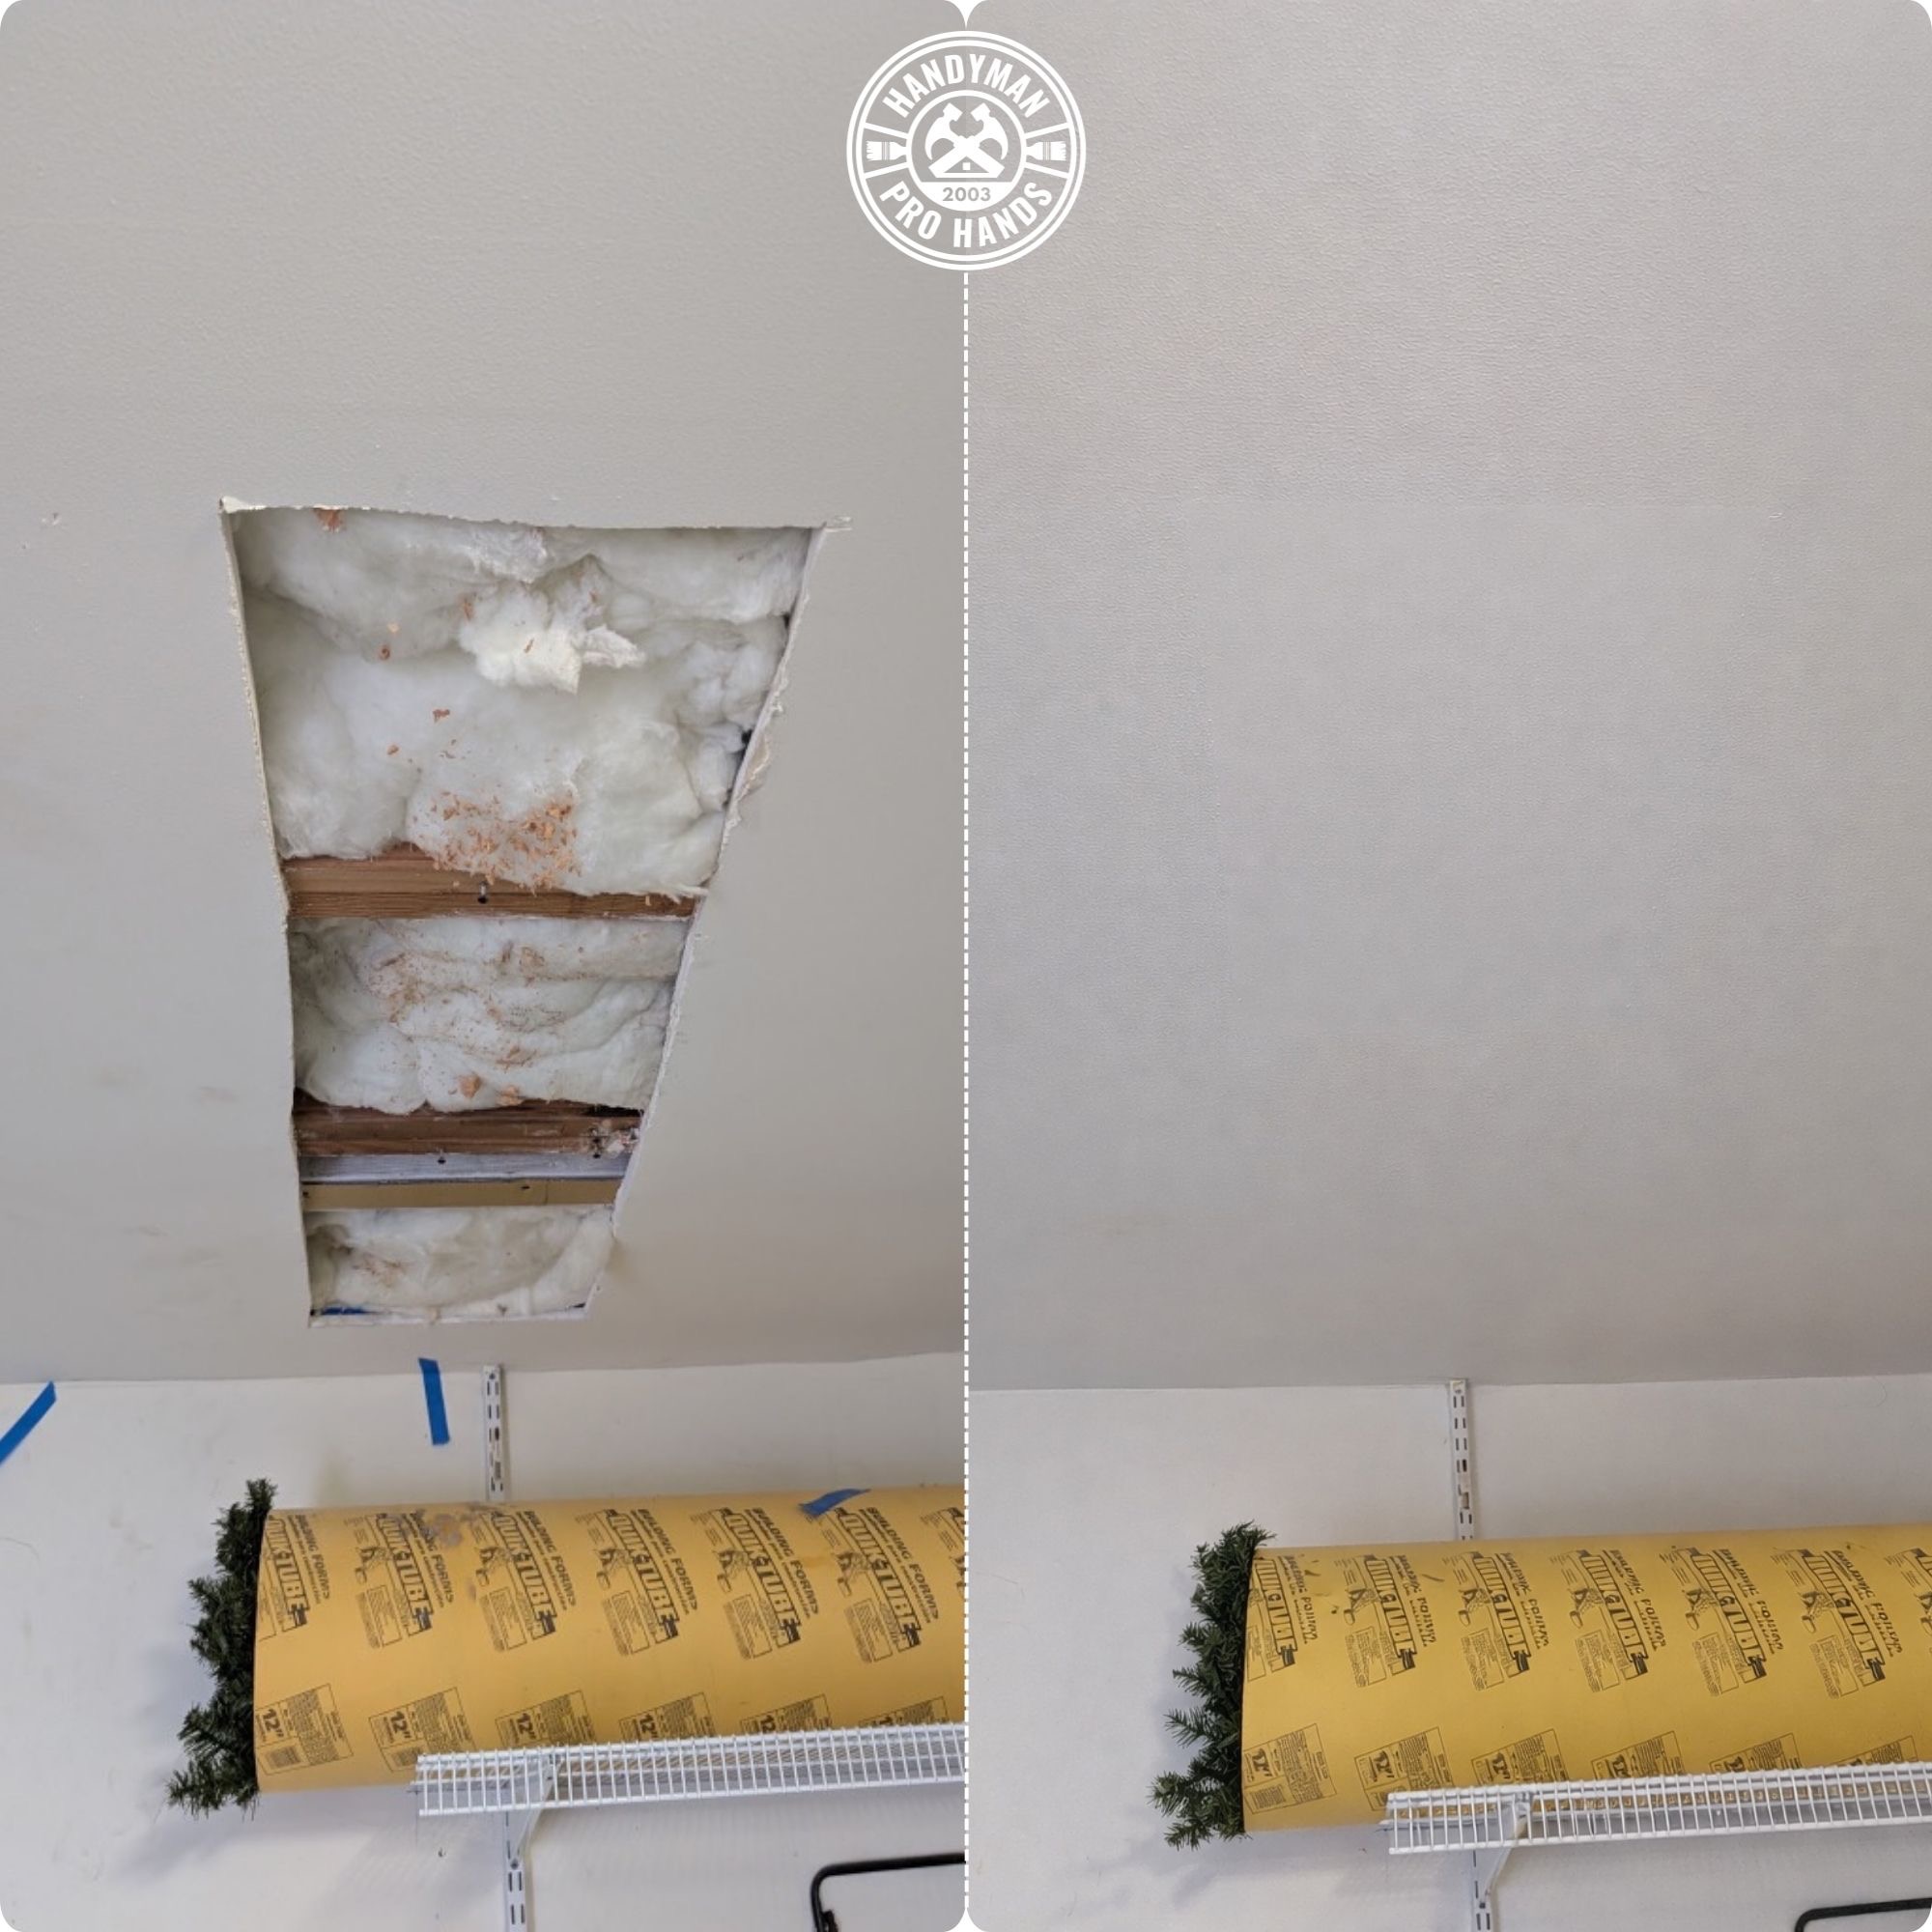
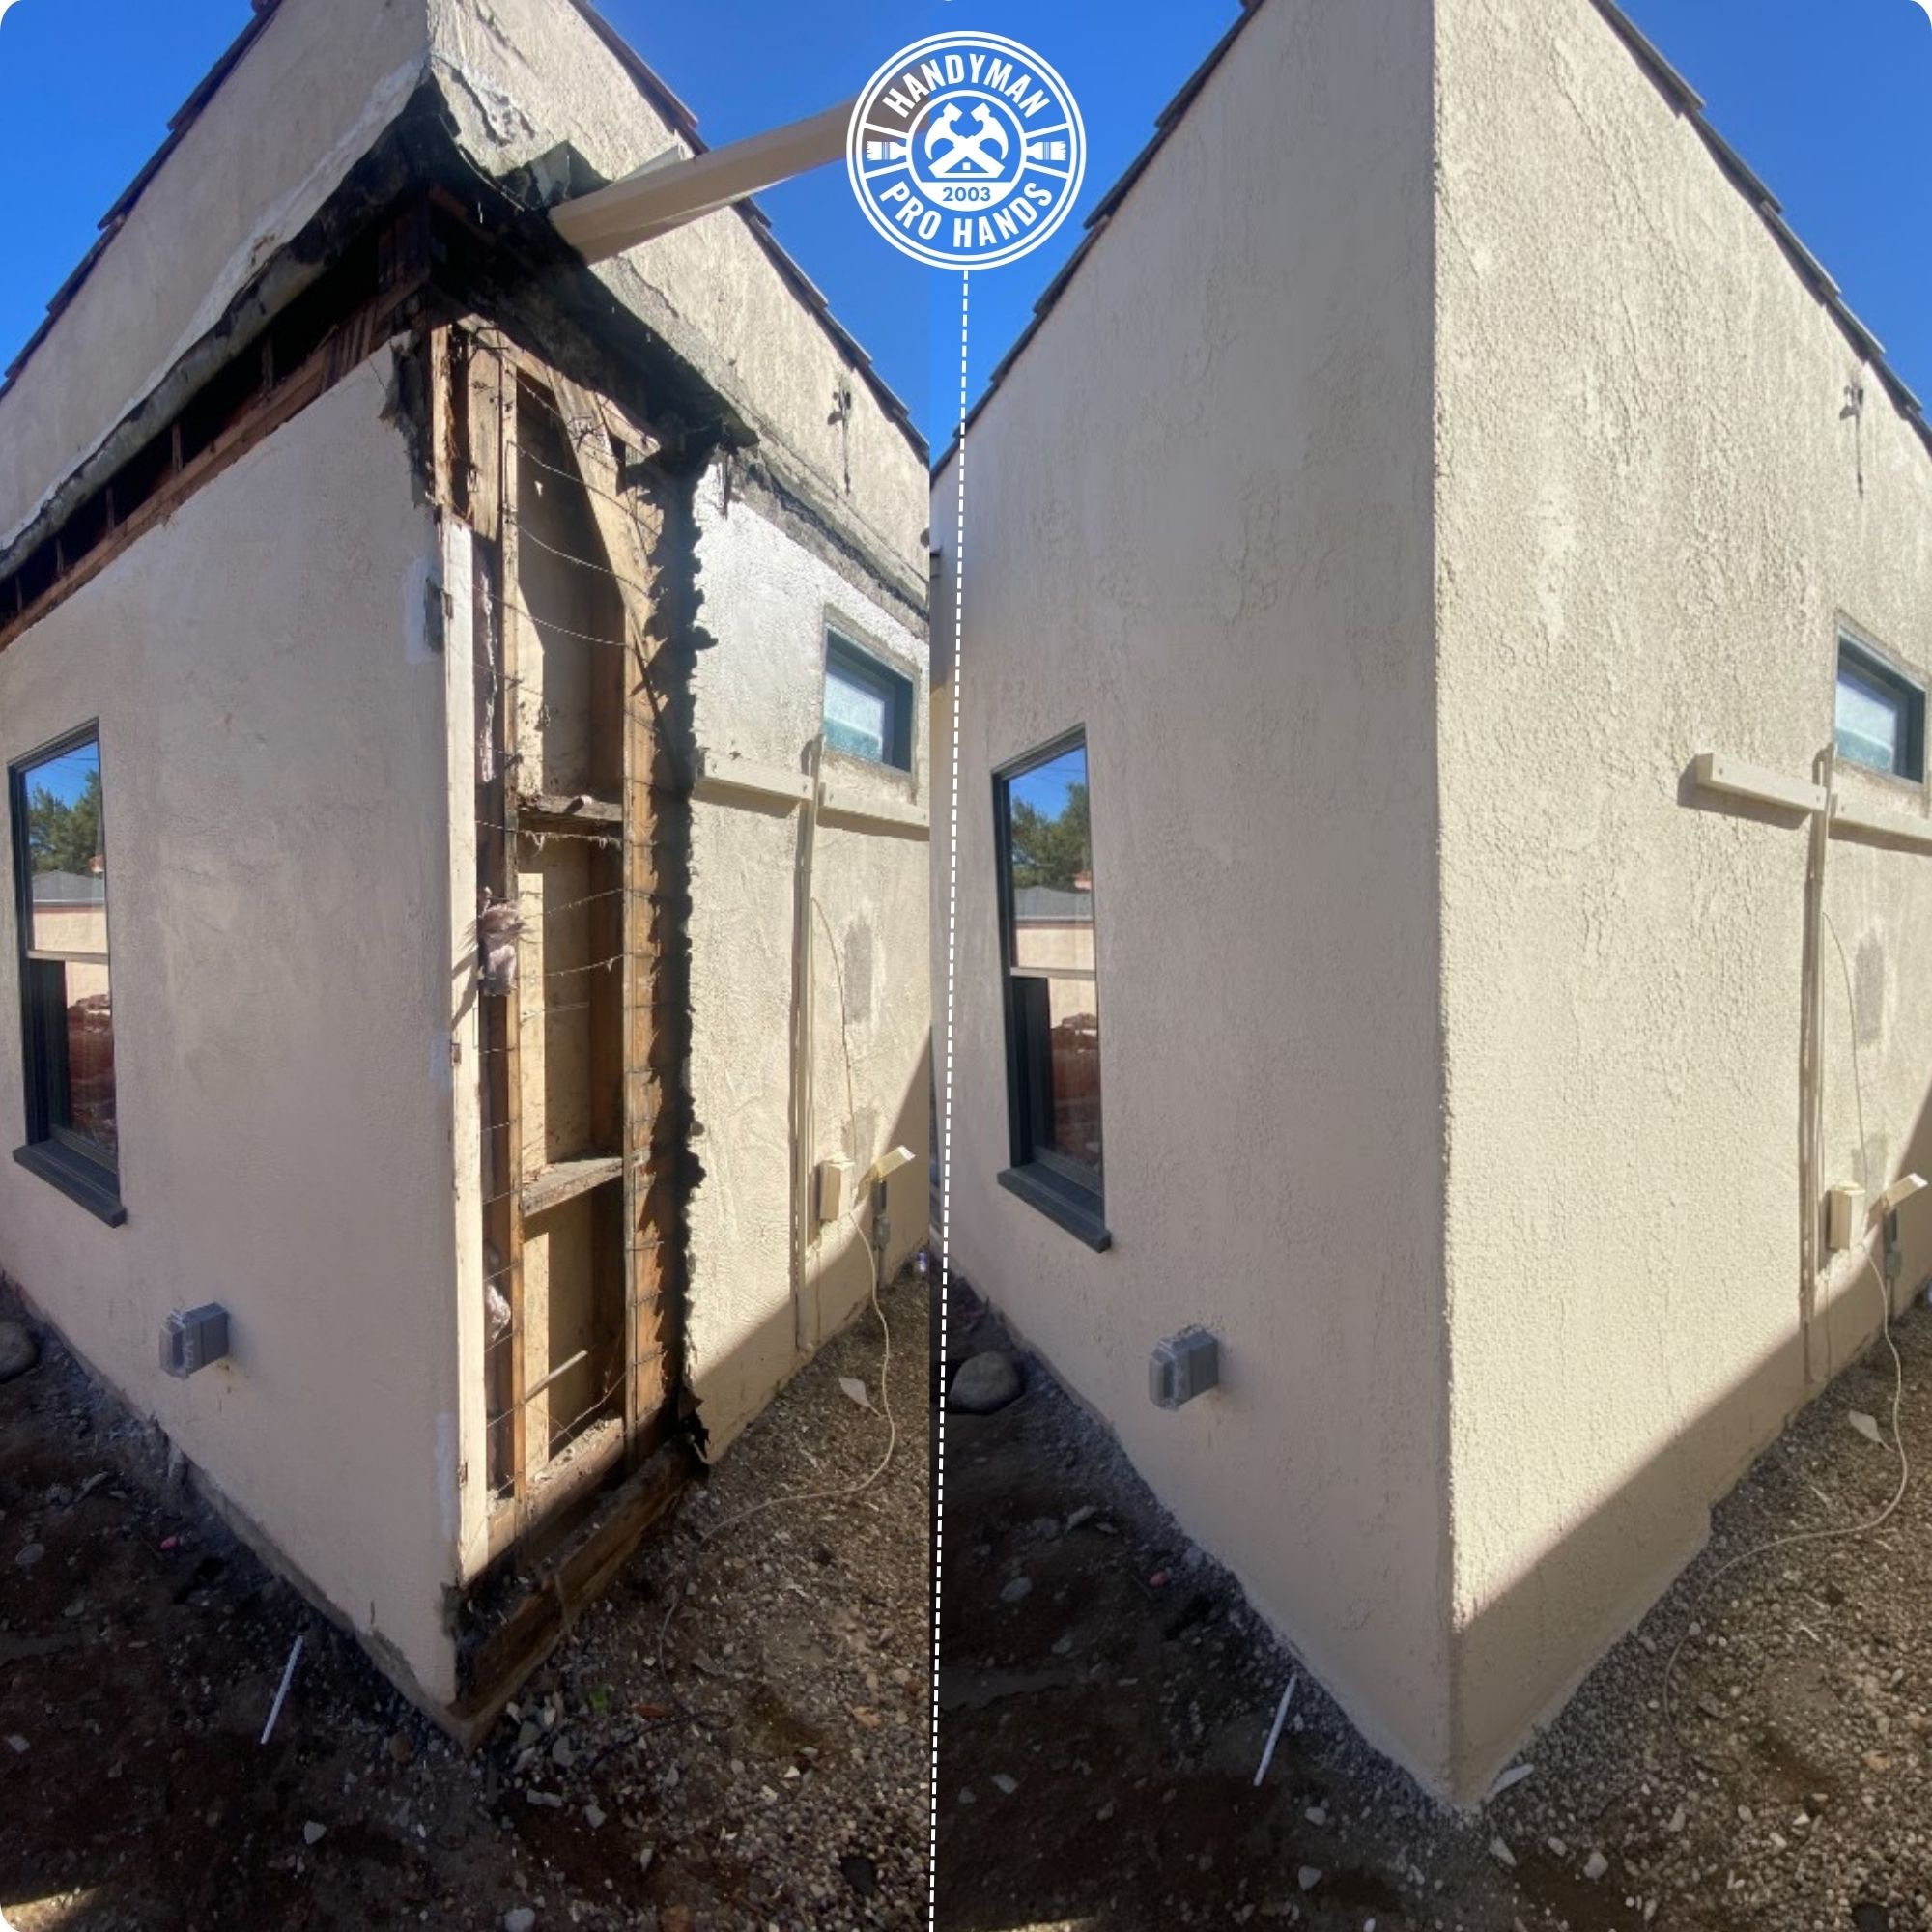
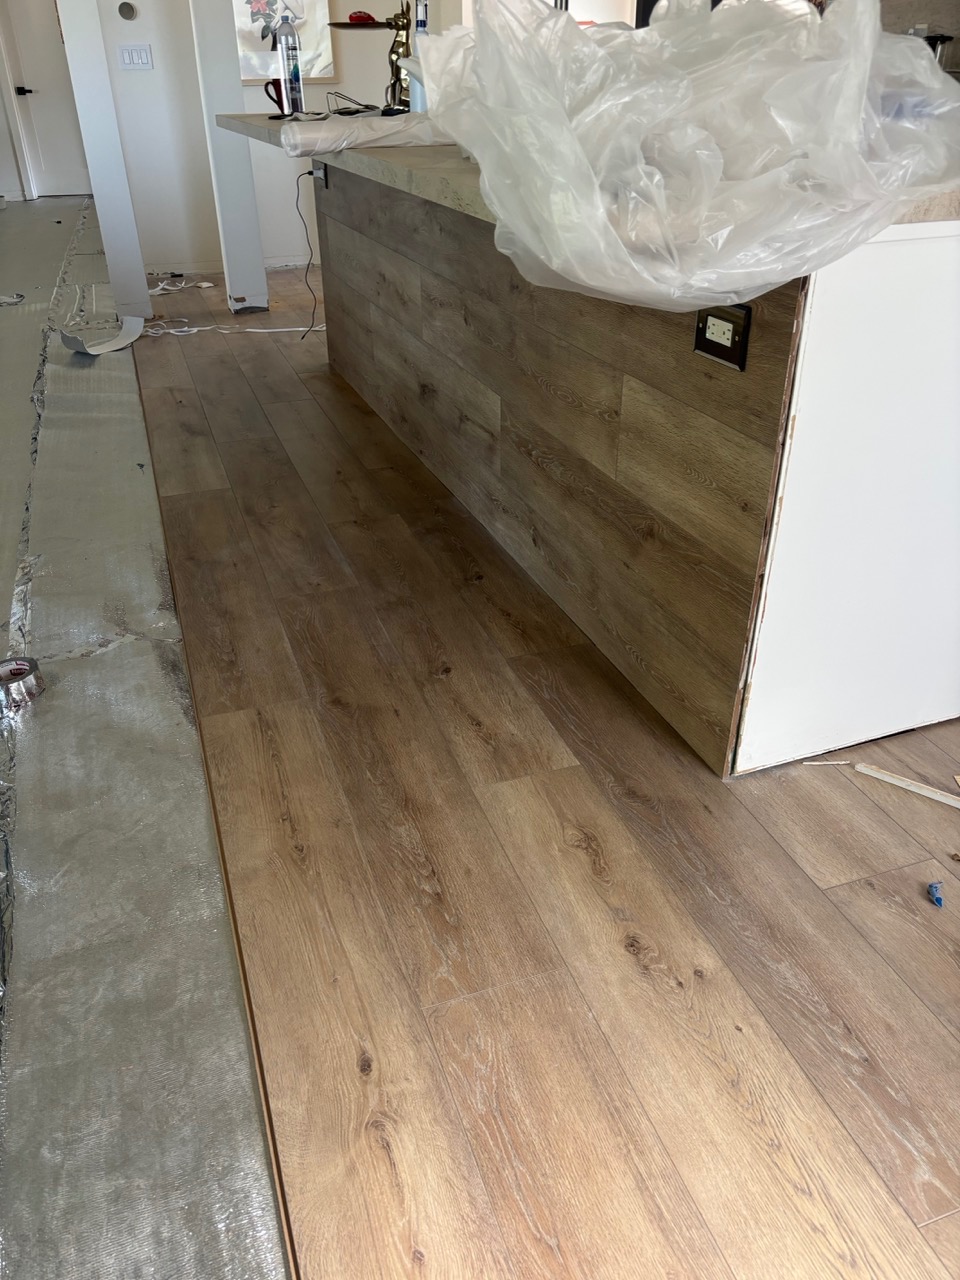
Project Gallery
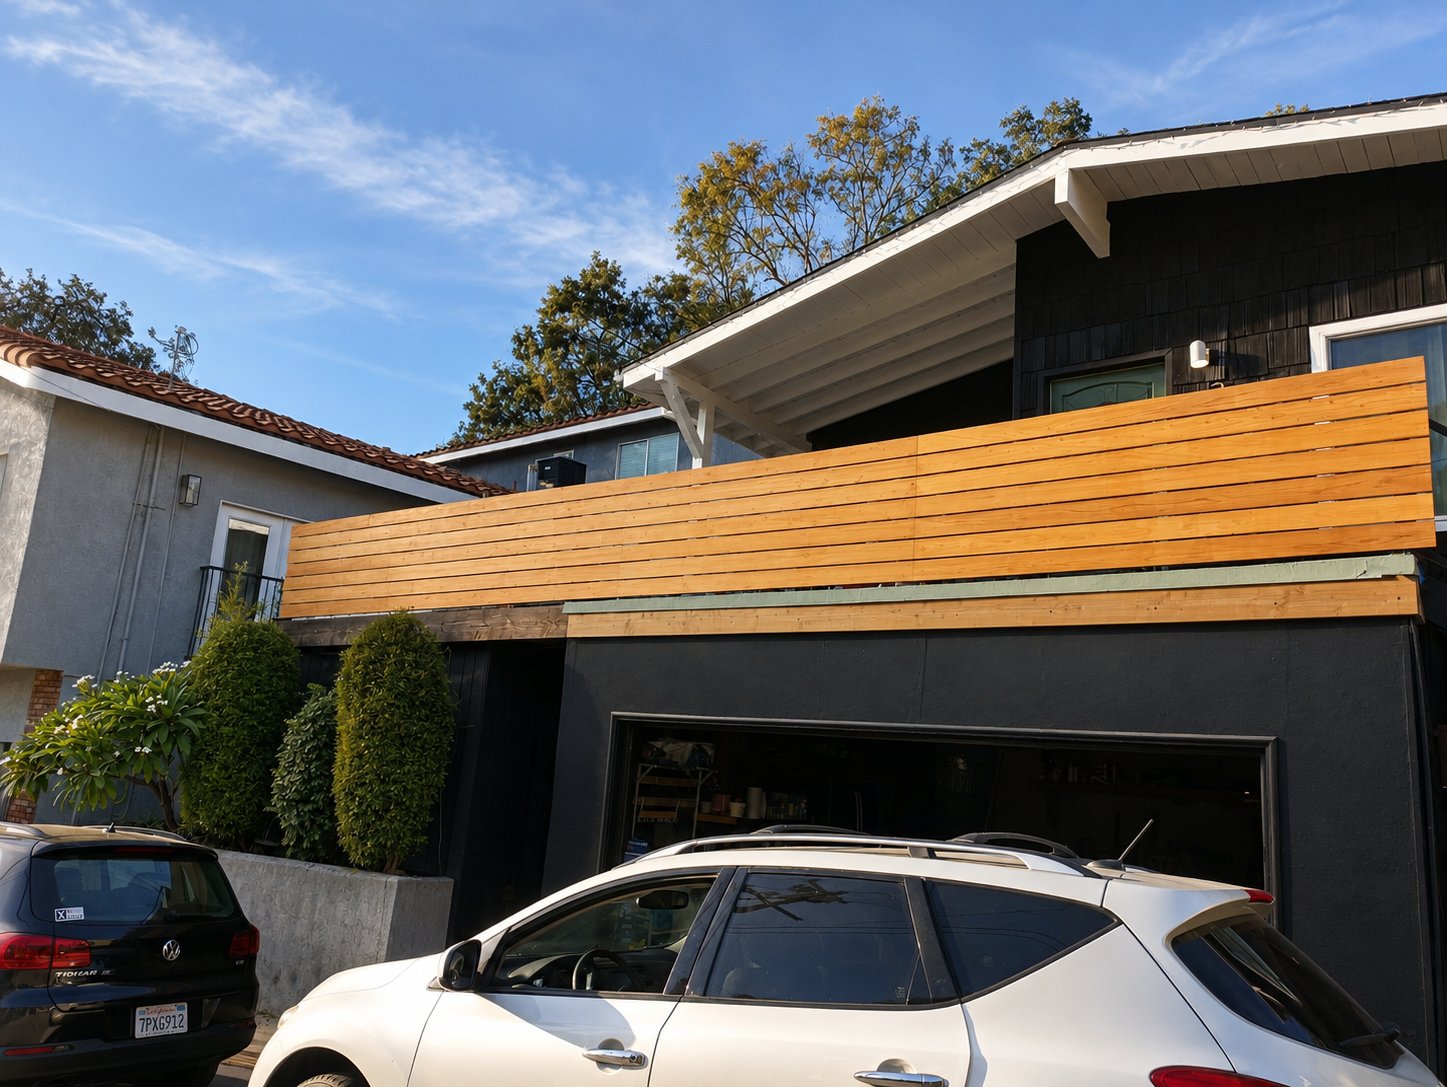
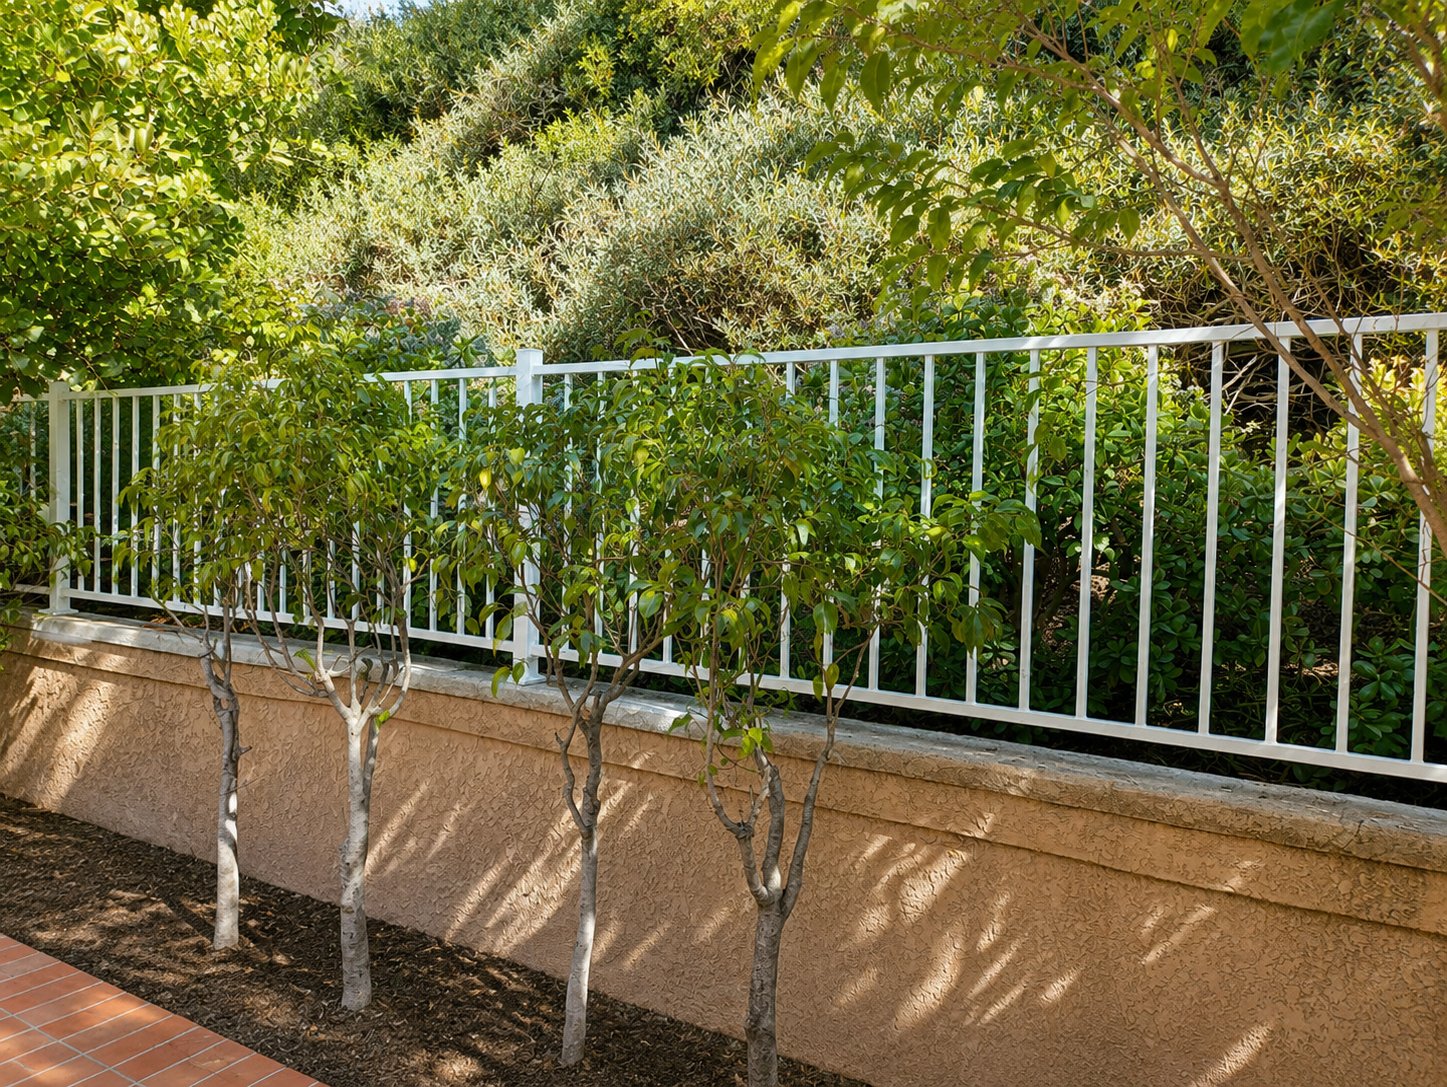
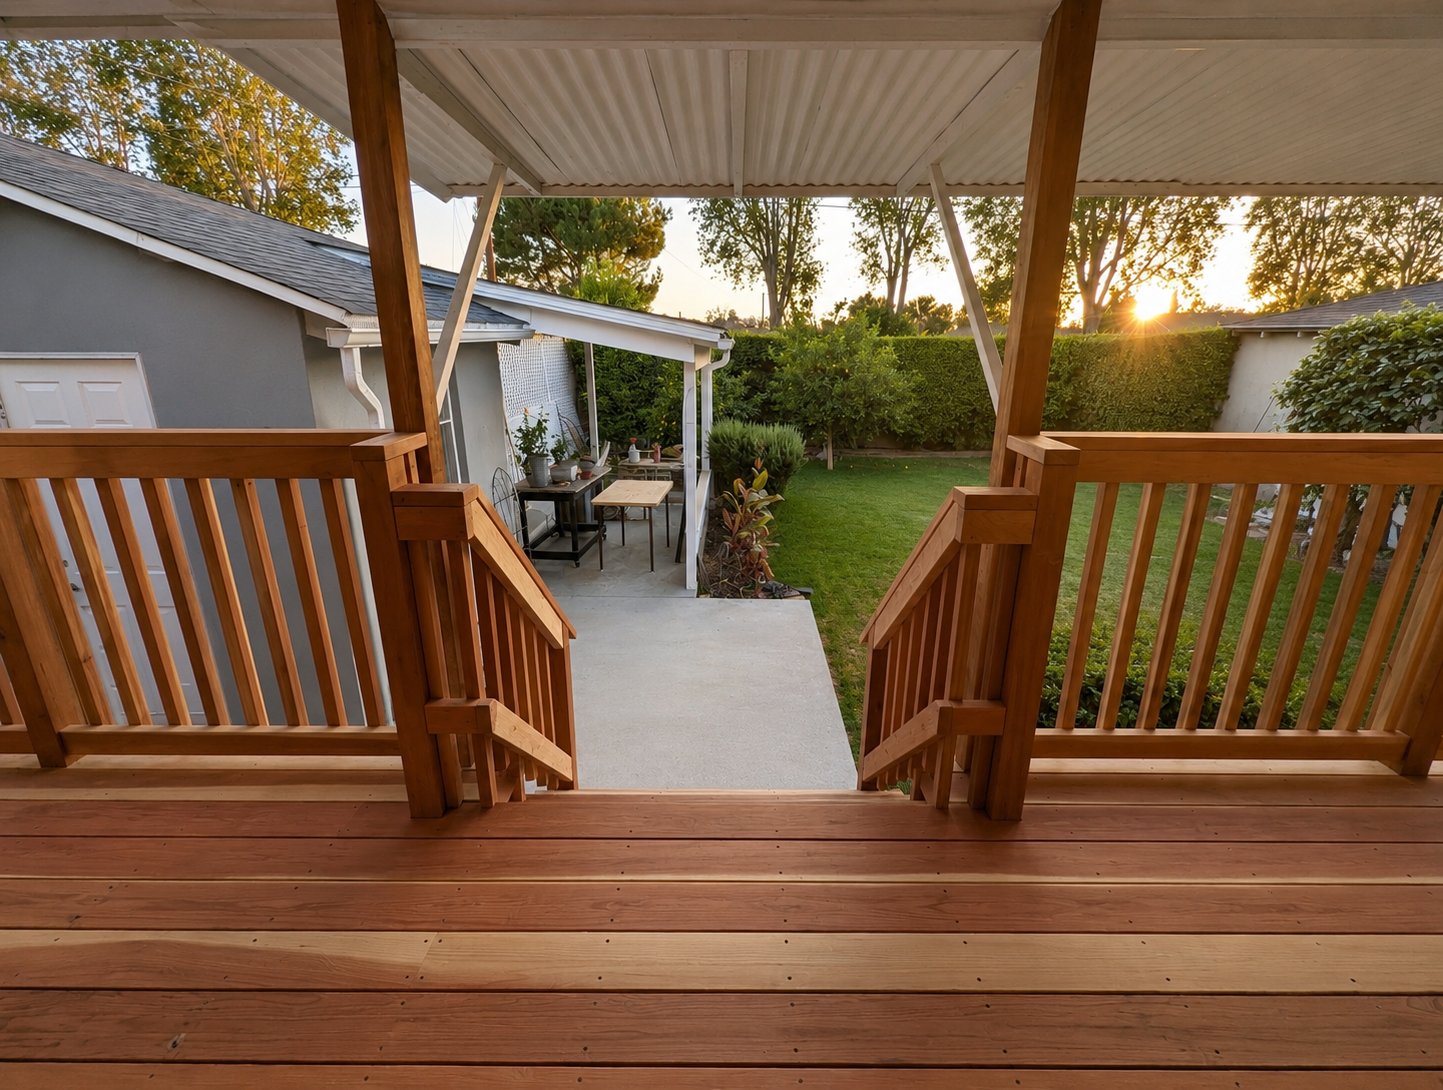
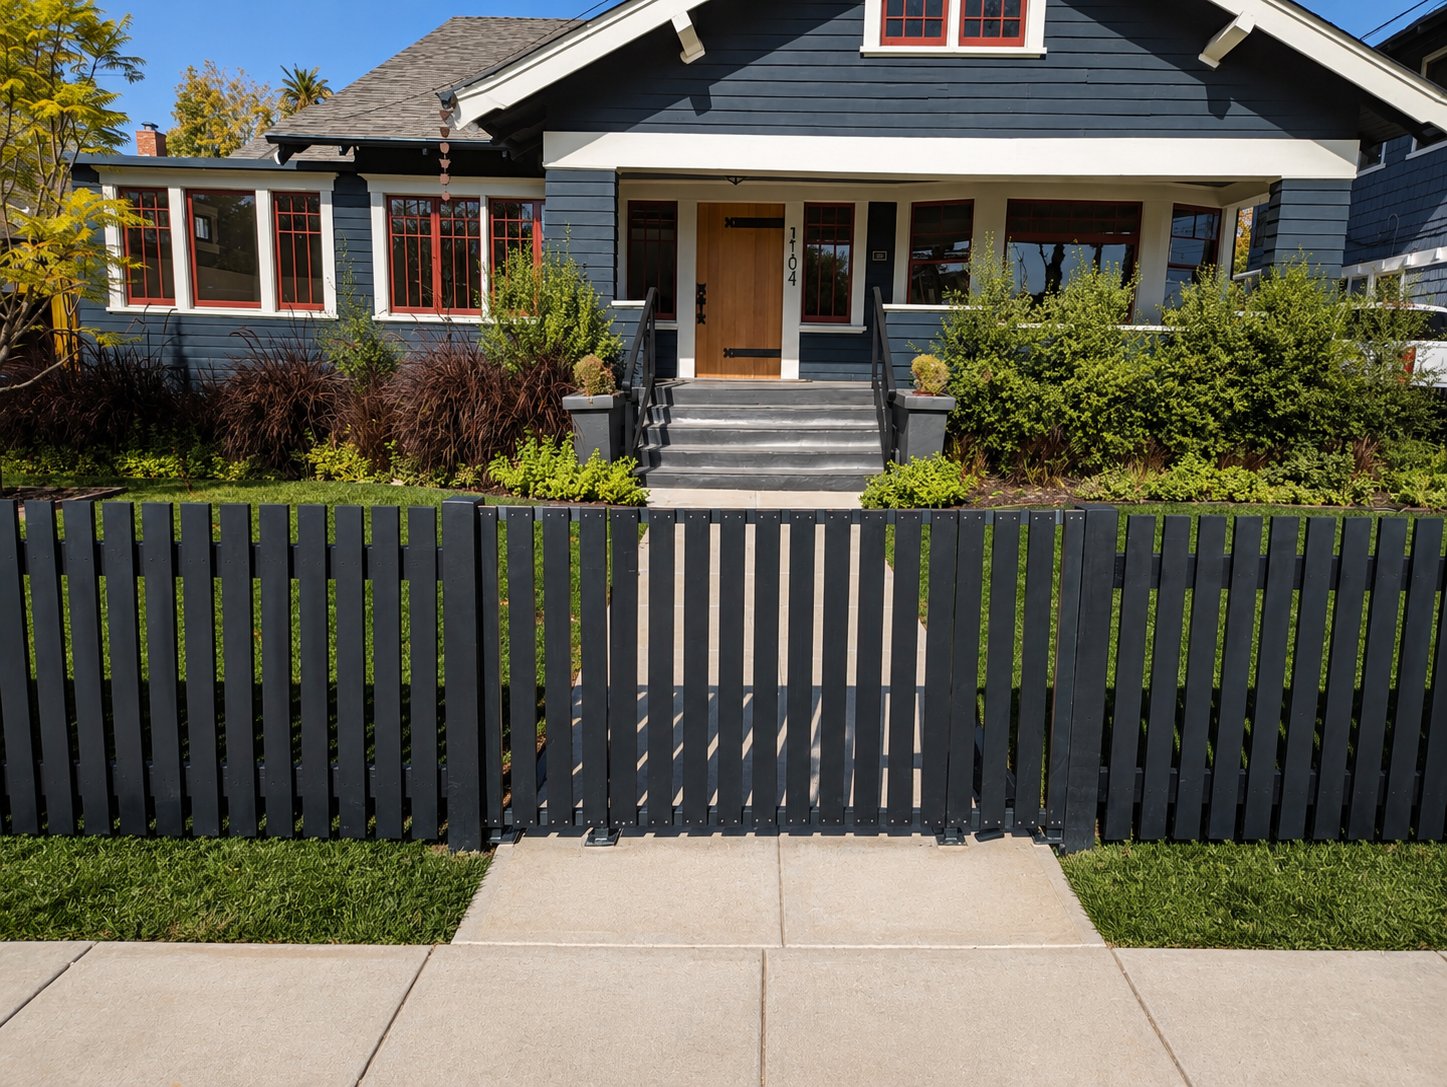
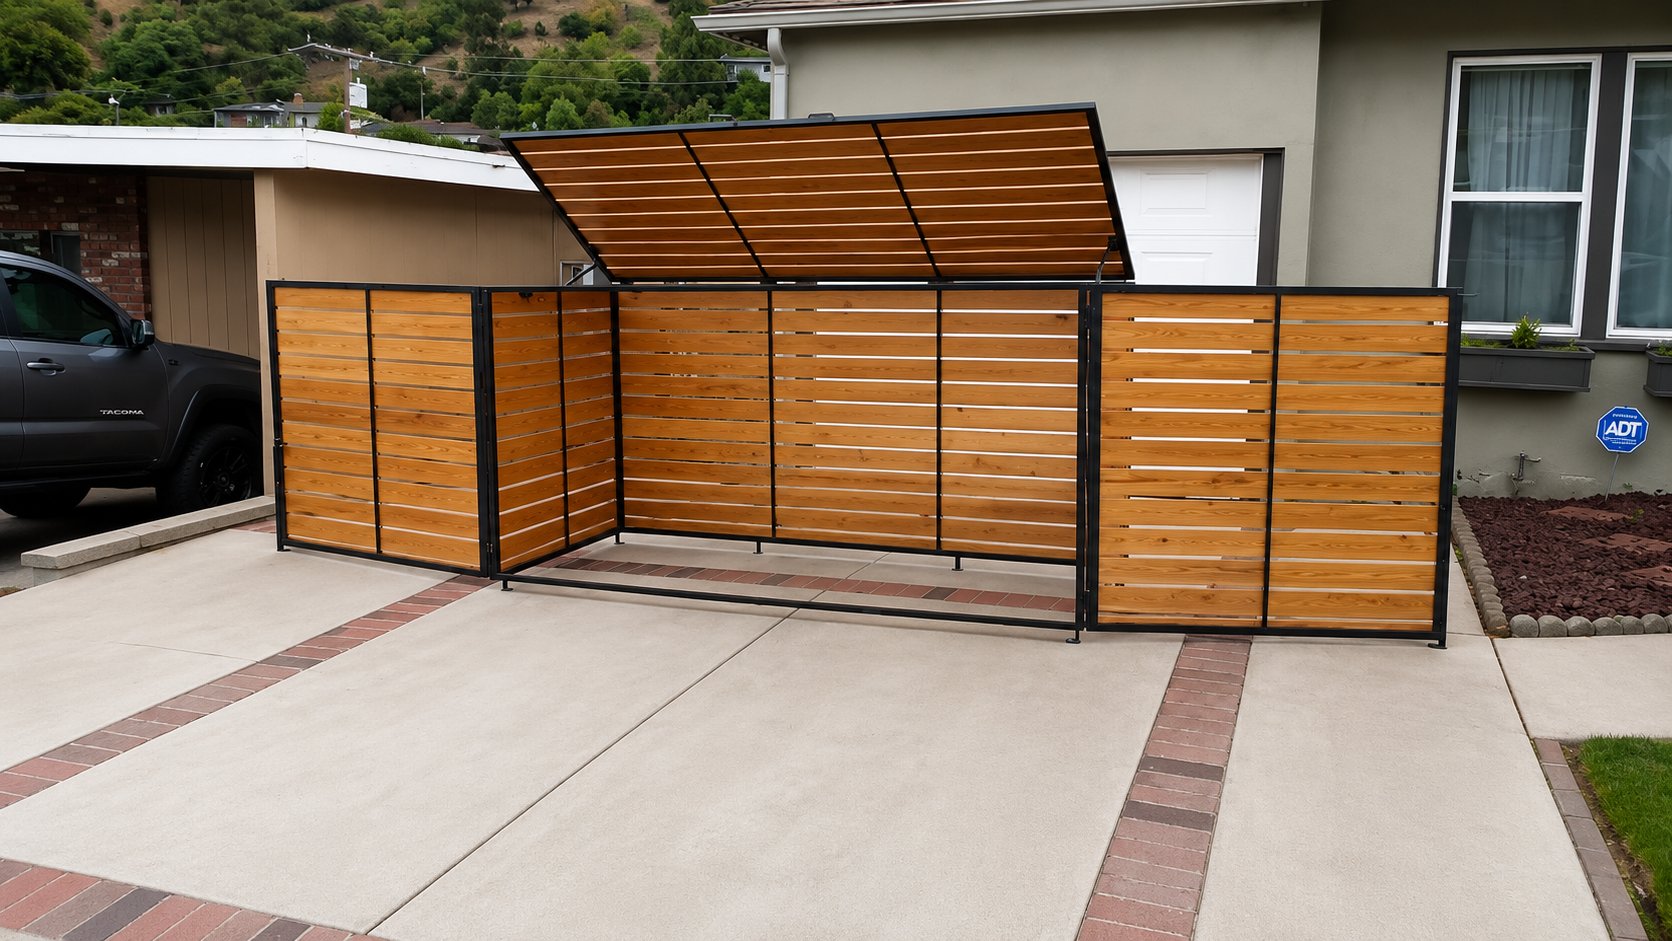
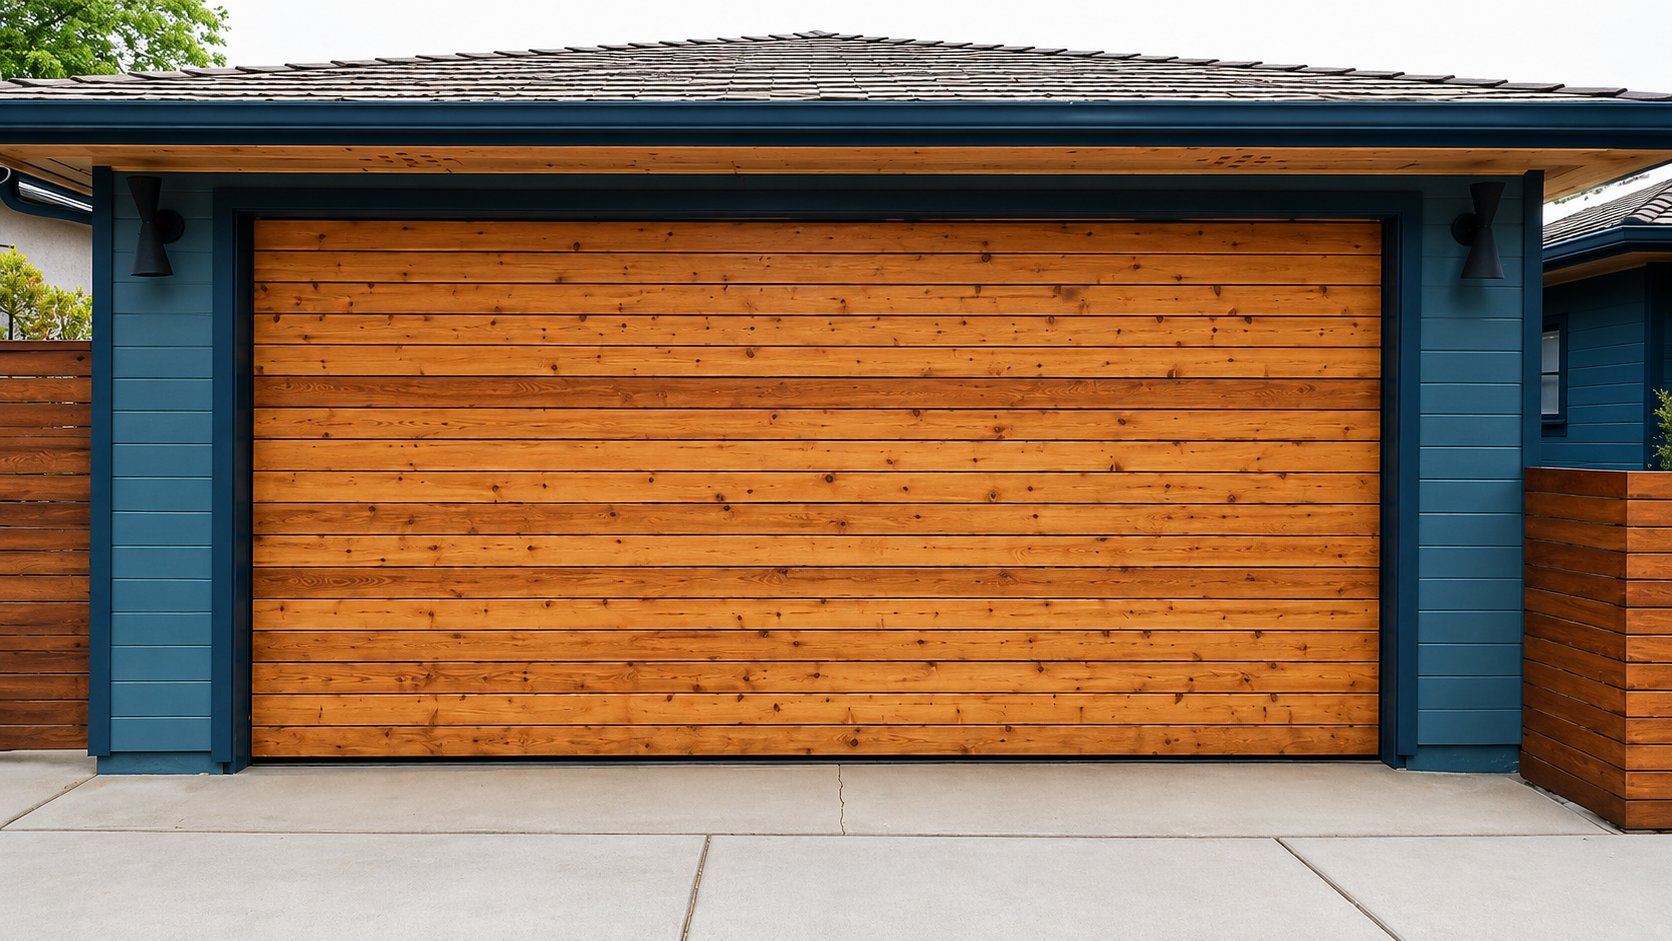
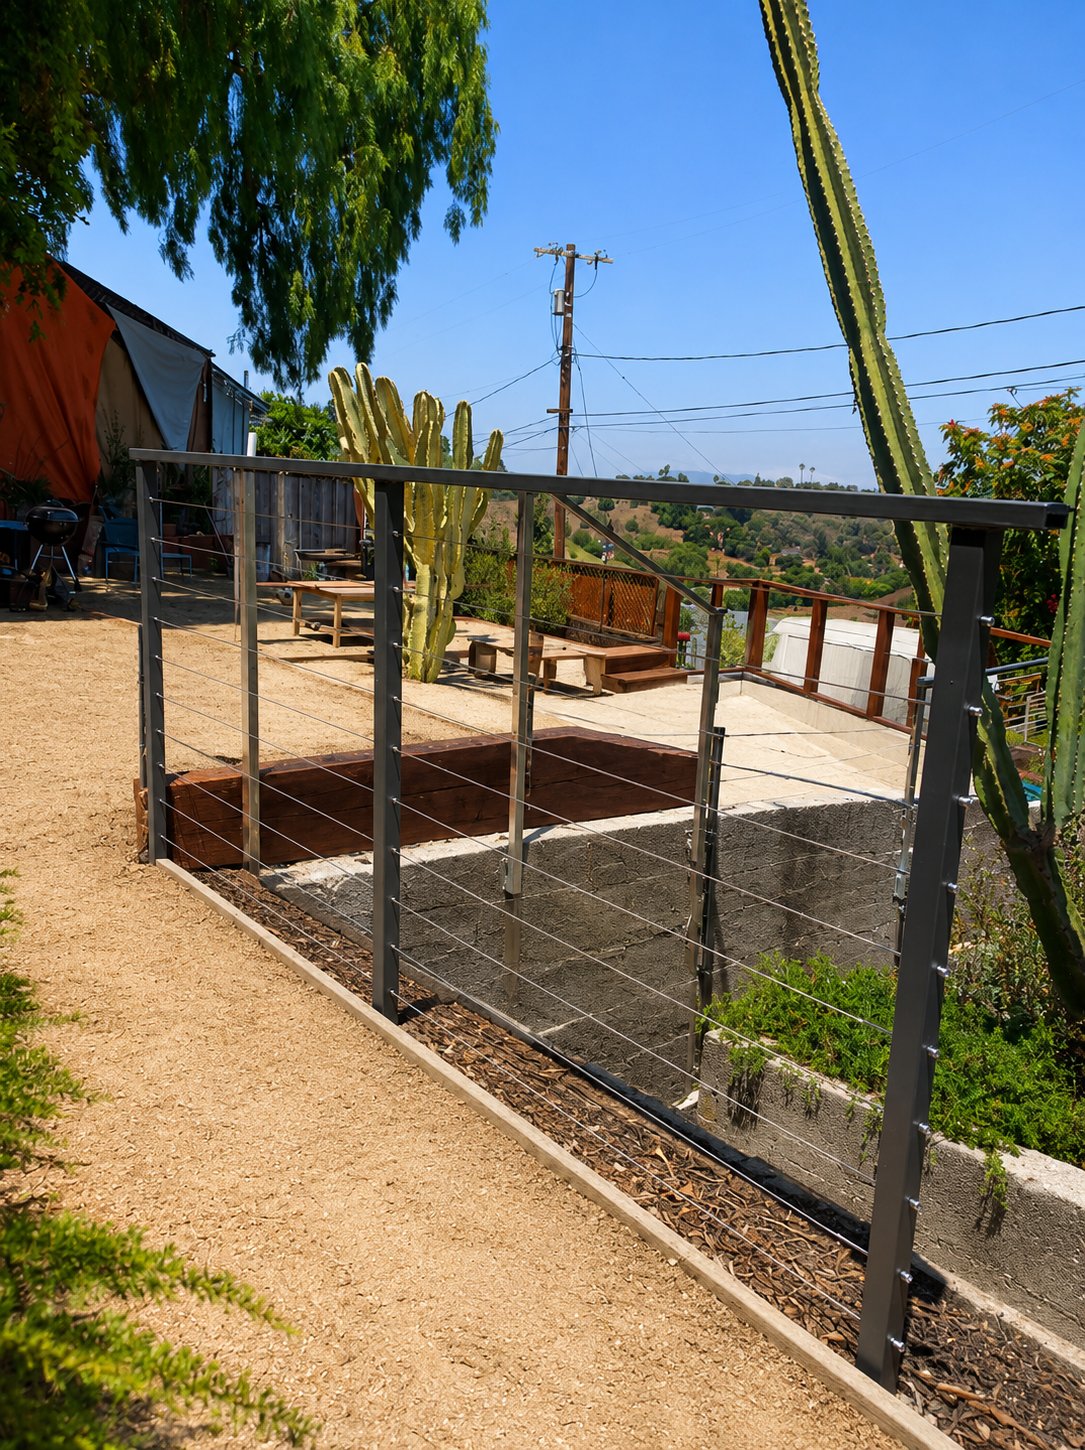
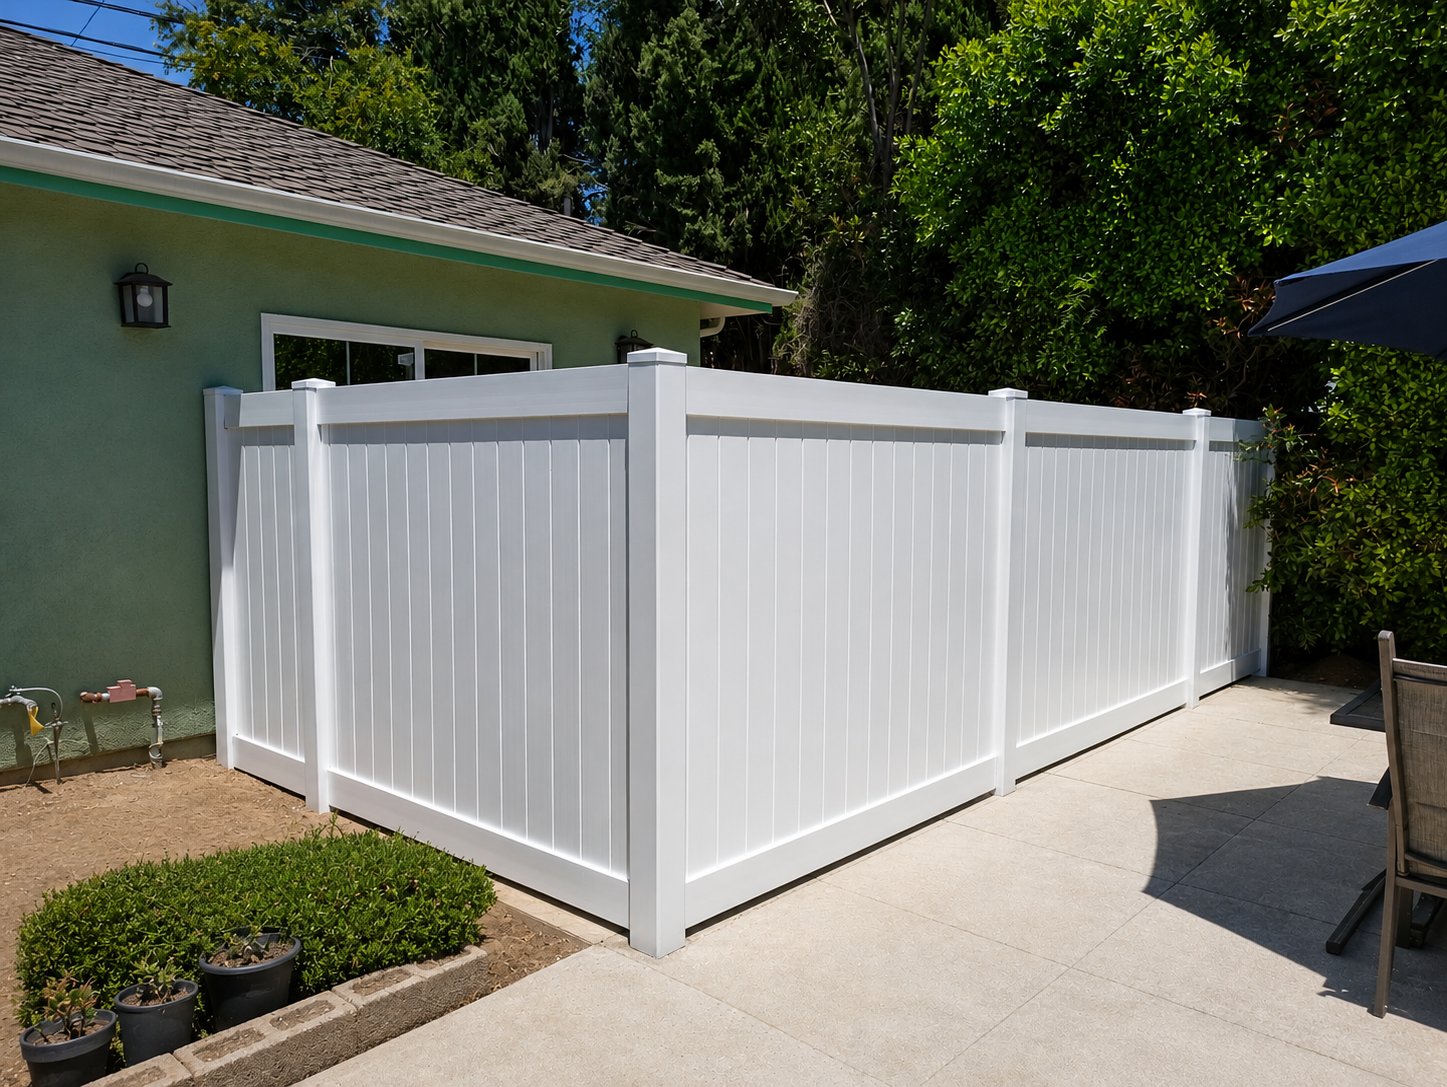
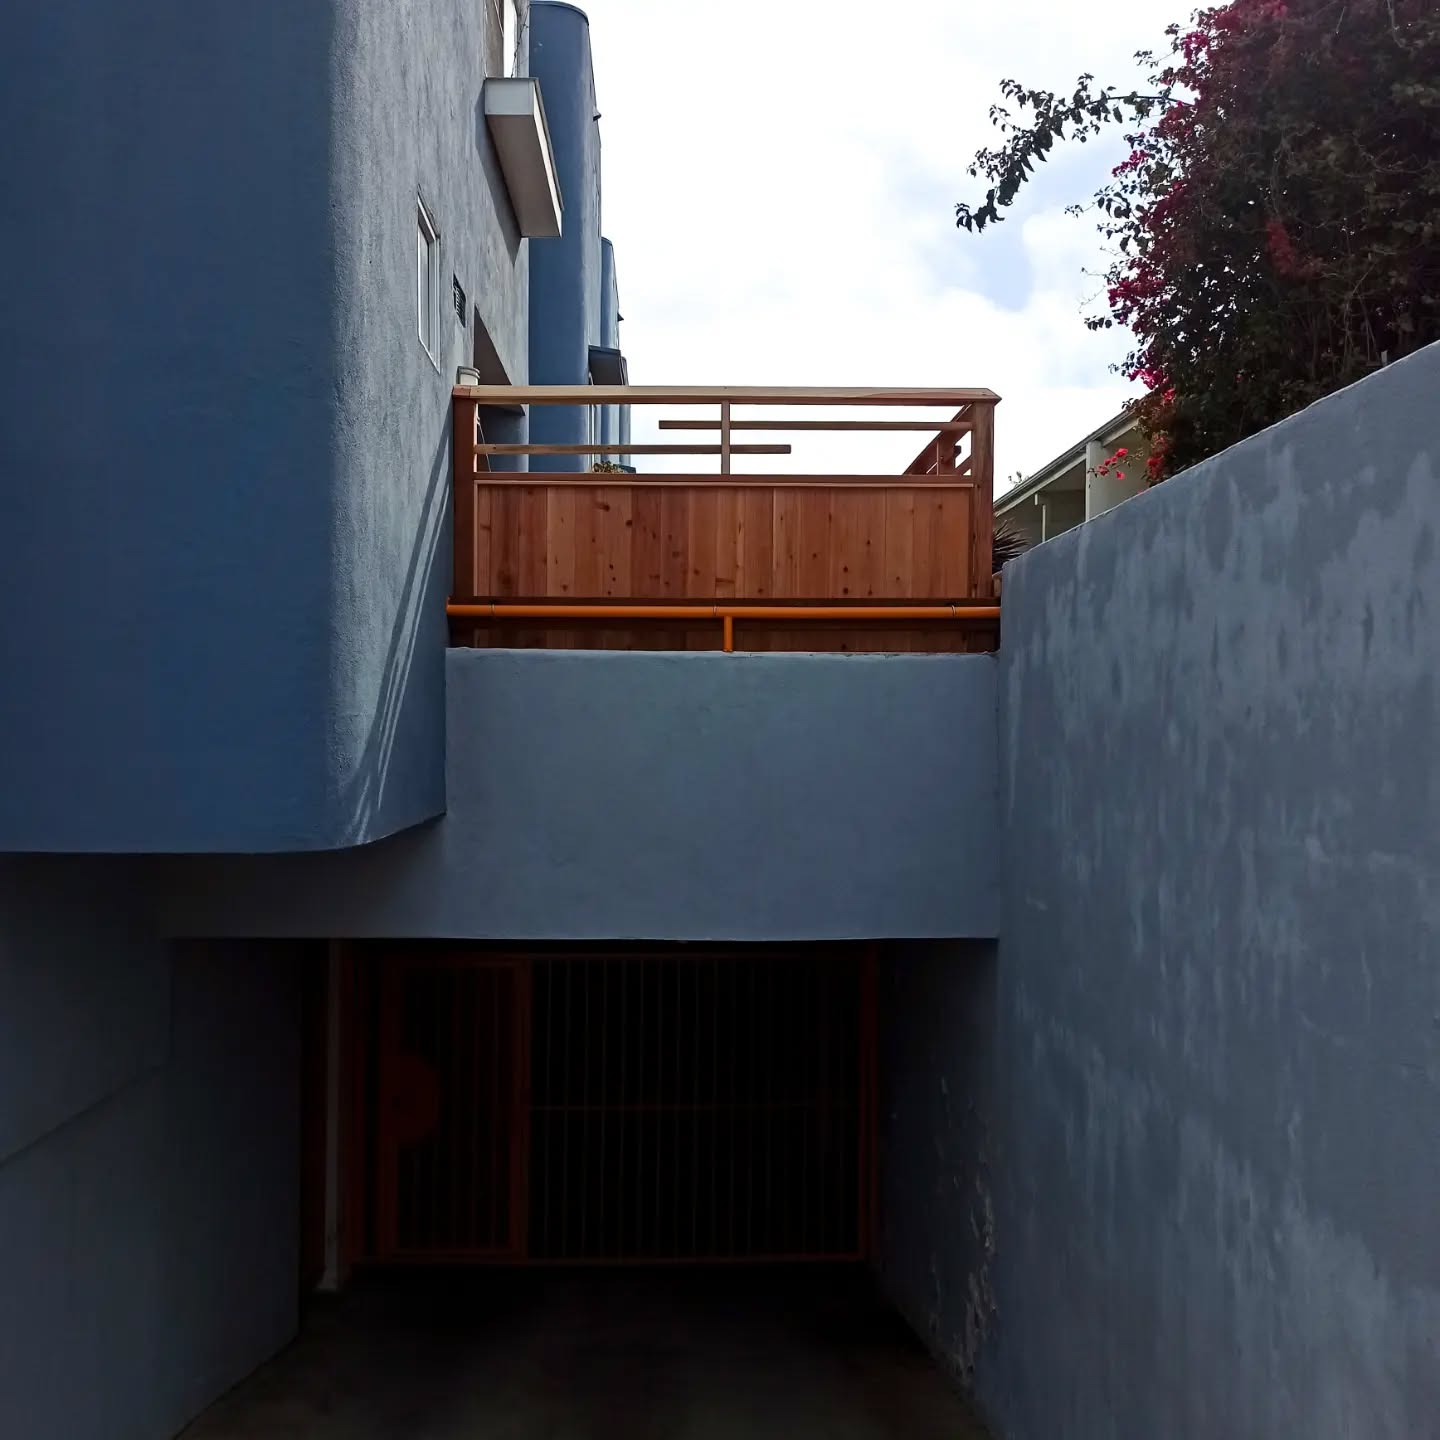
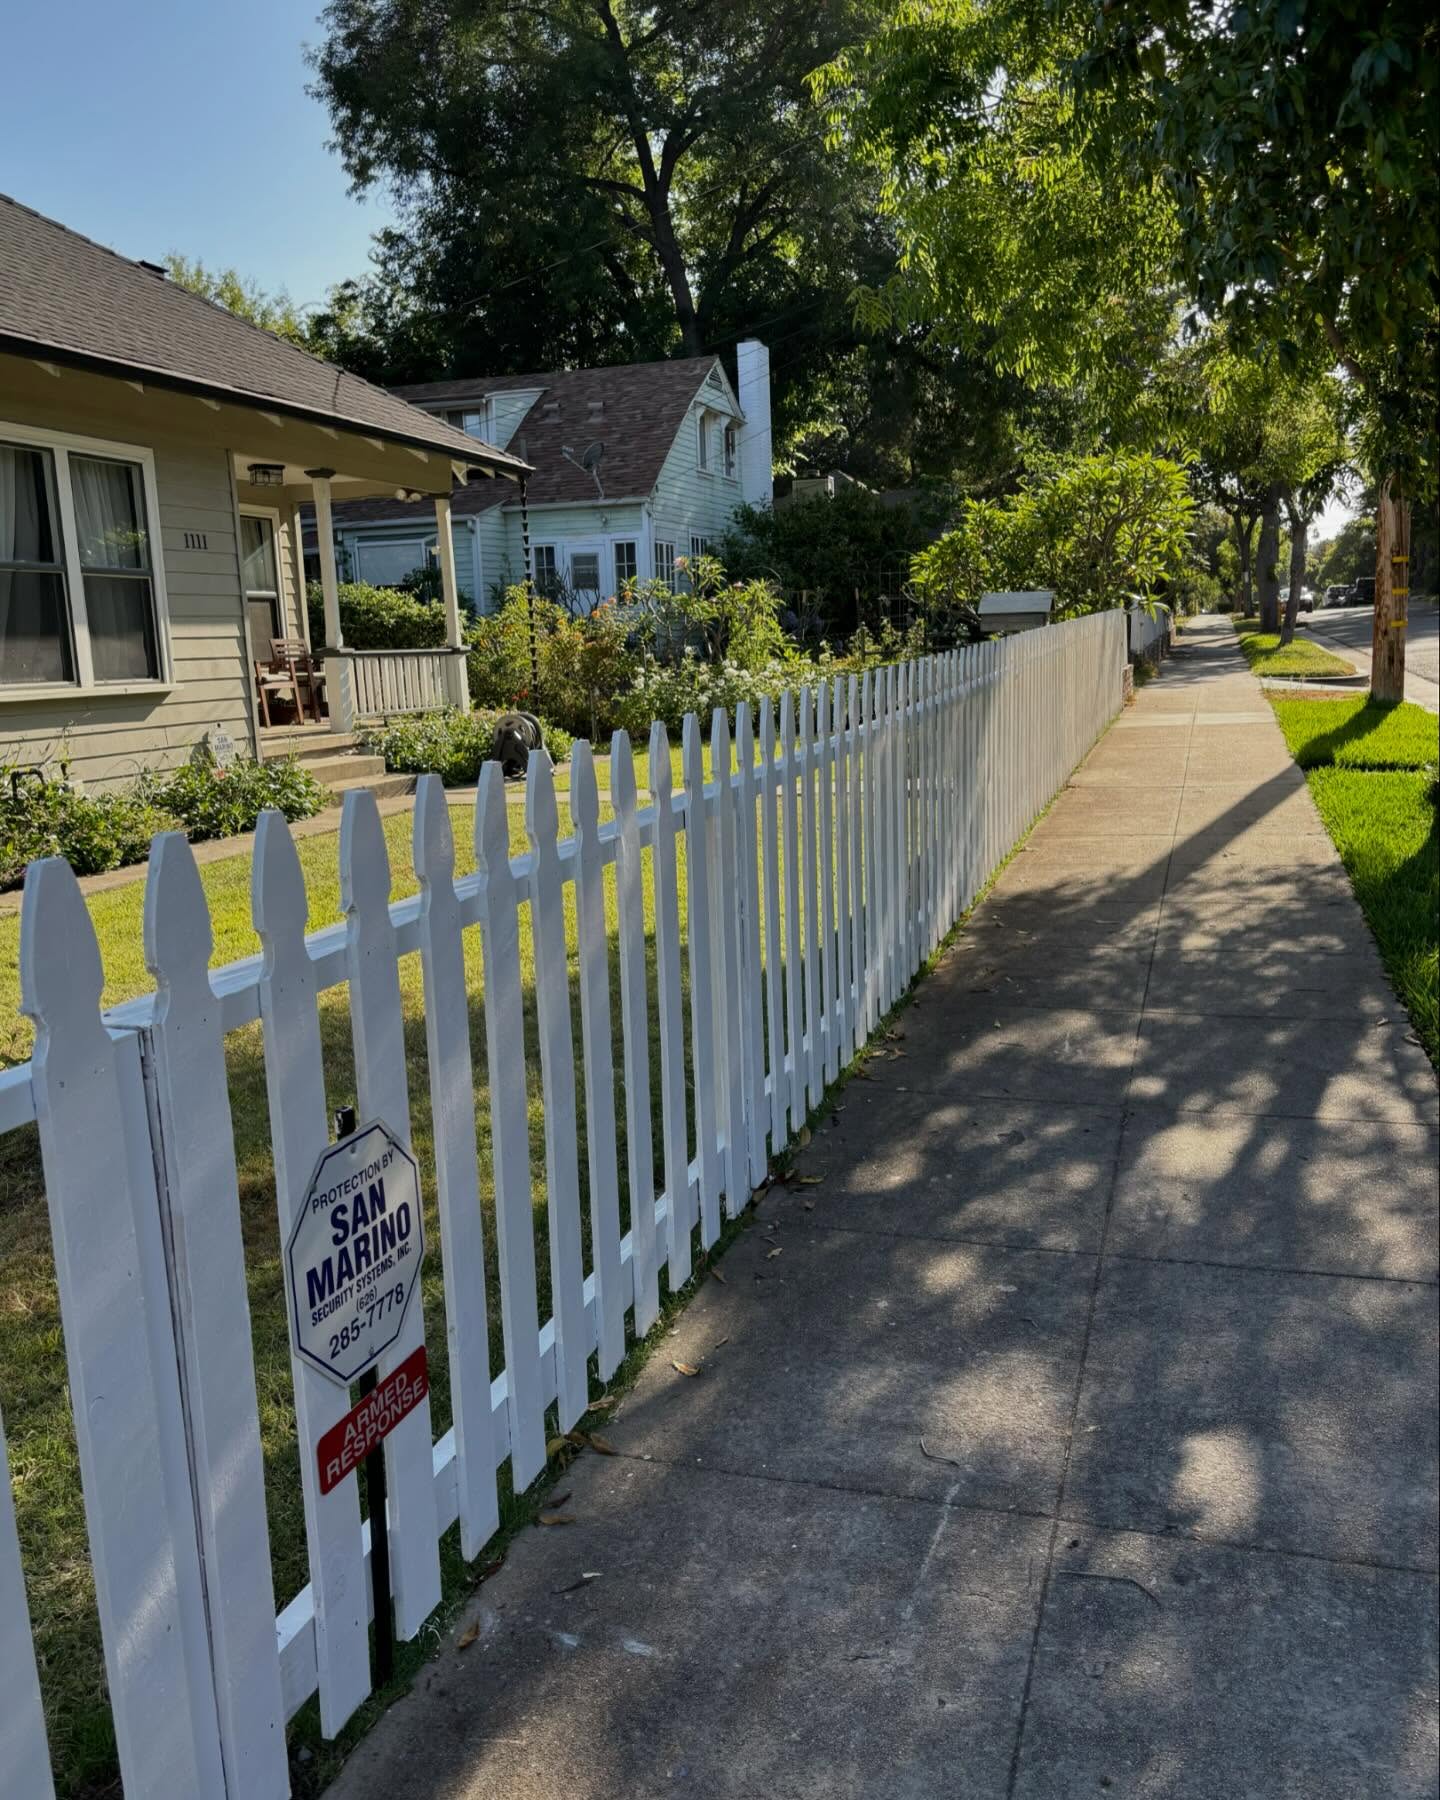
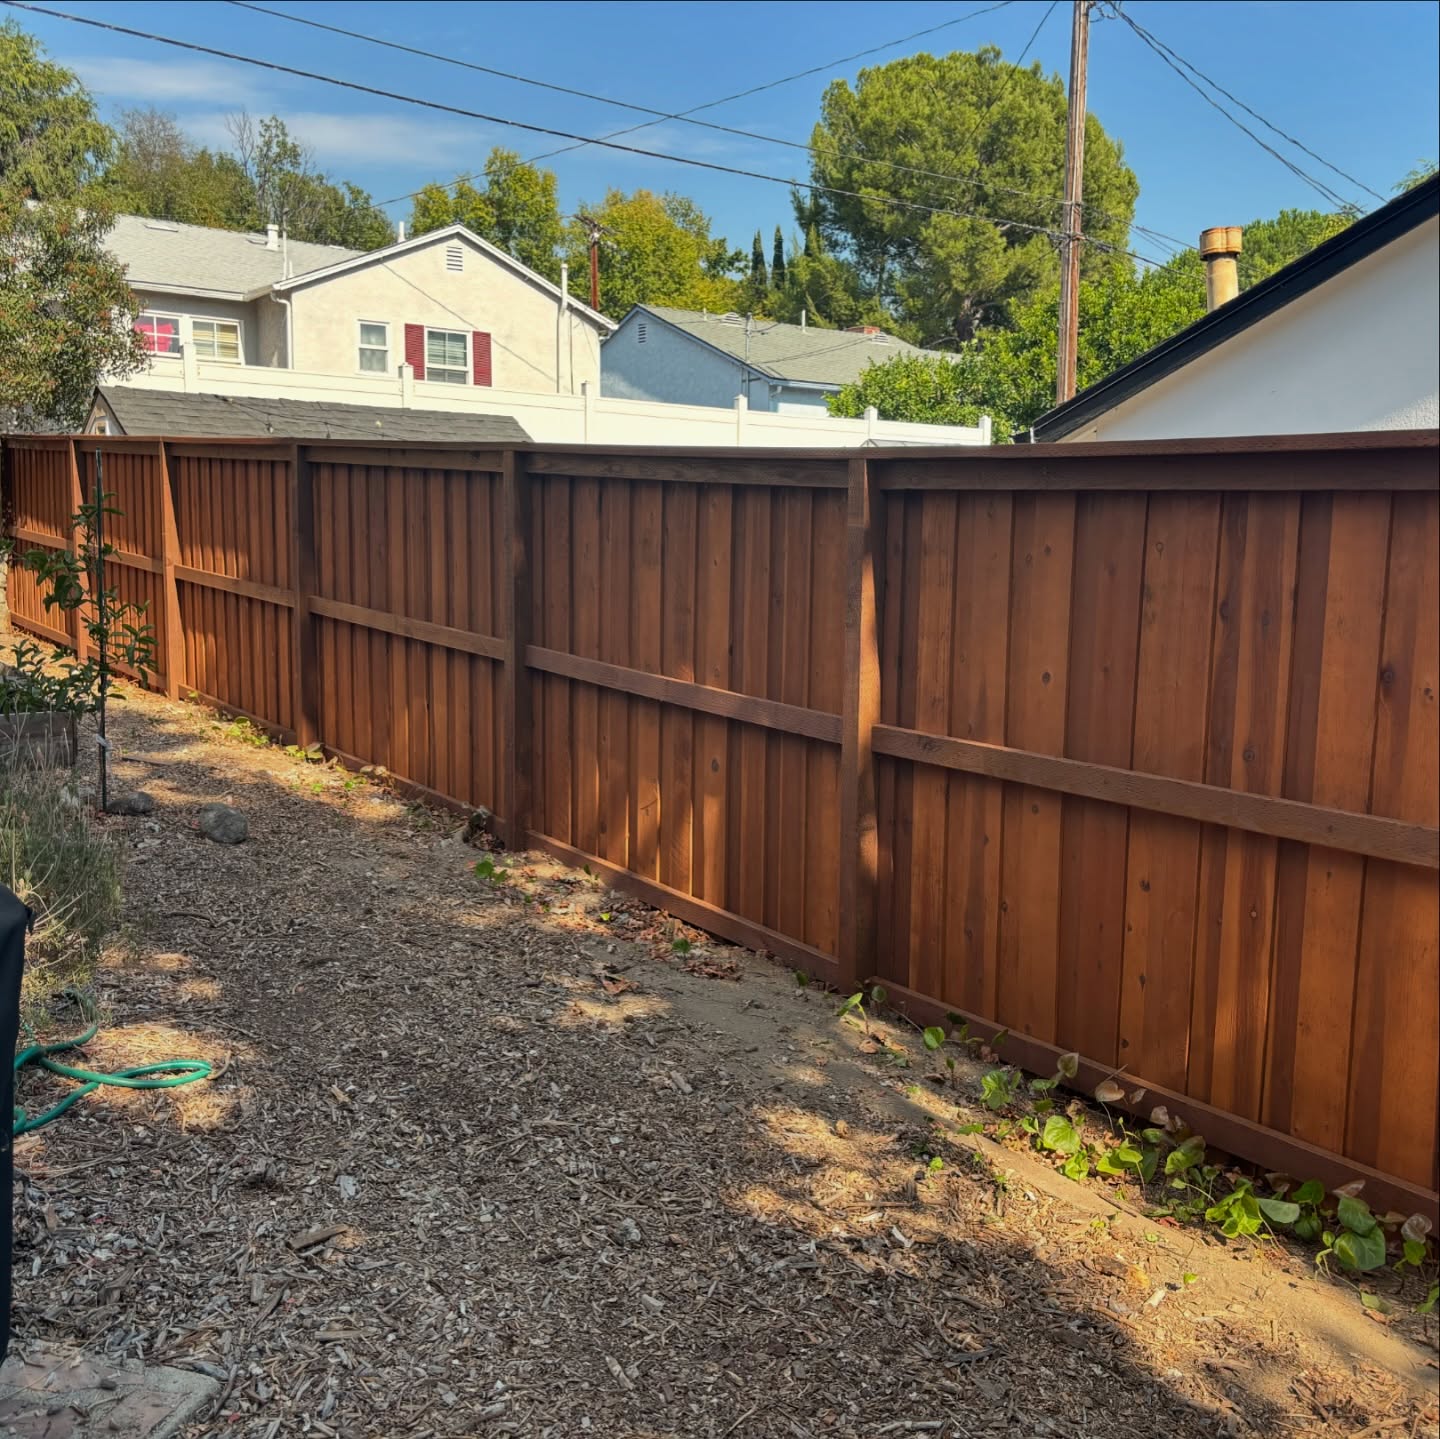
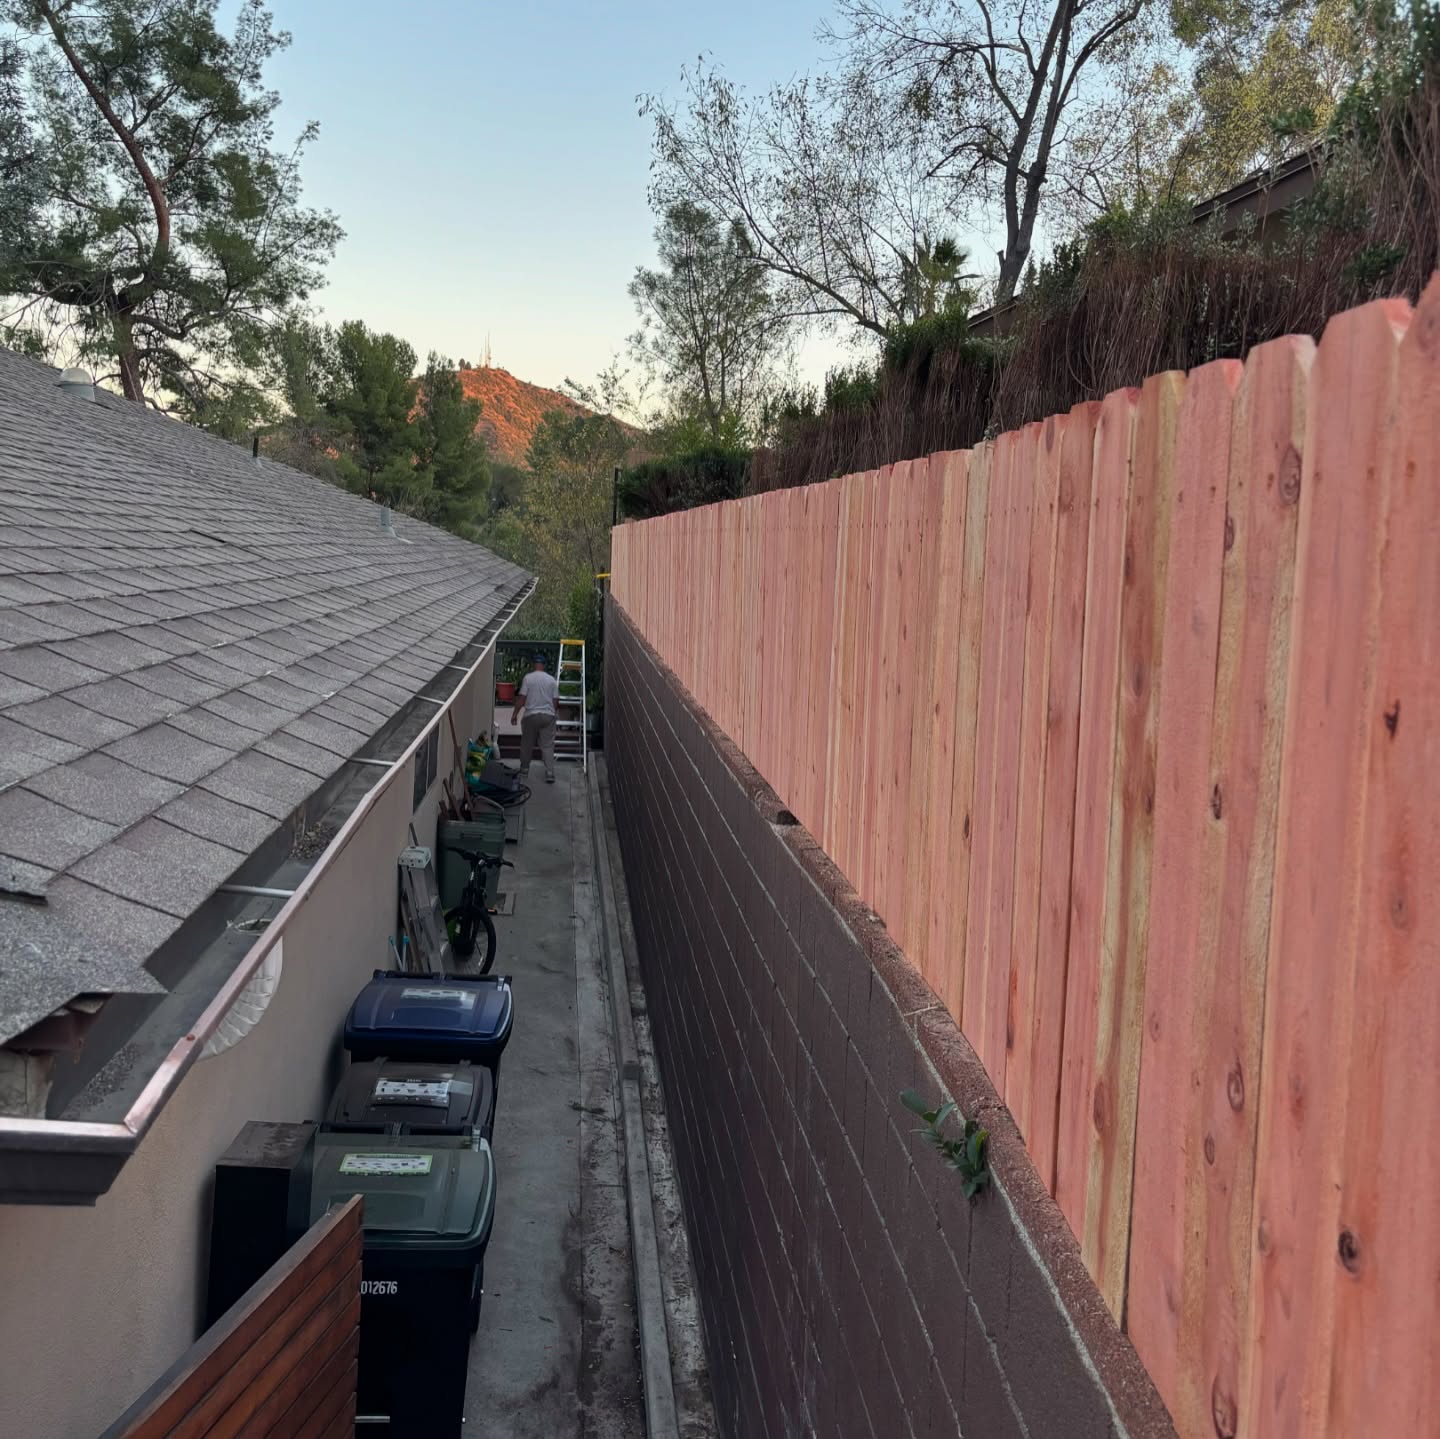
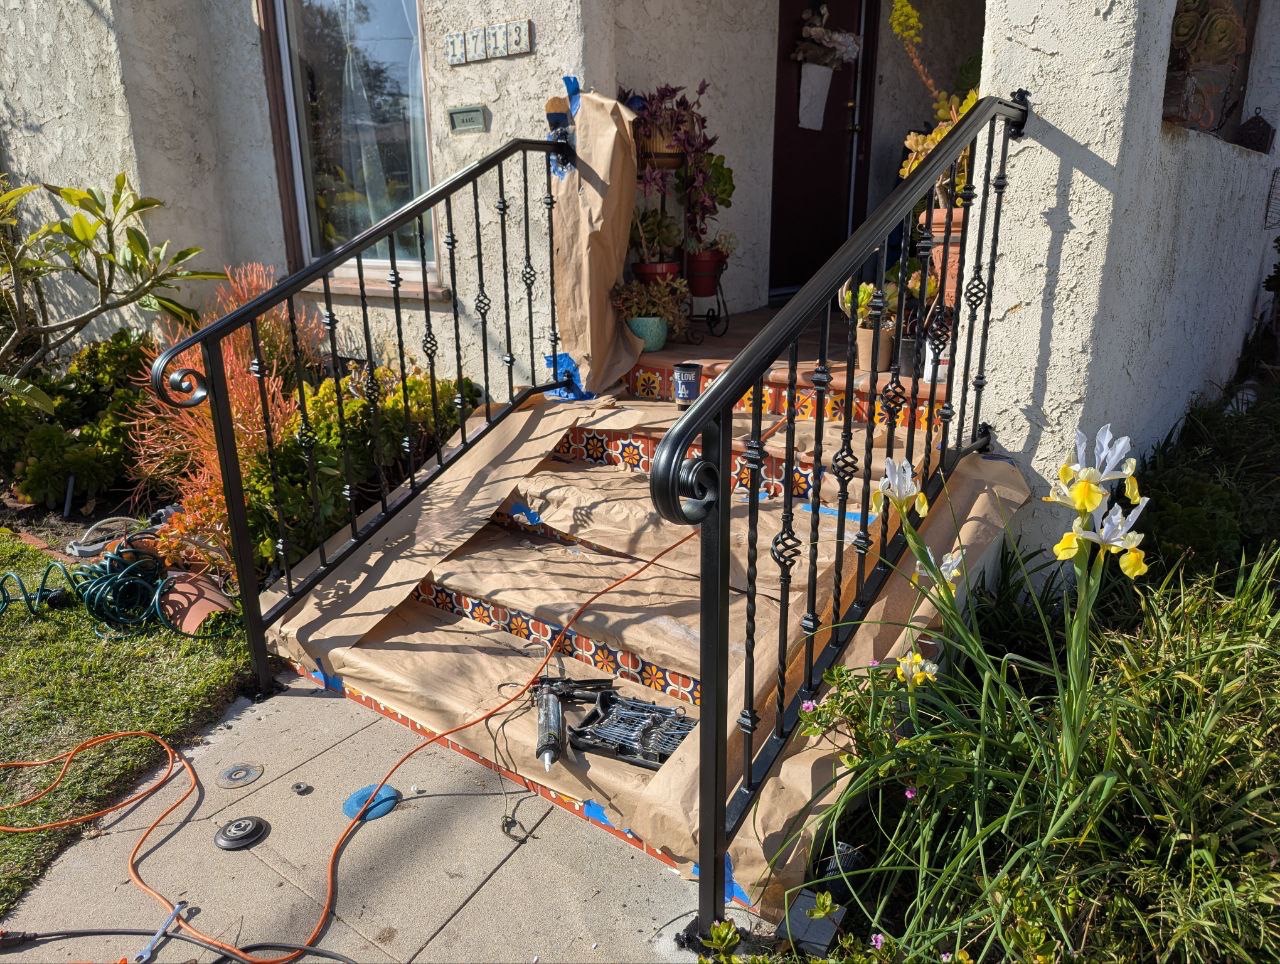
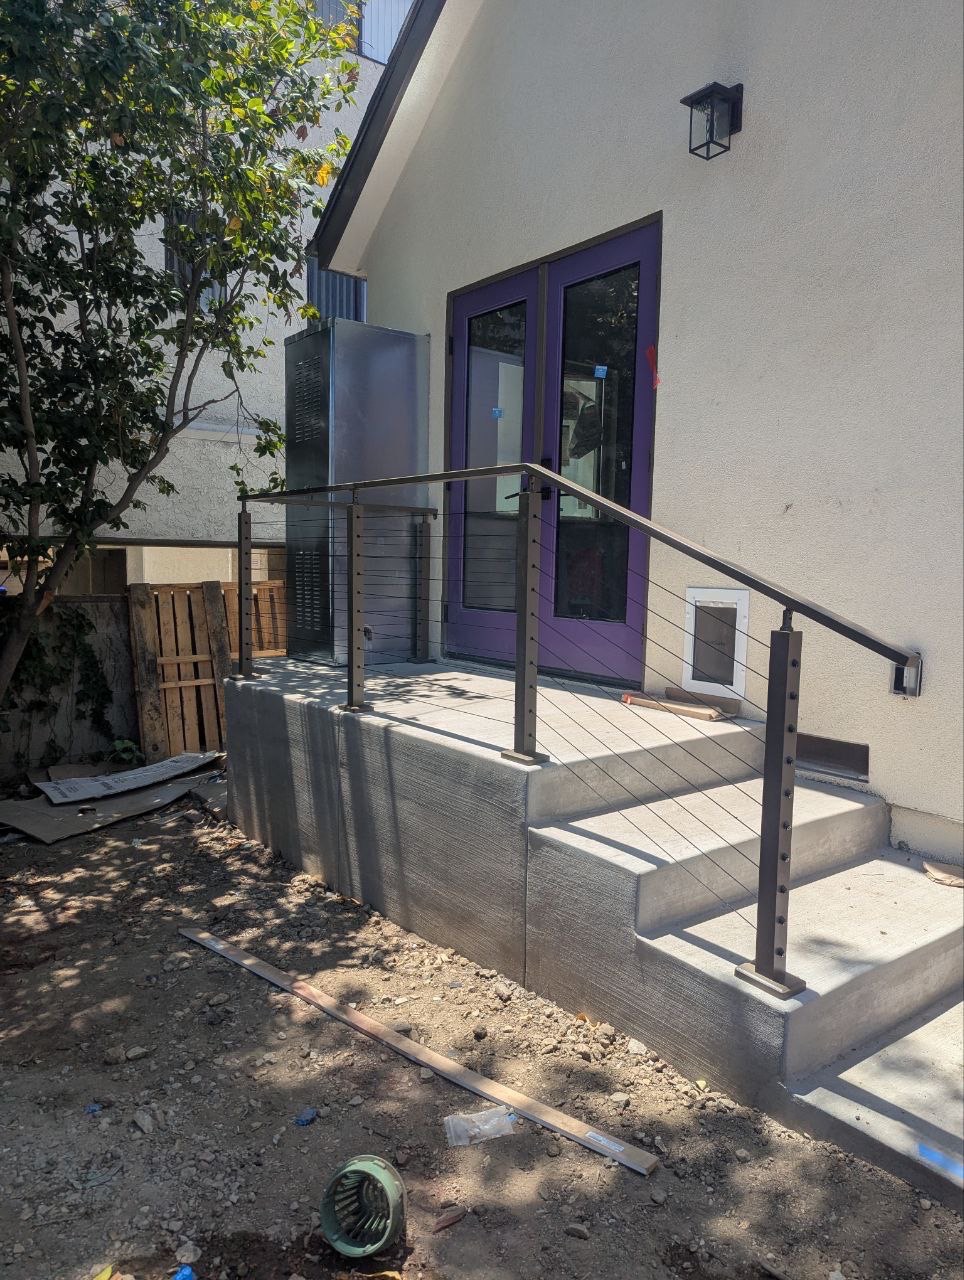
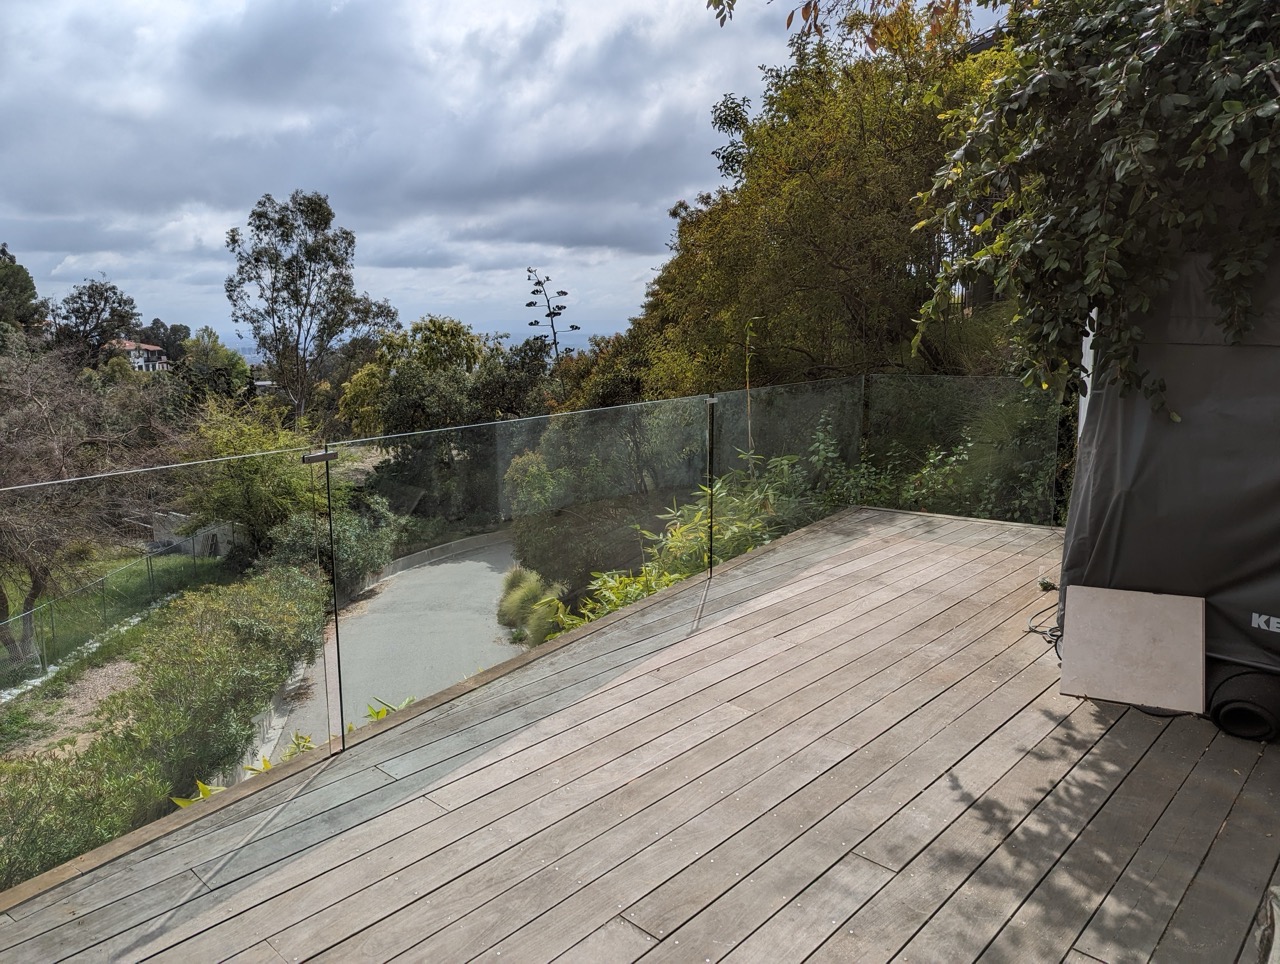
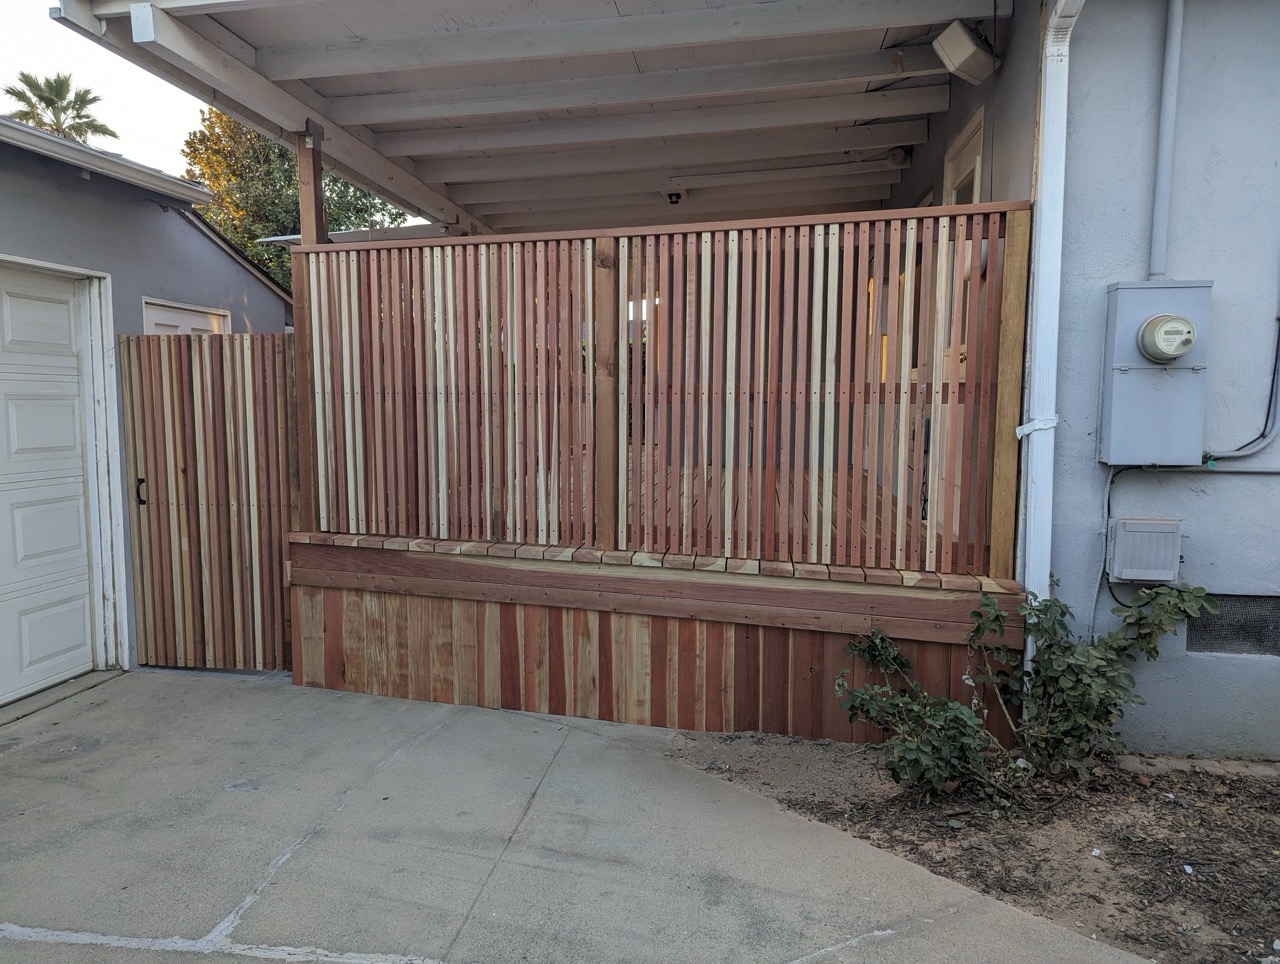
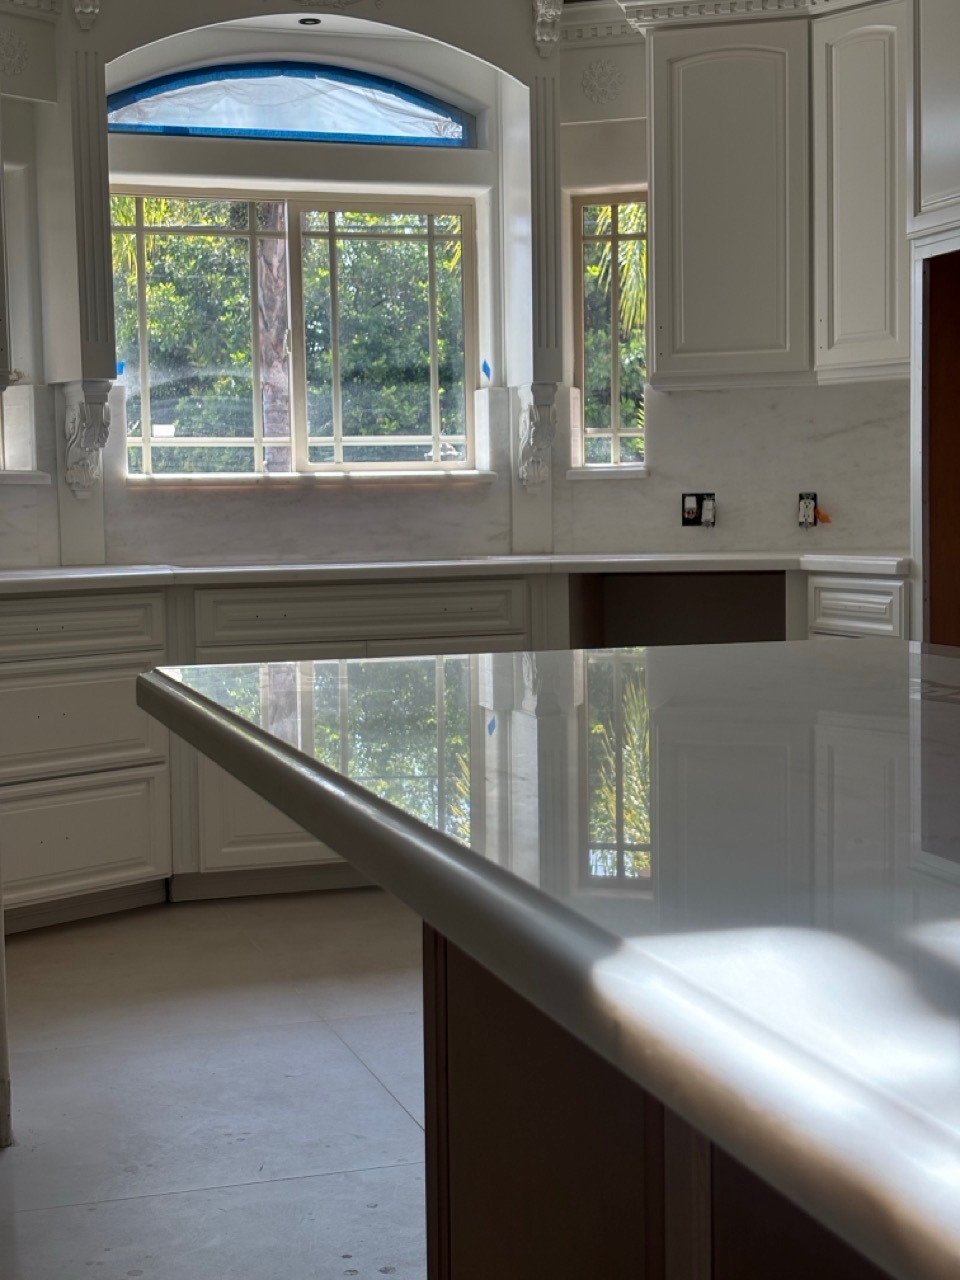
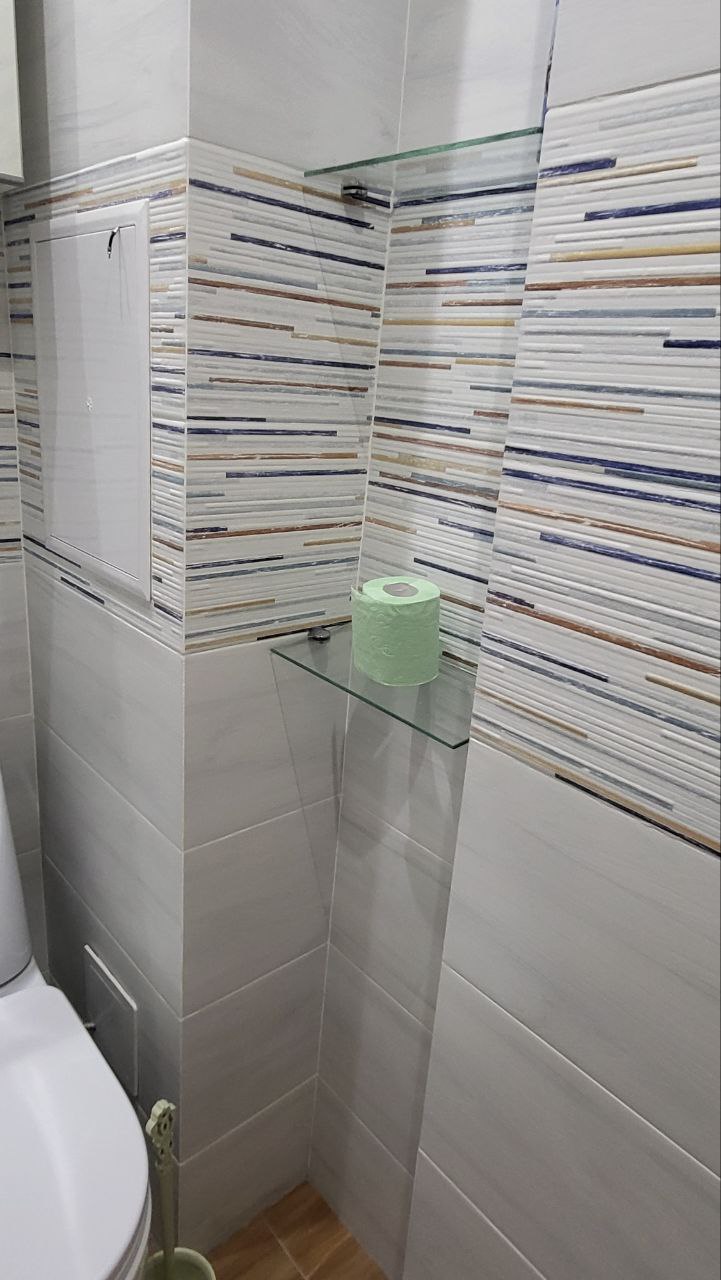
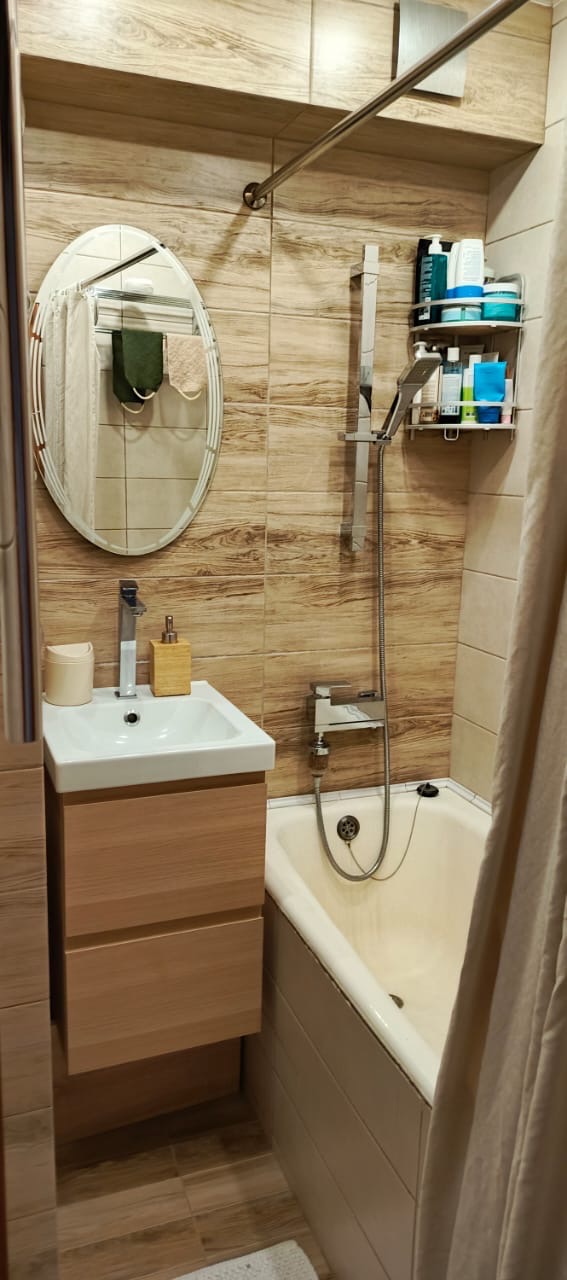
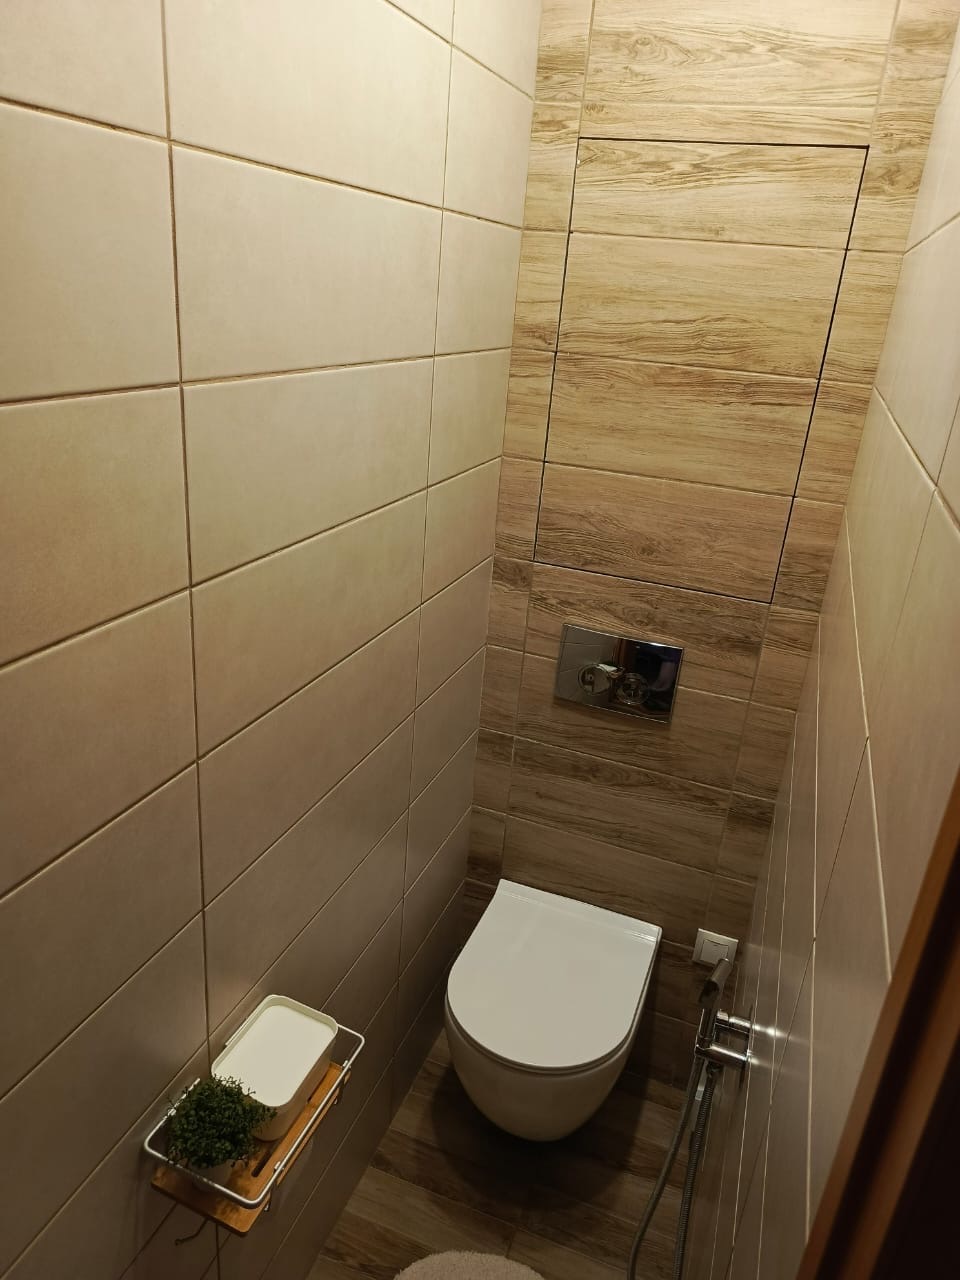
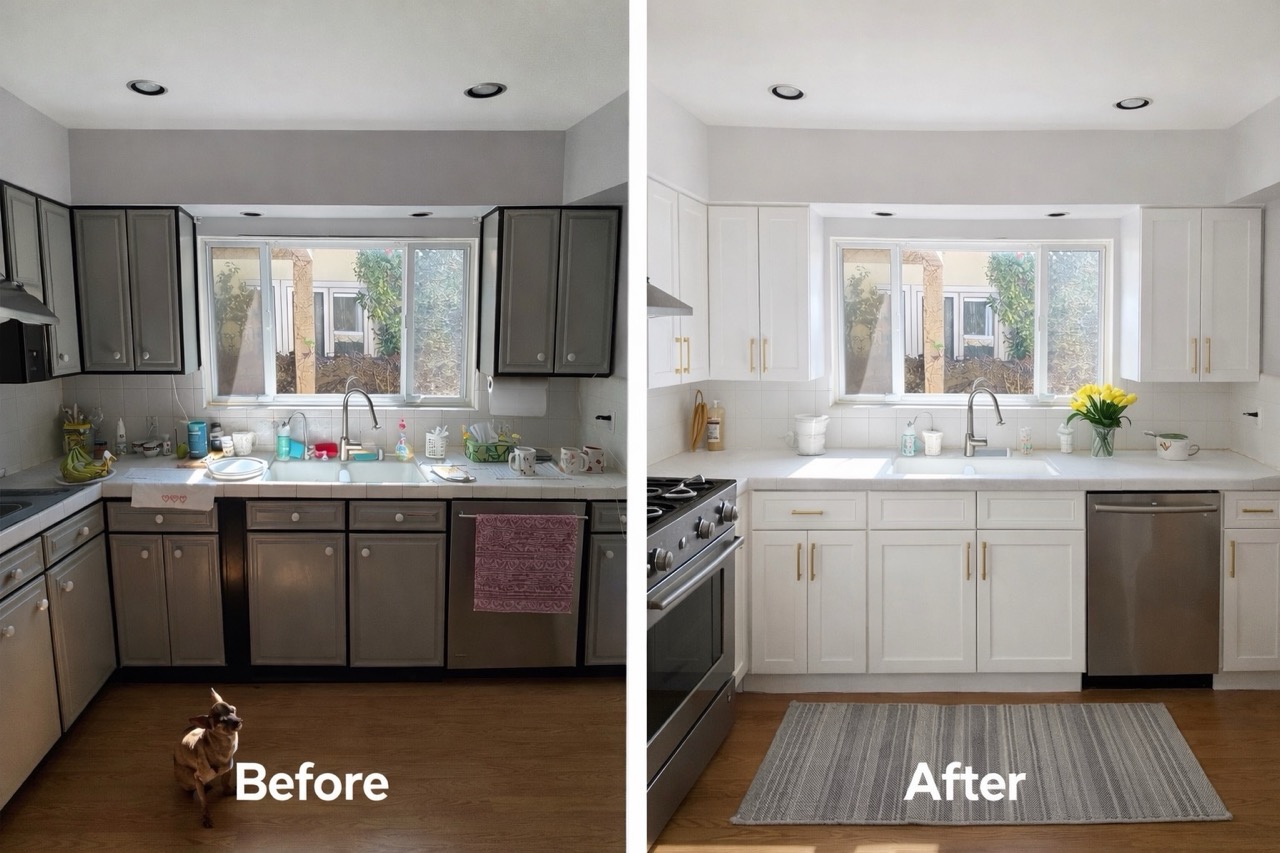
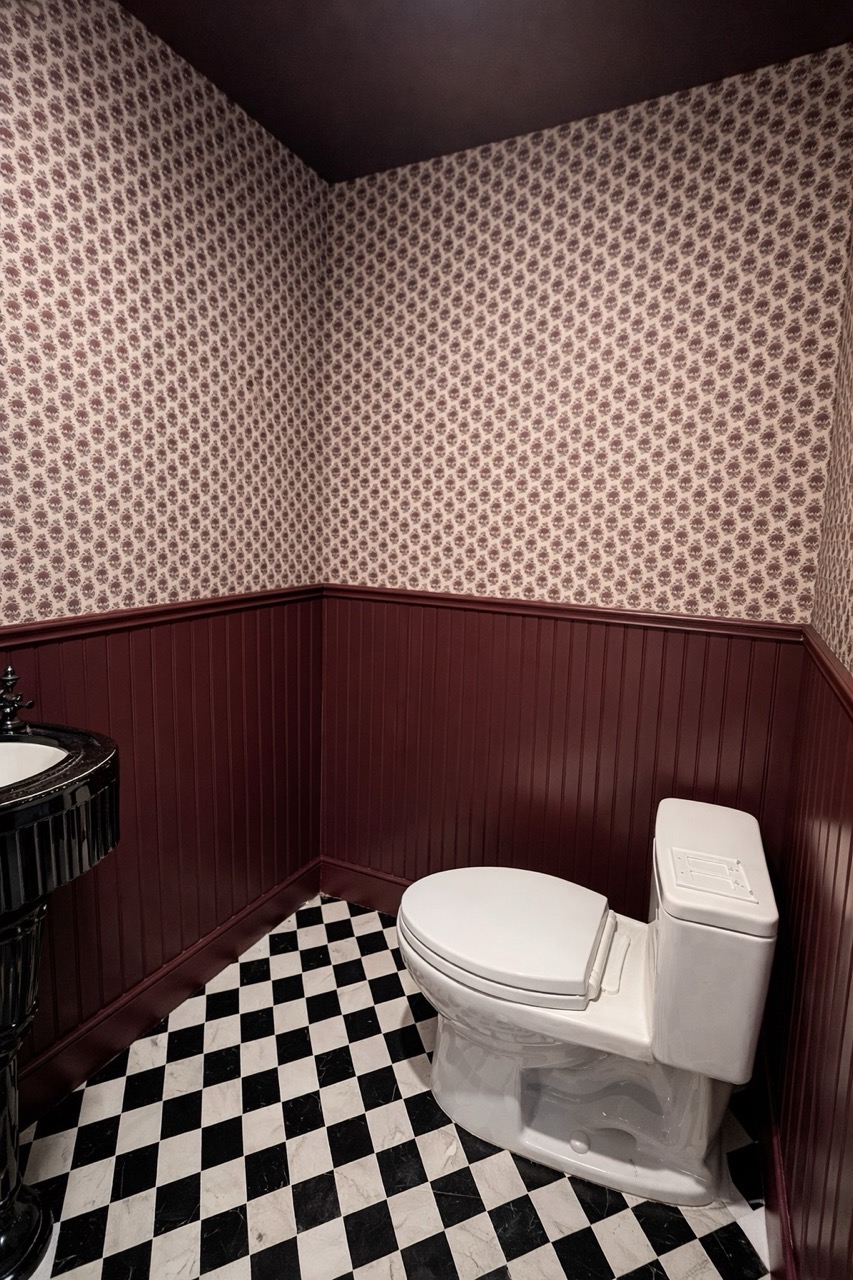
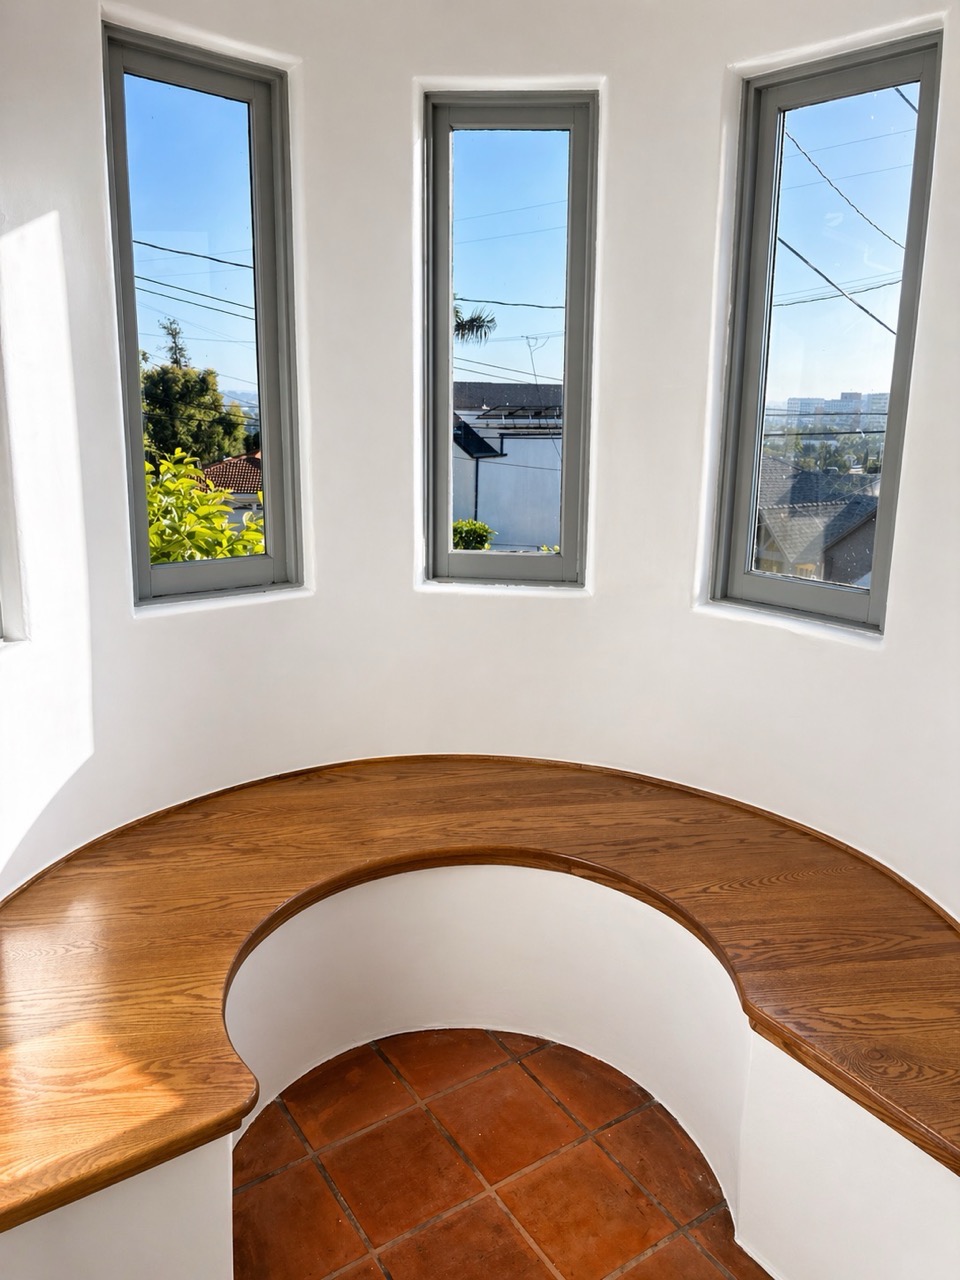
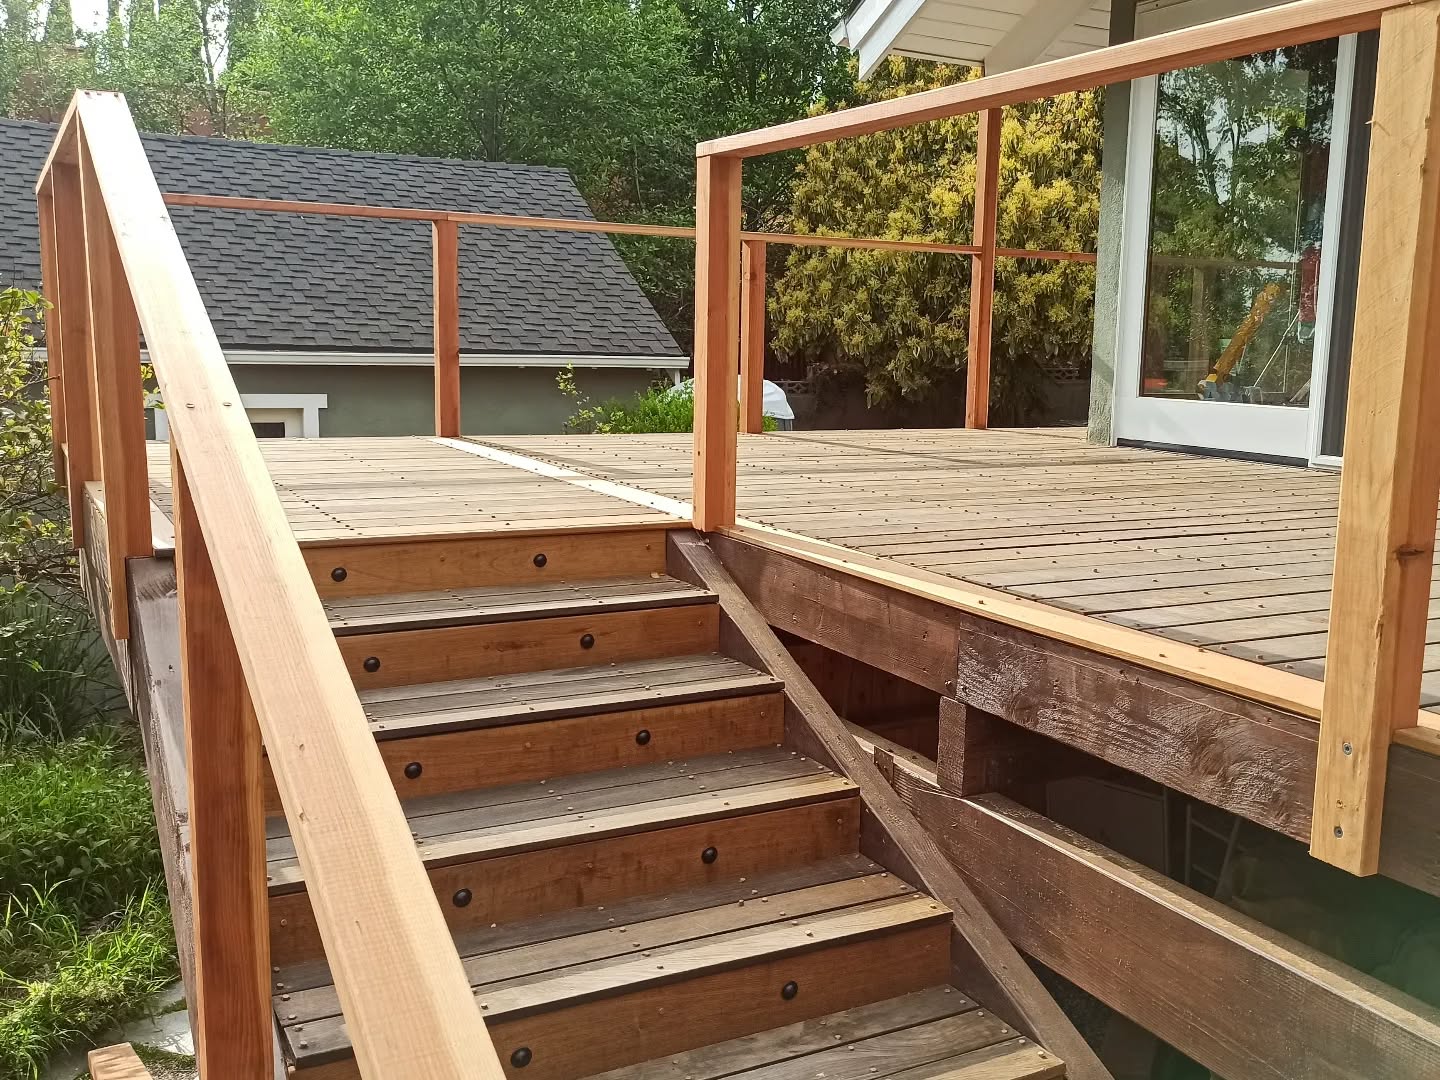
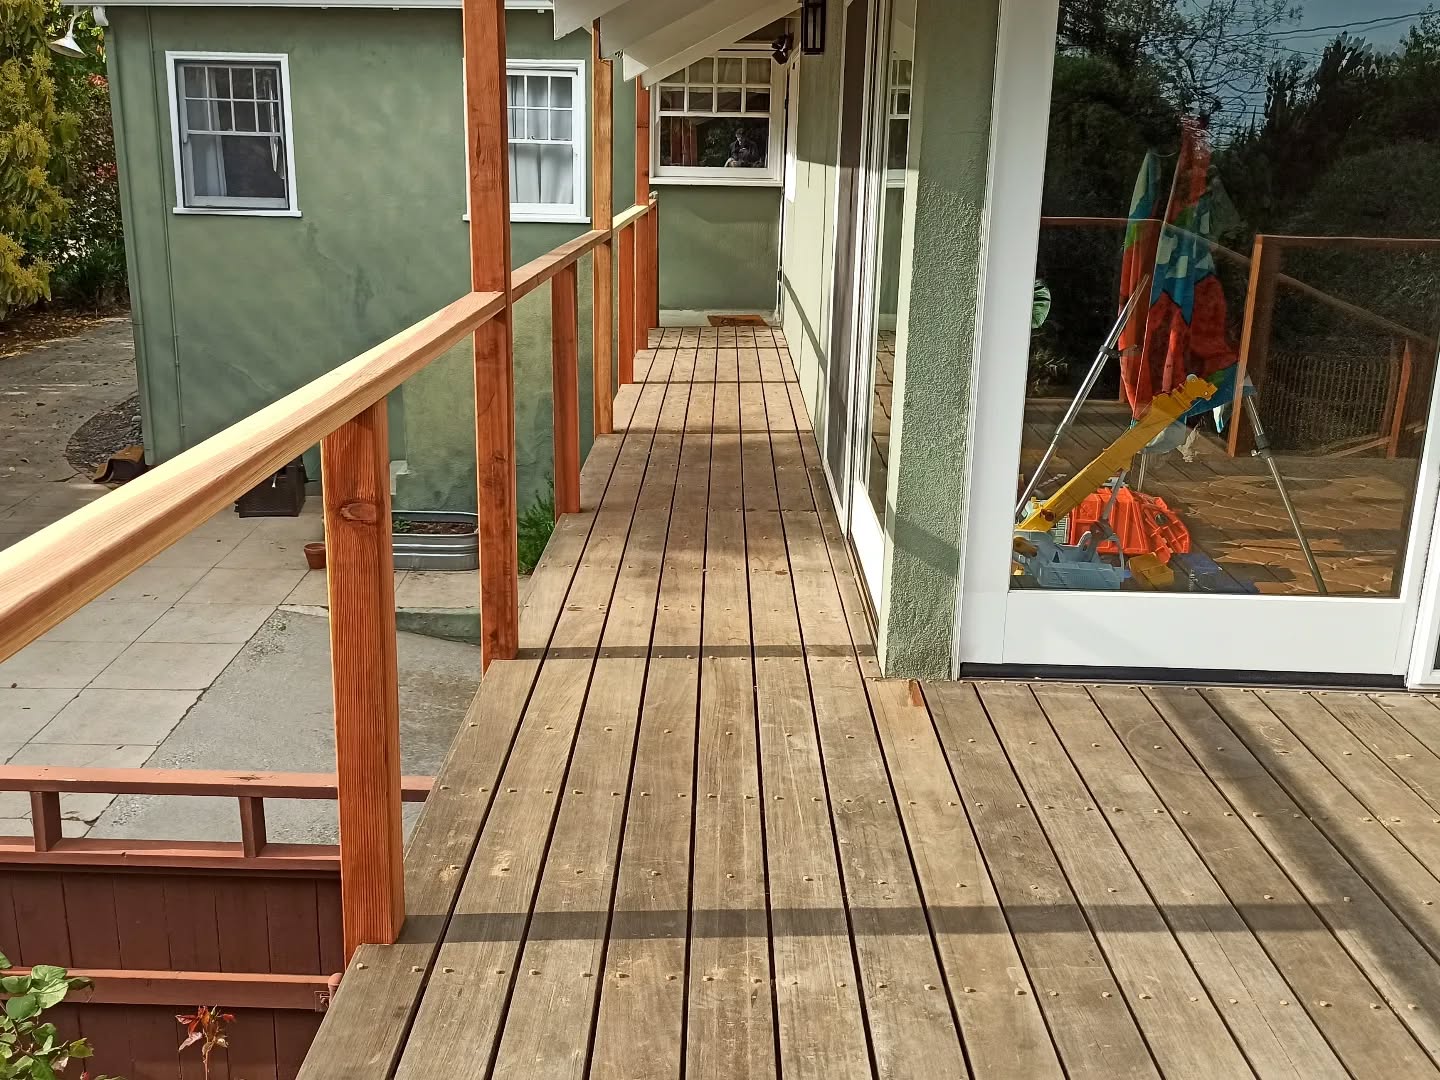
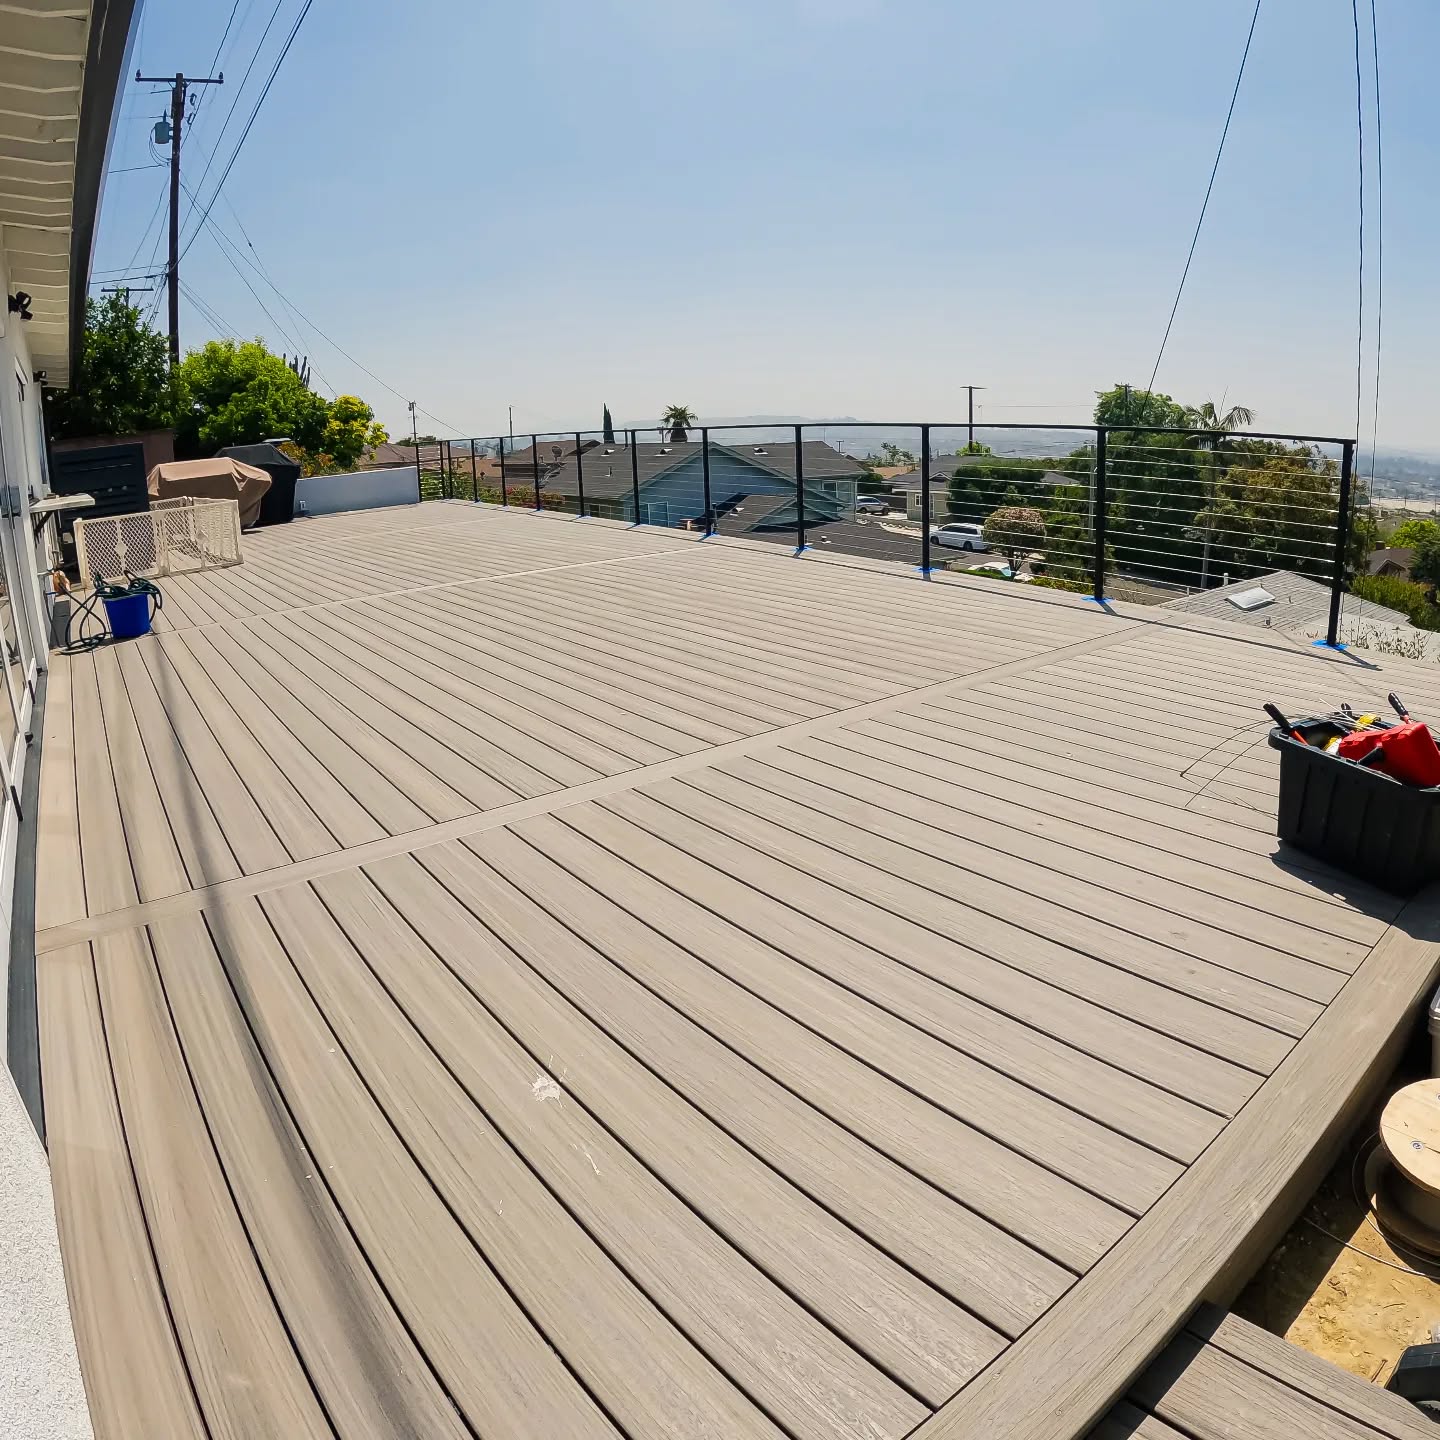
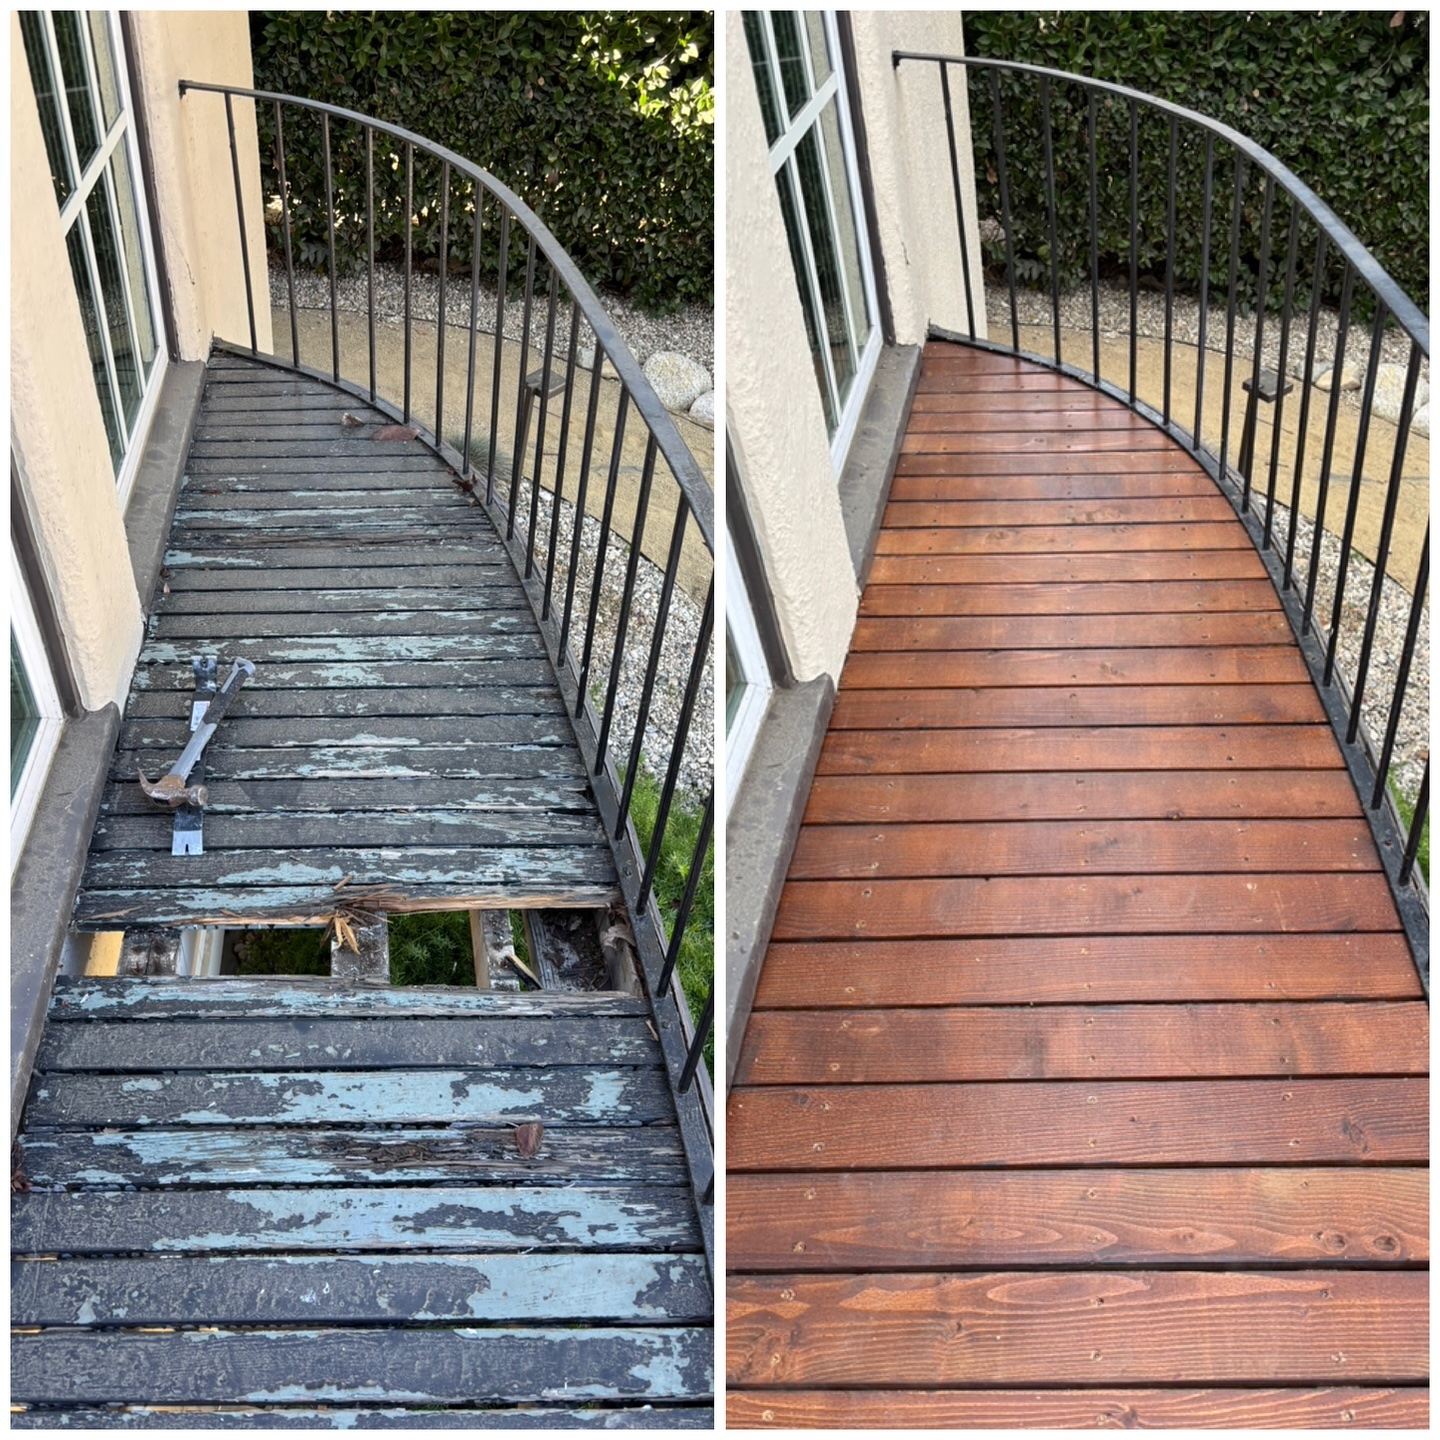
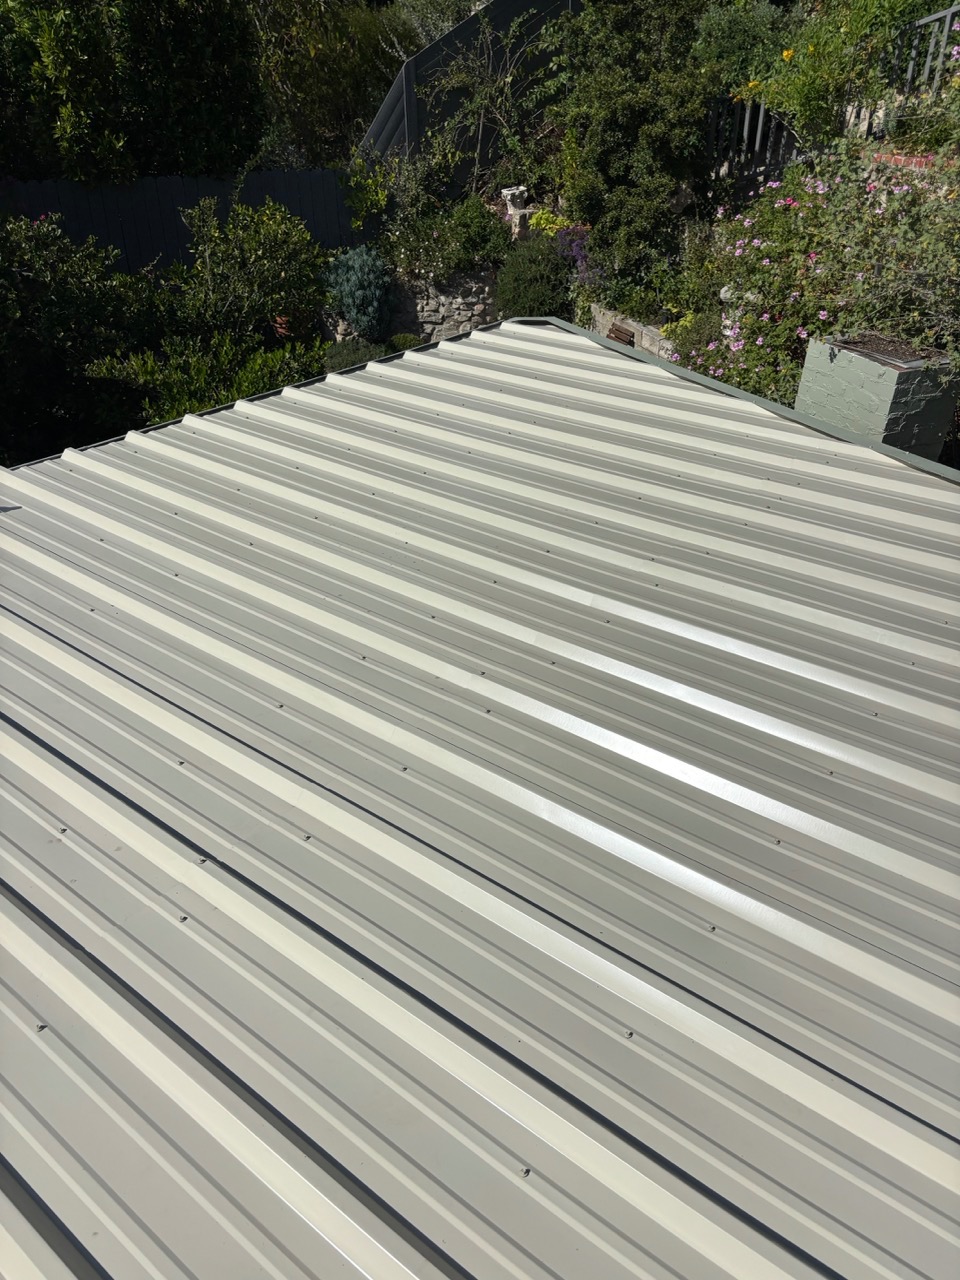
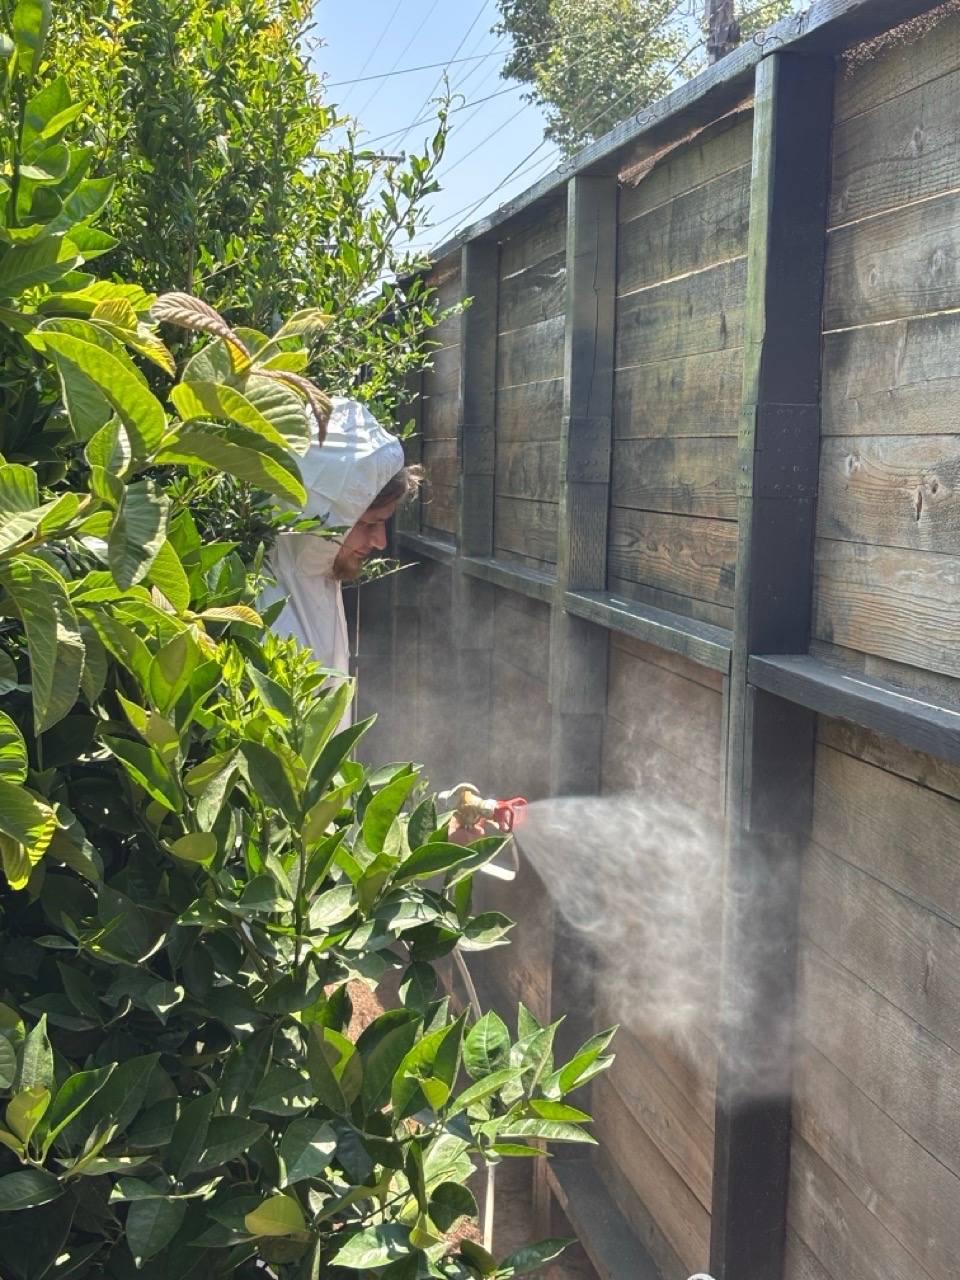
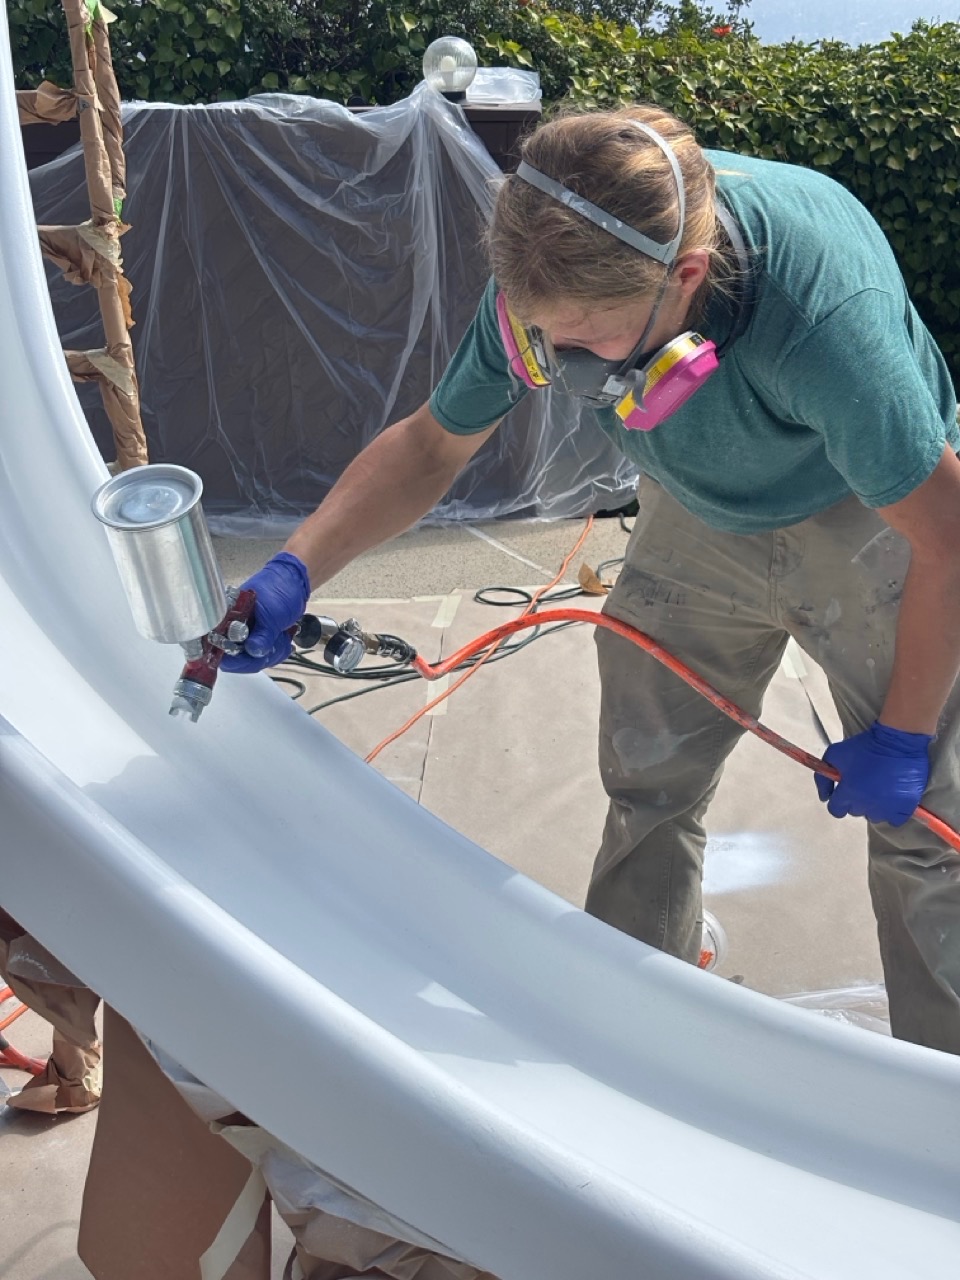
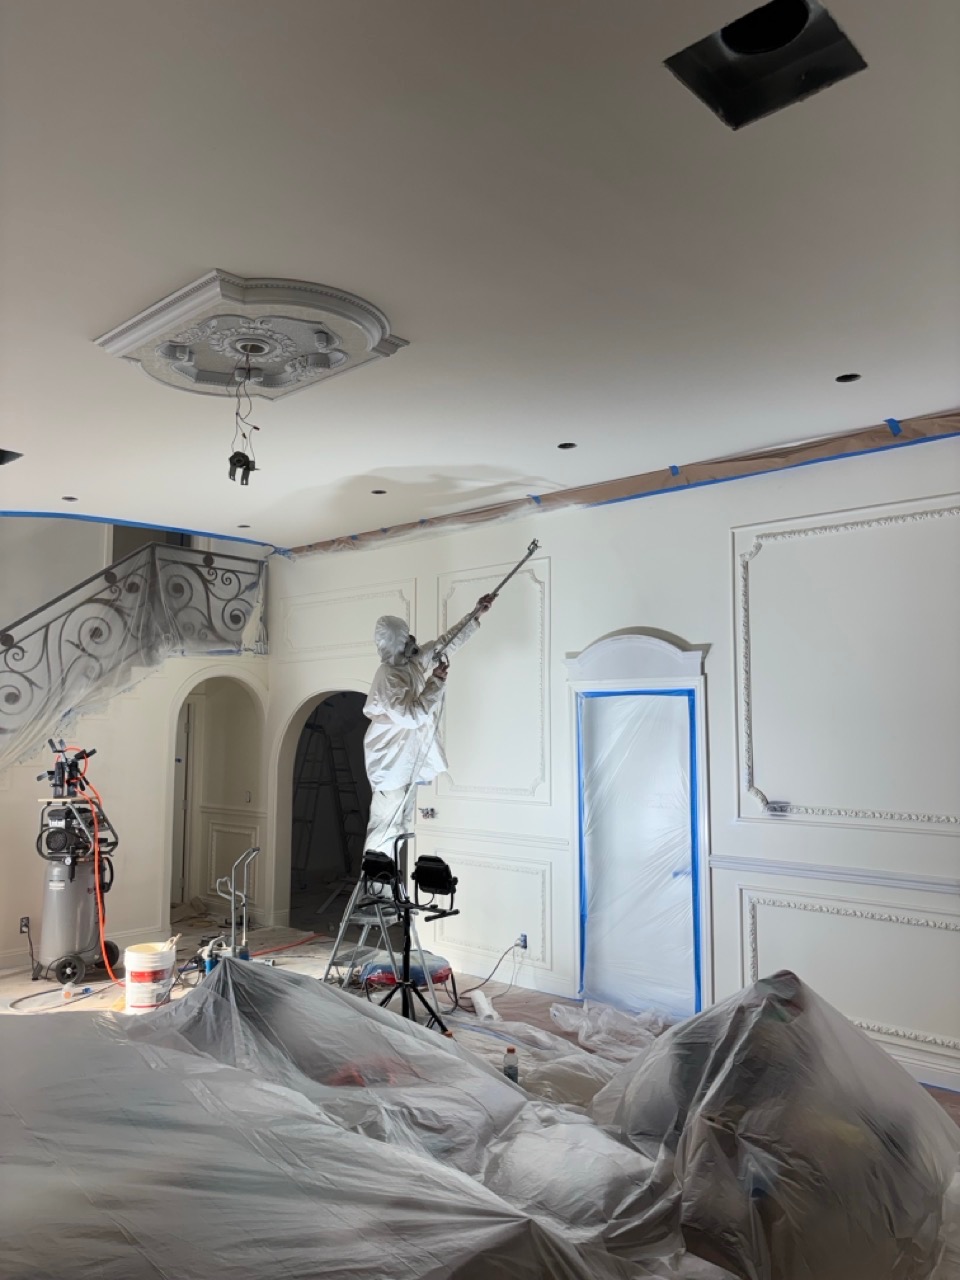
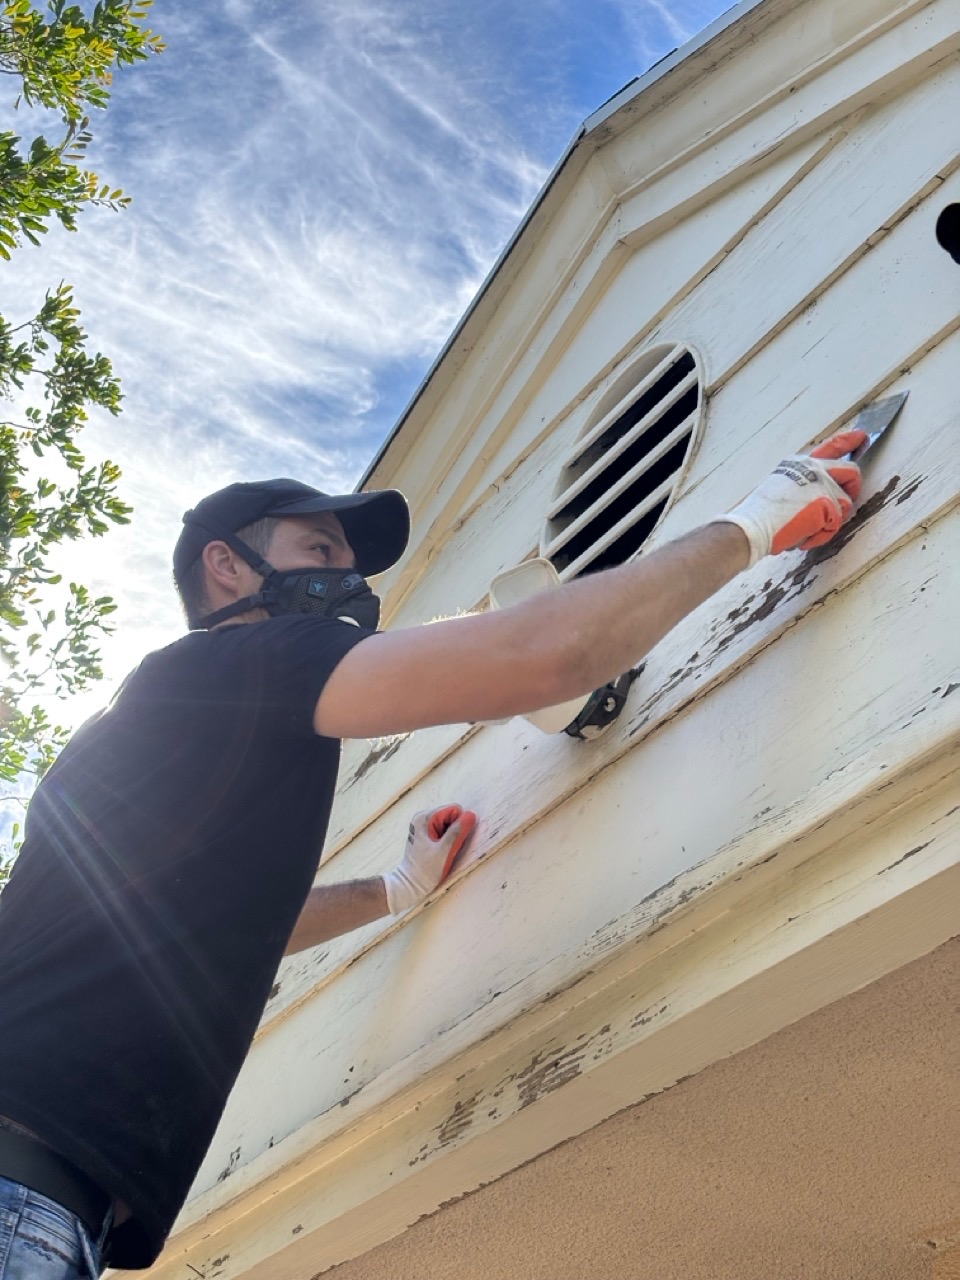
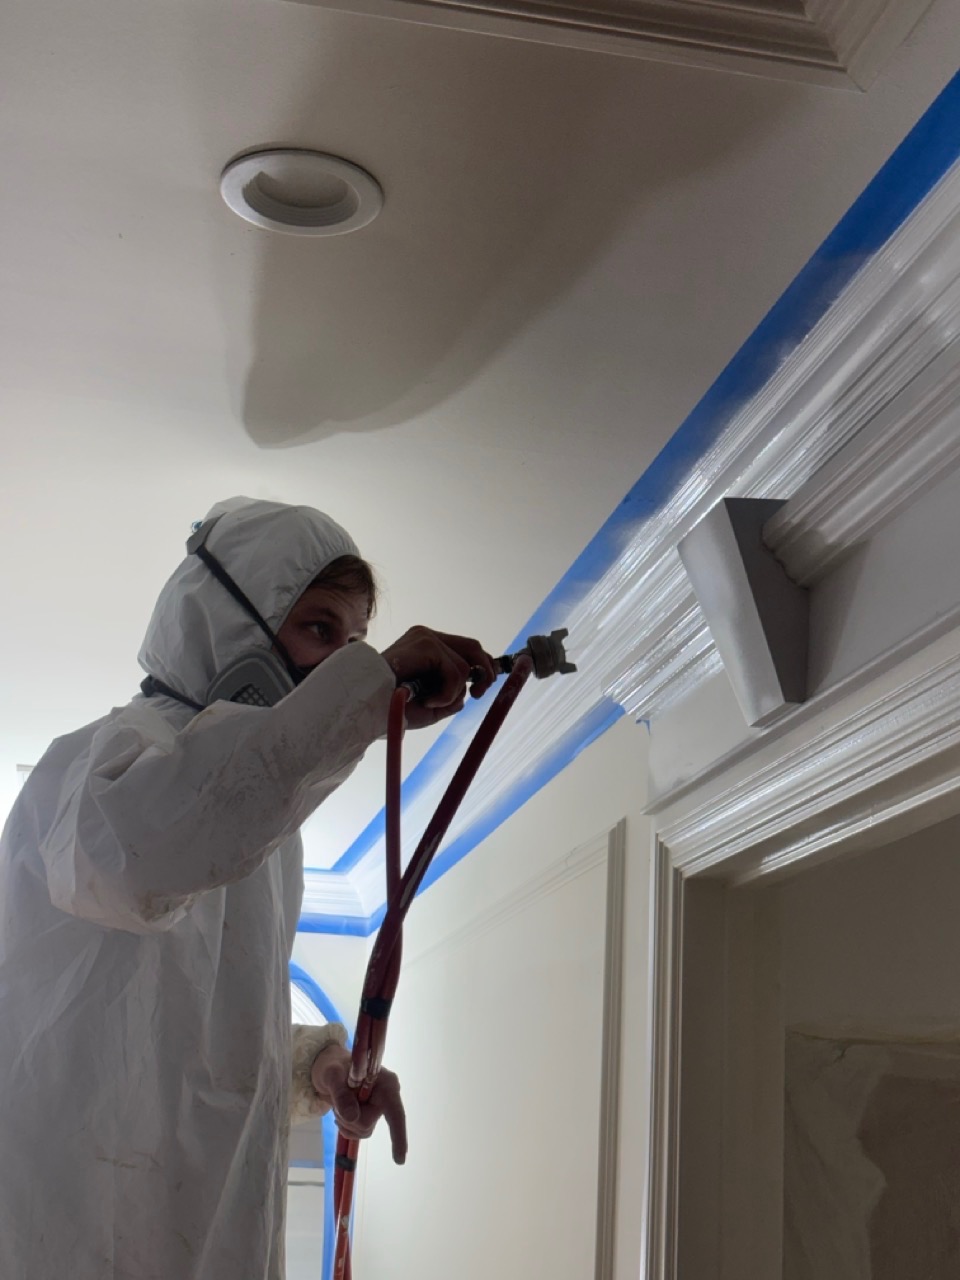
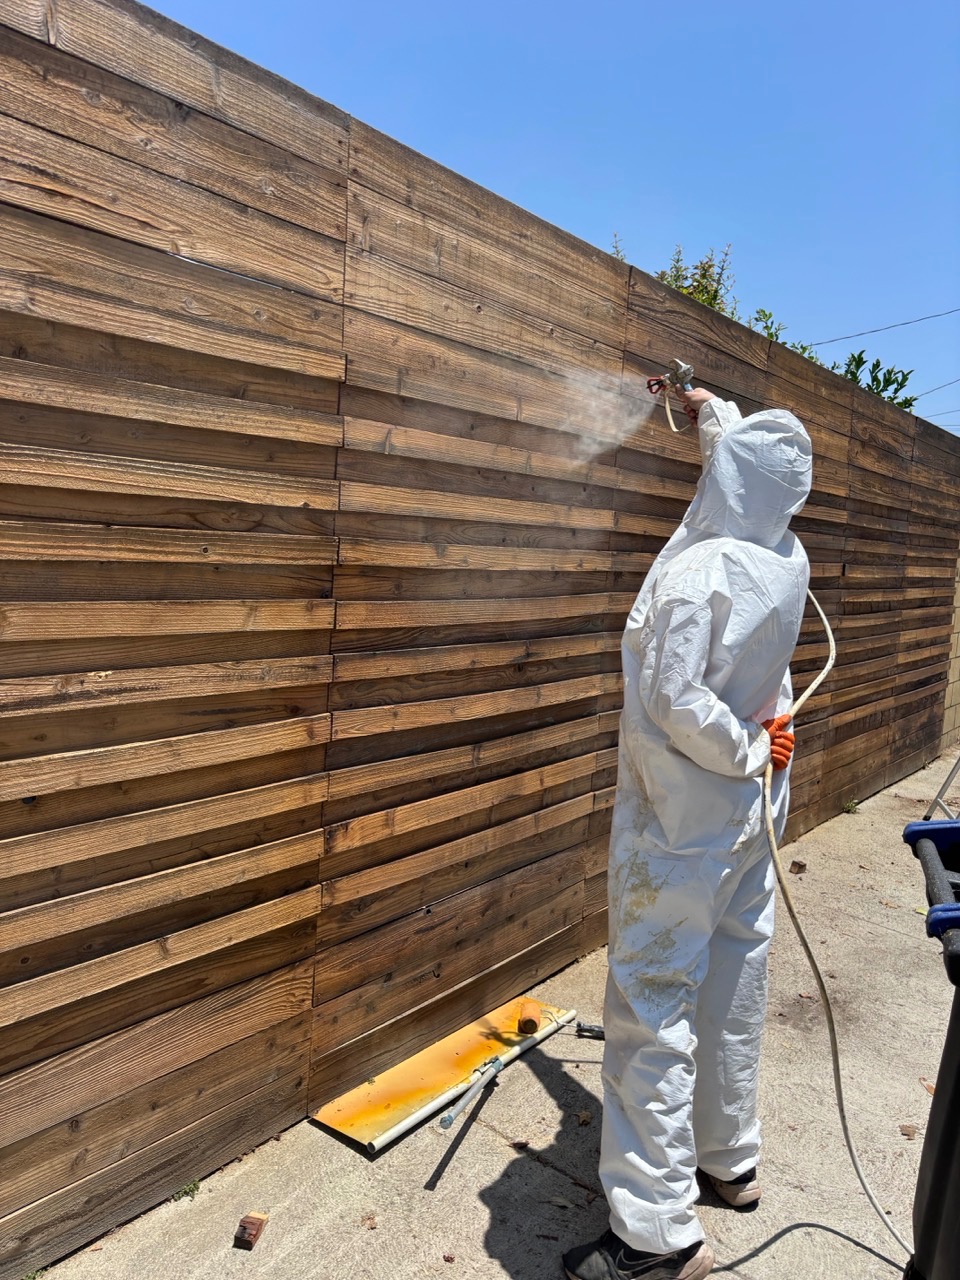
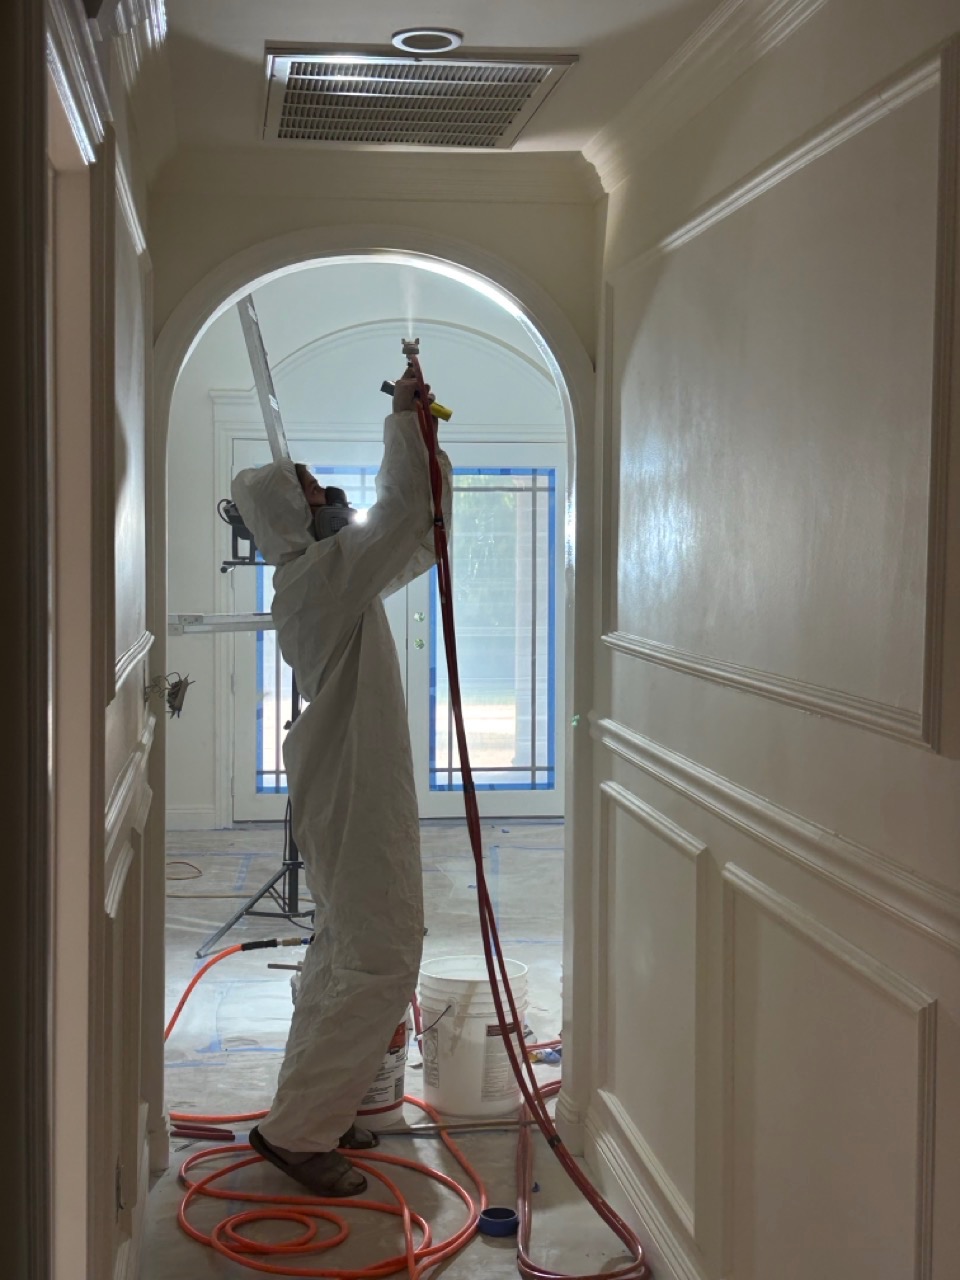
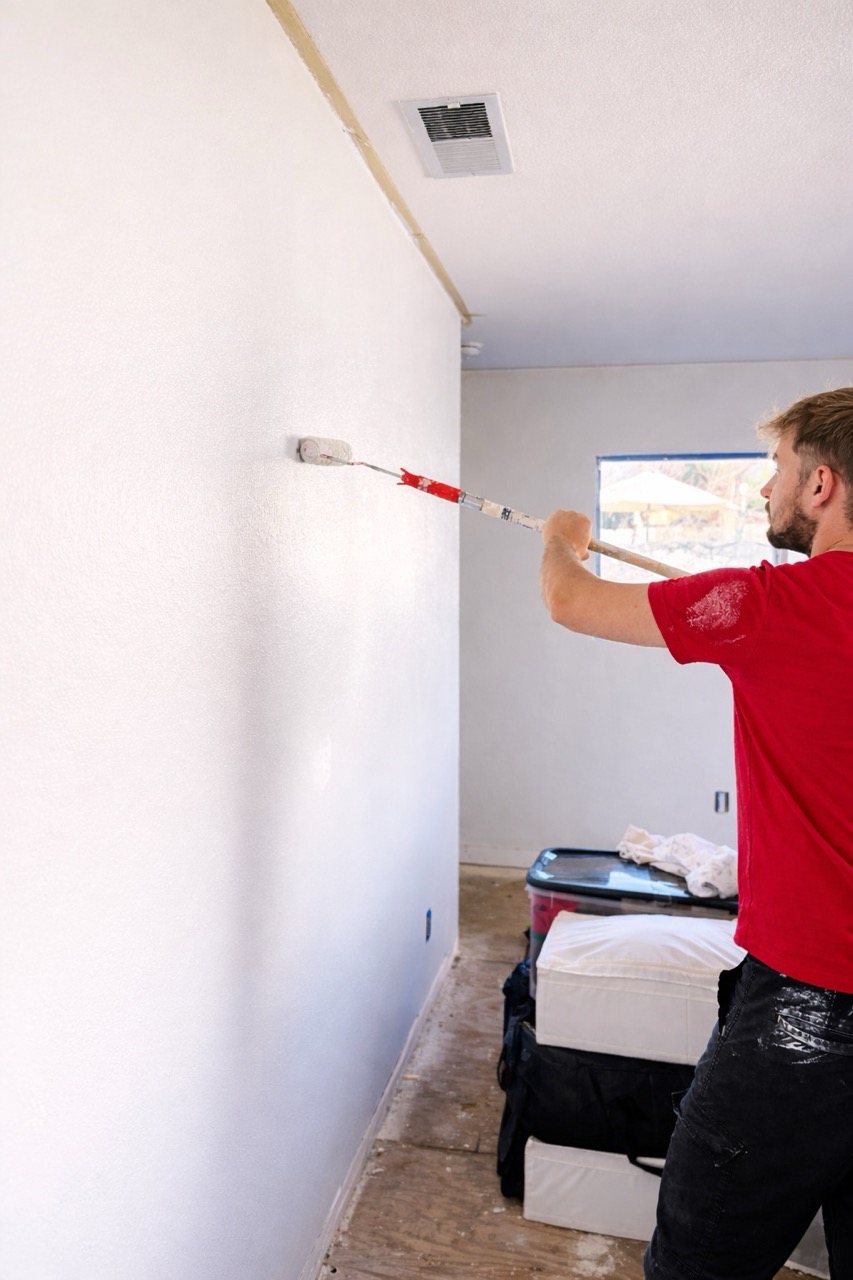
Real renovation, fence, deck and finish work across Los Angeles
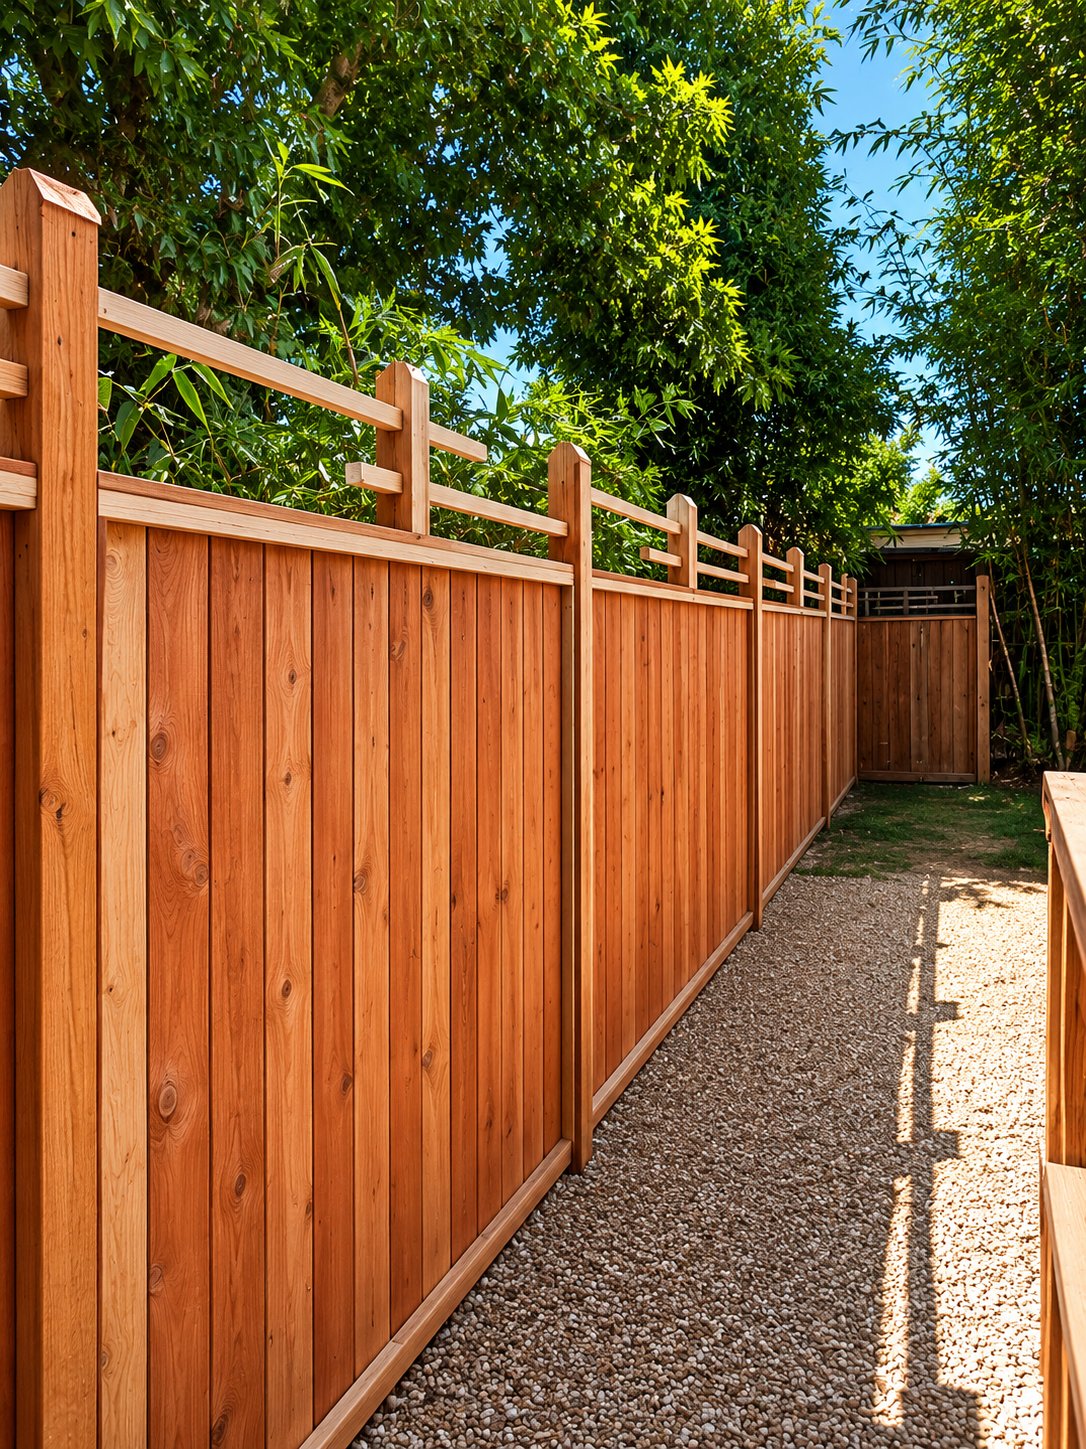
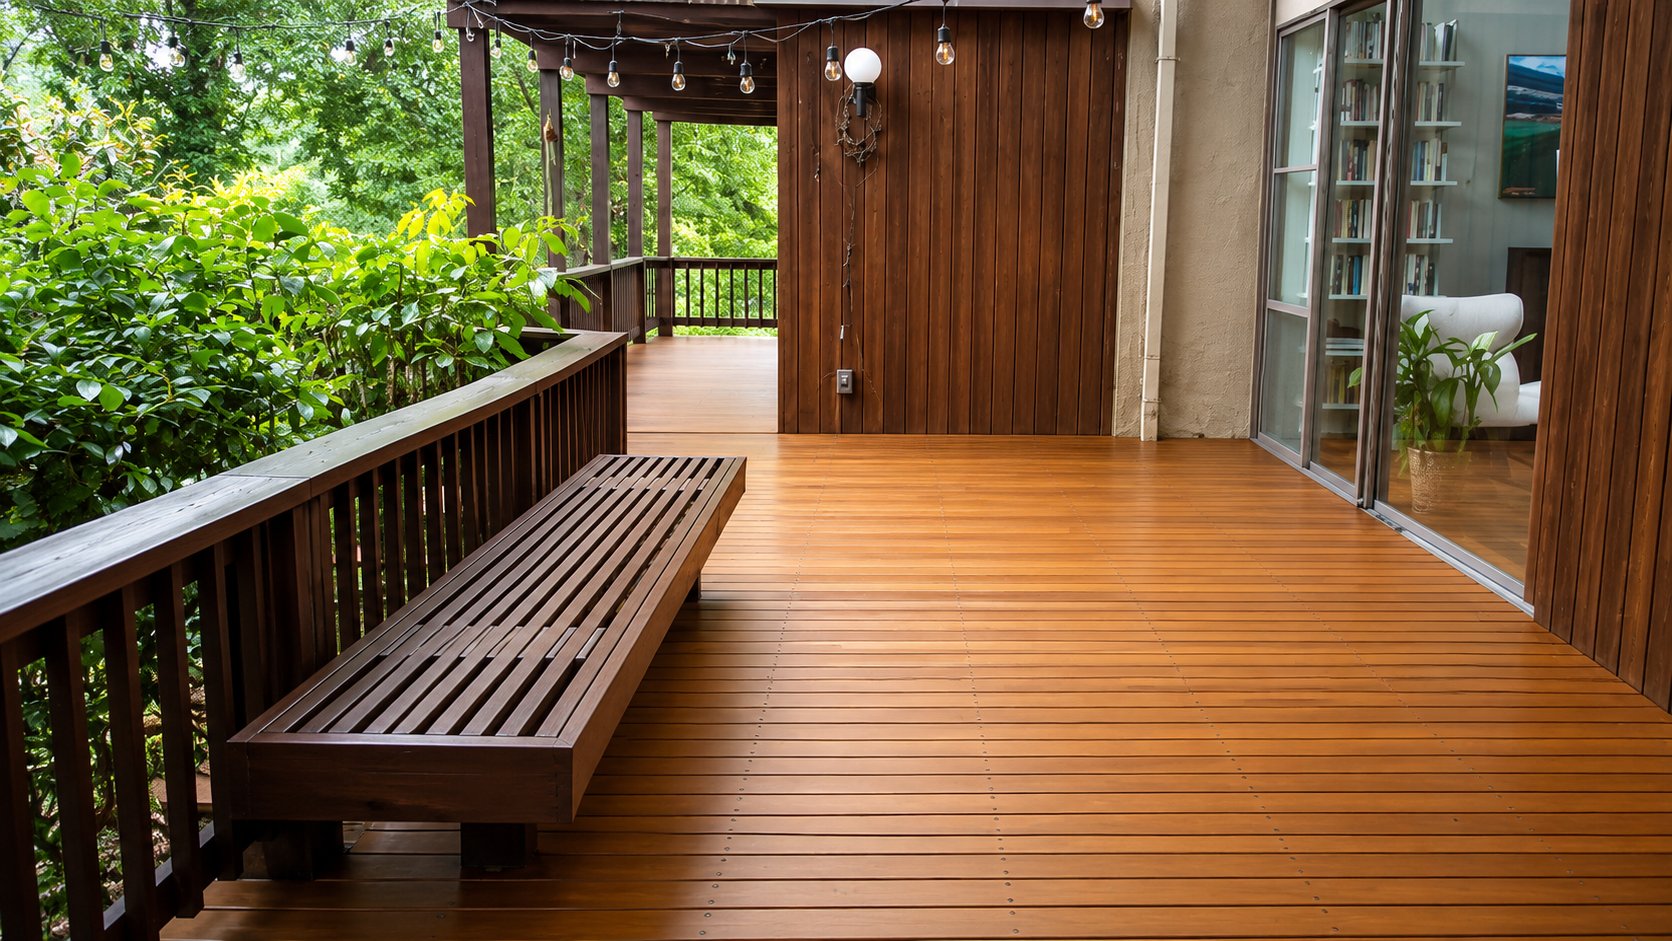
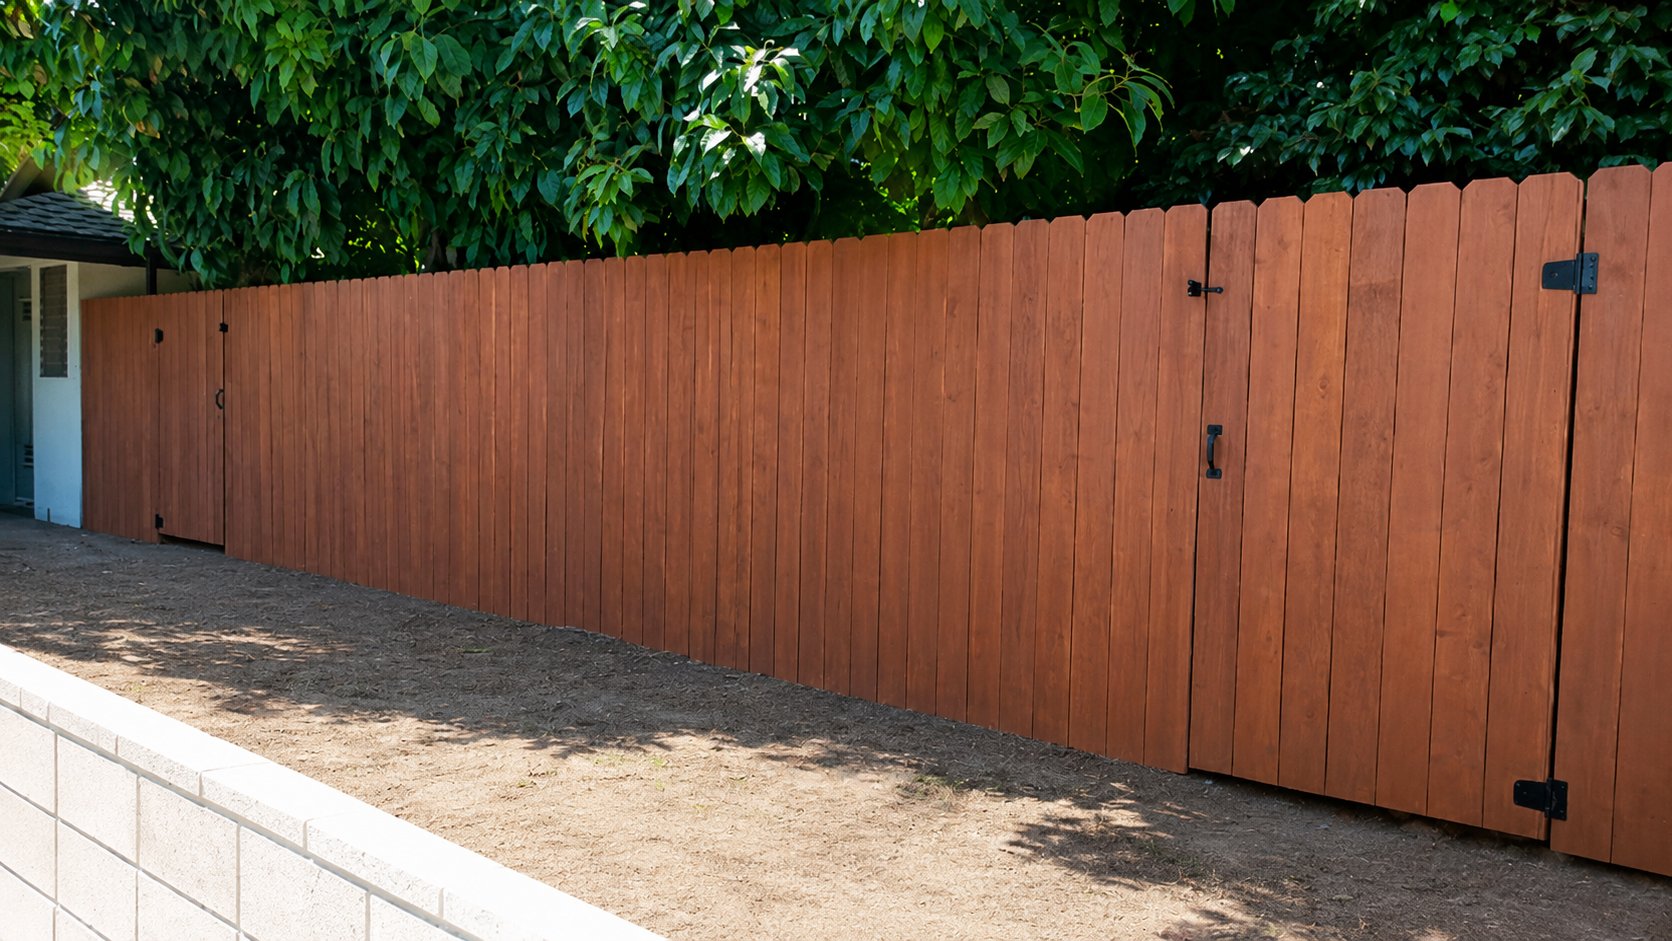
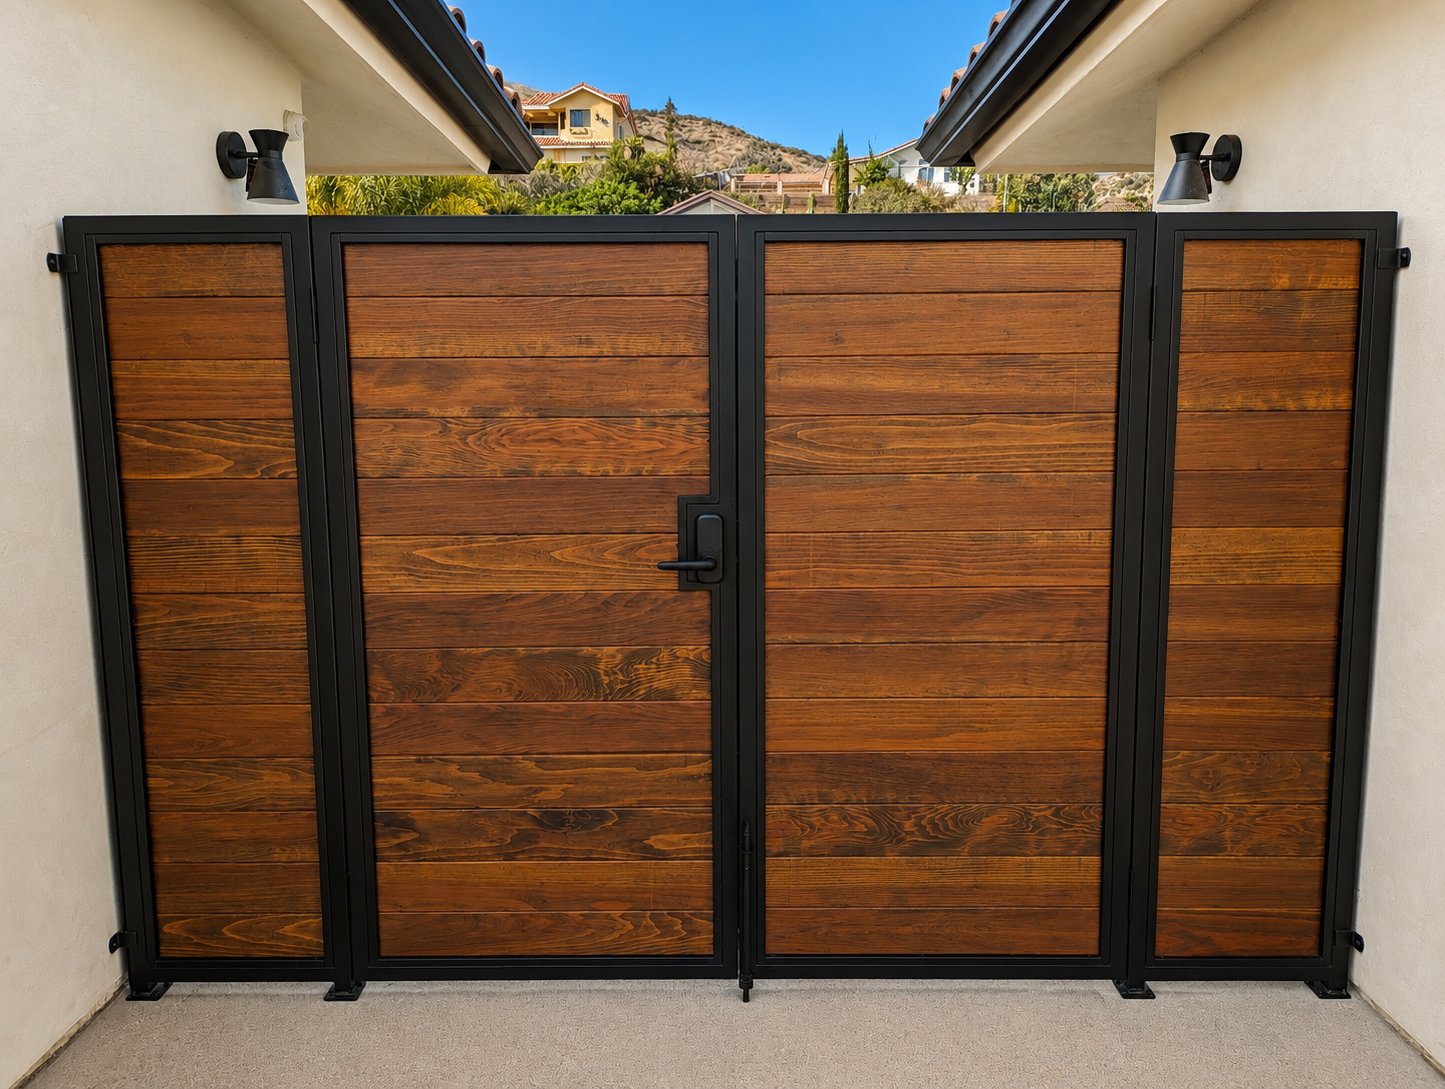
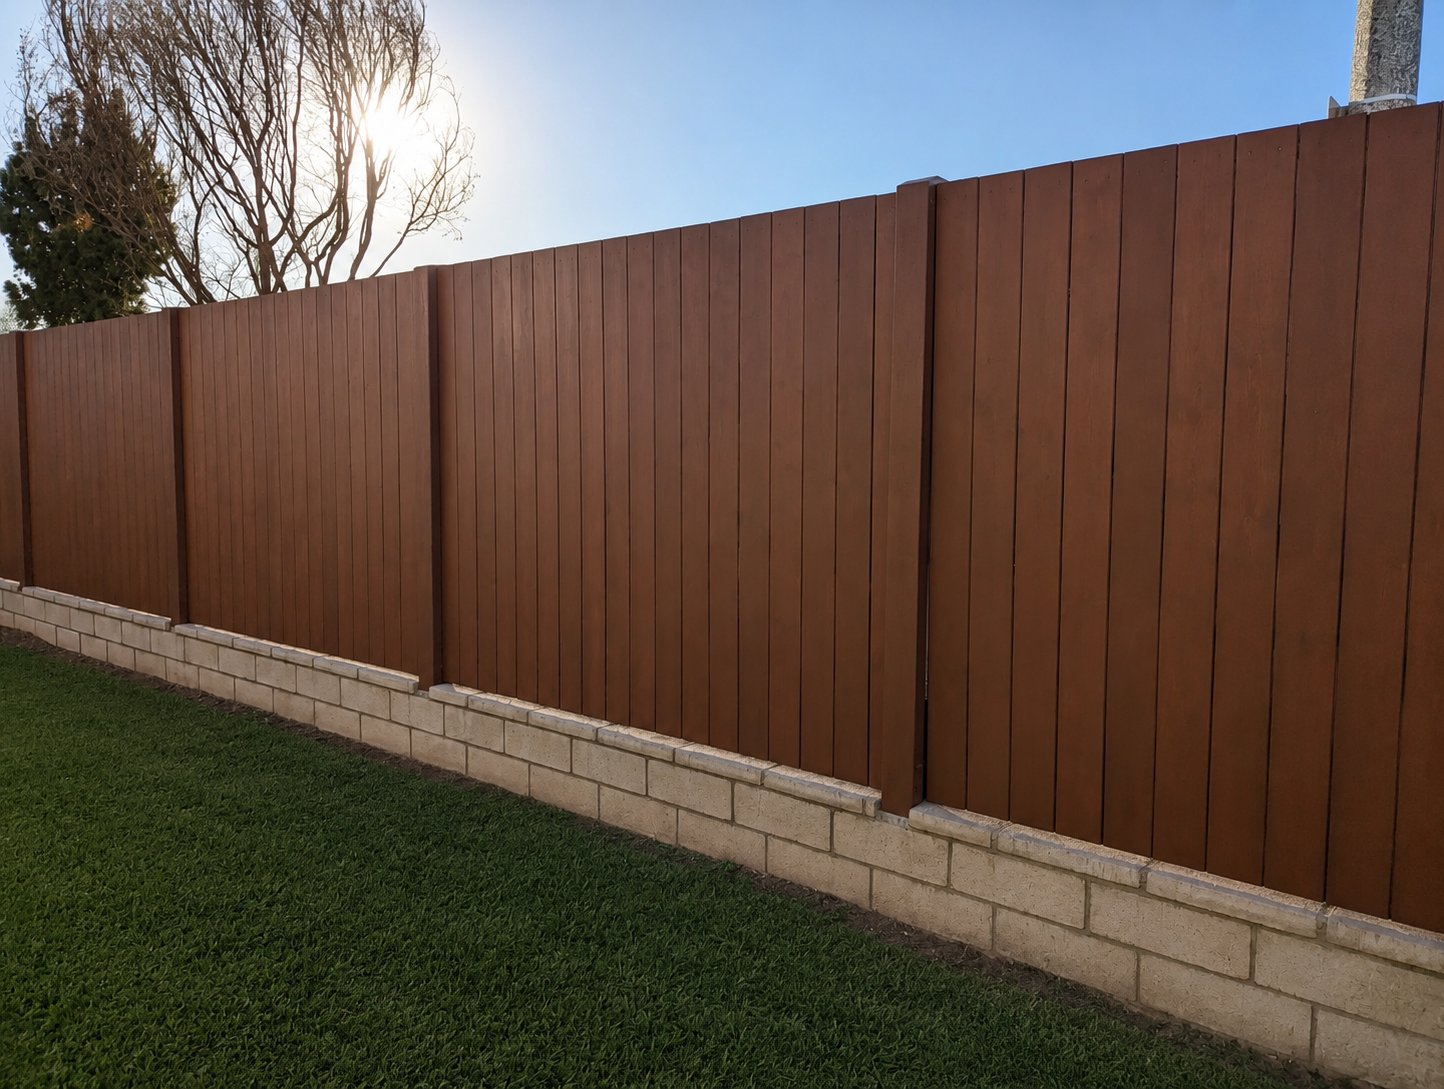
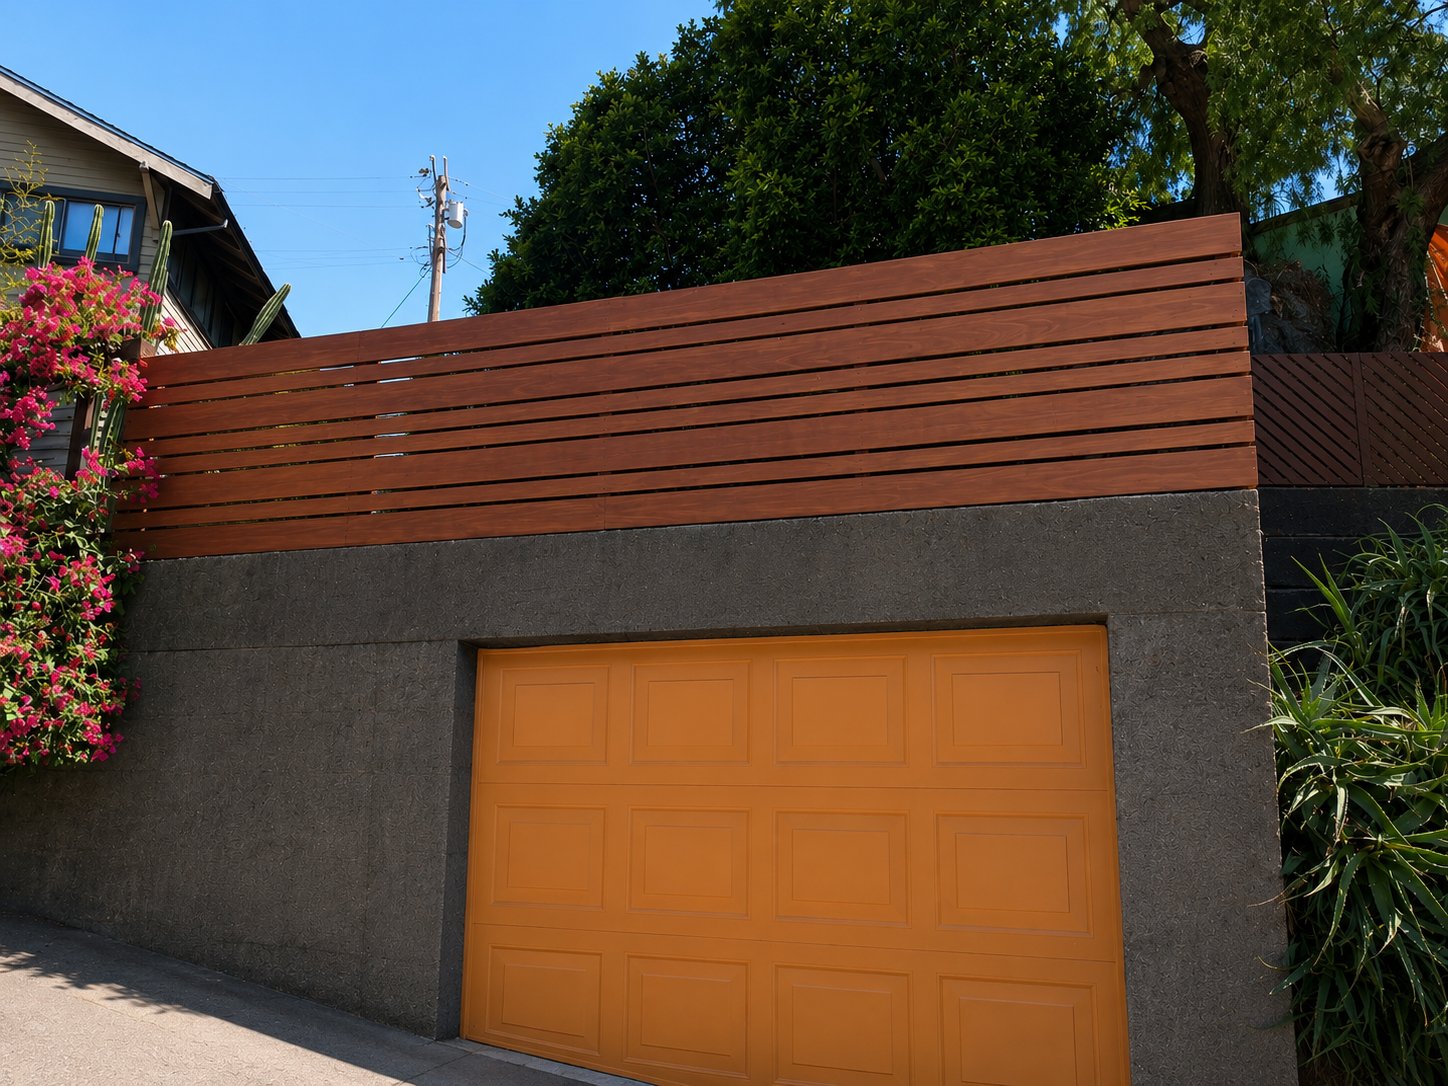
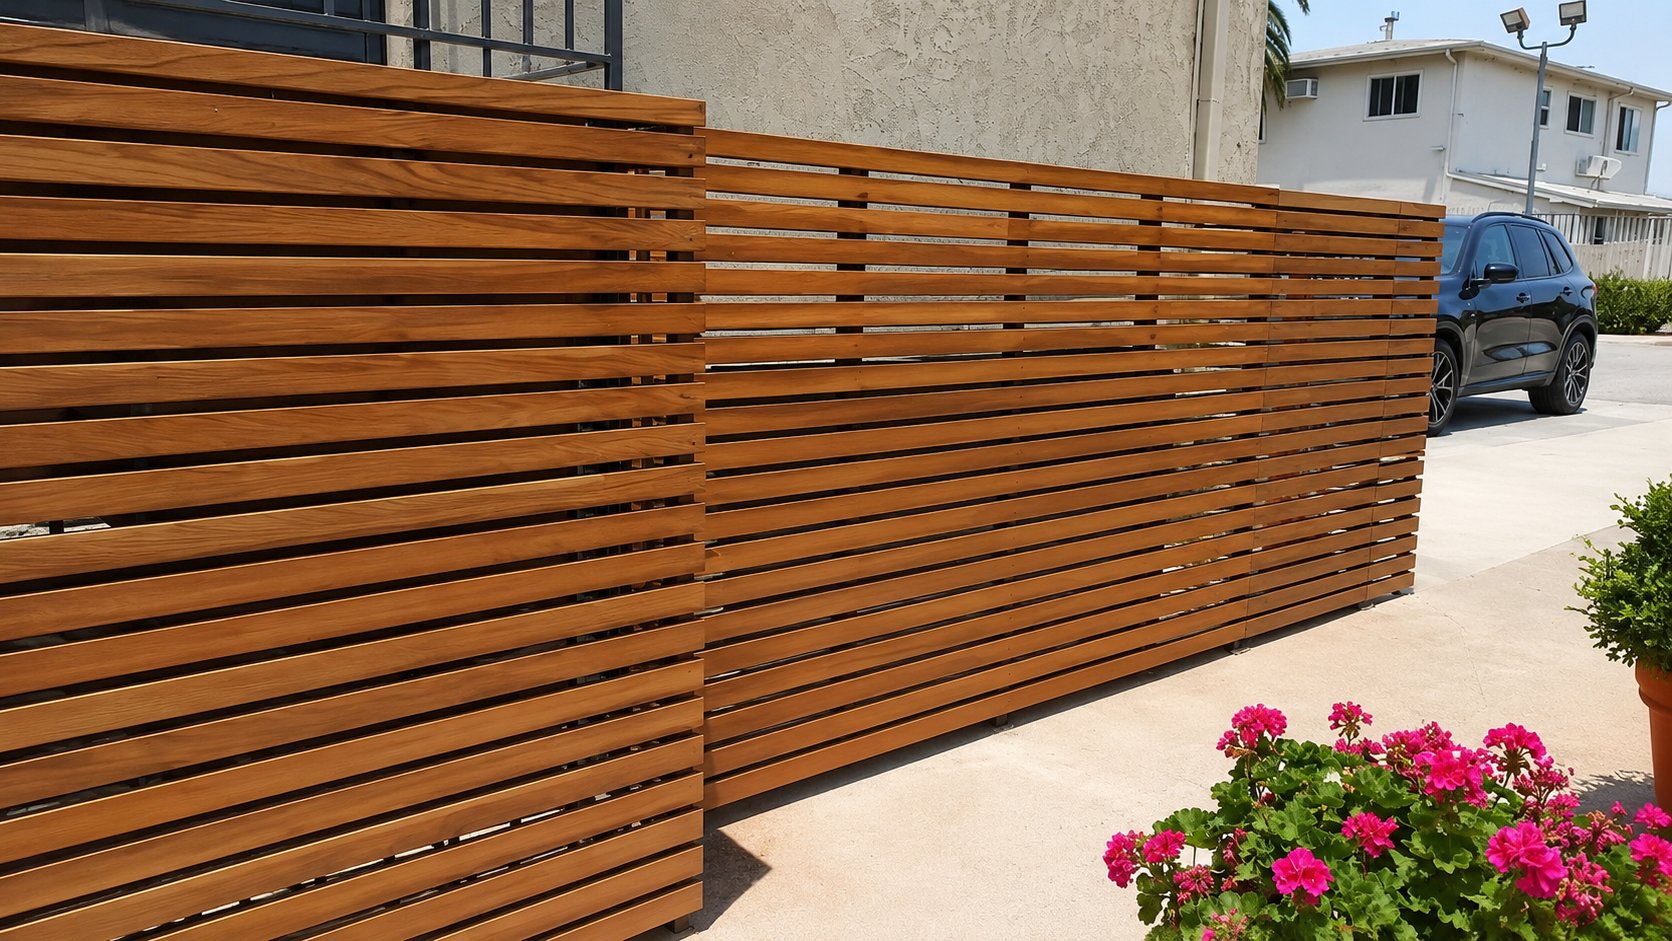
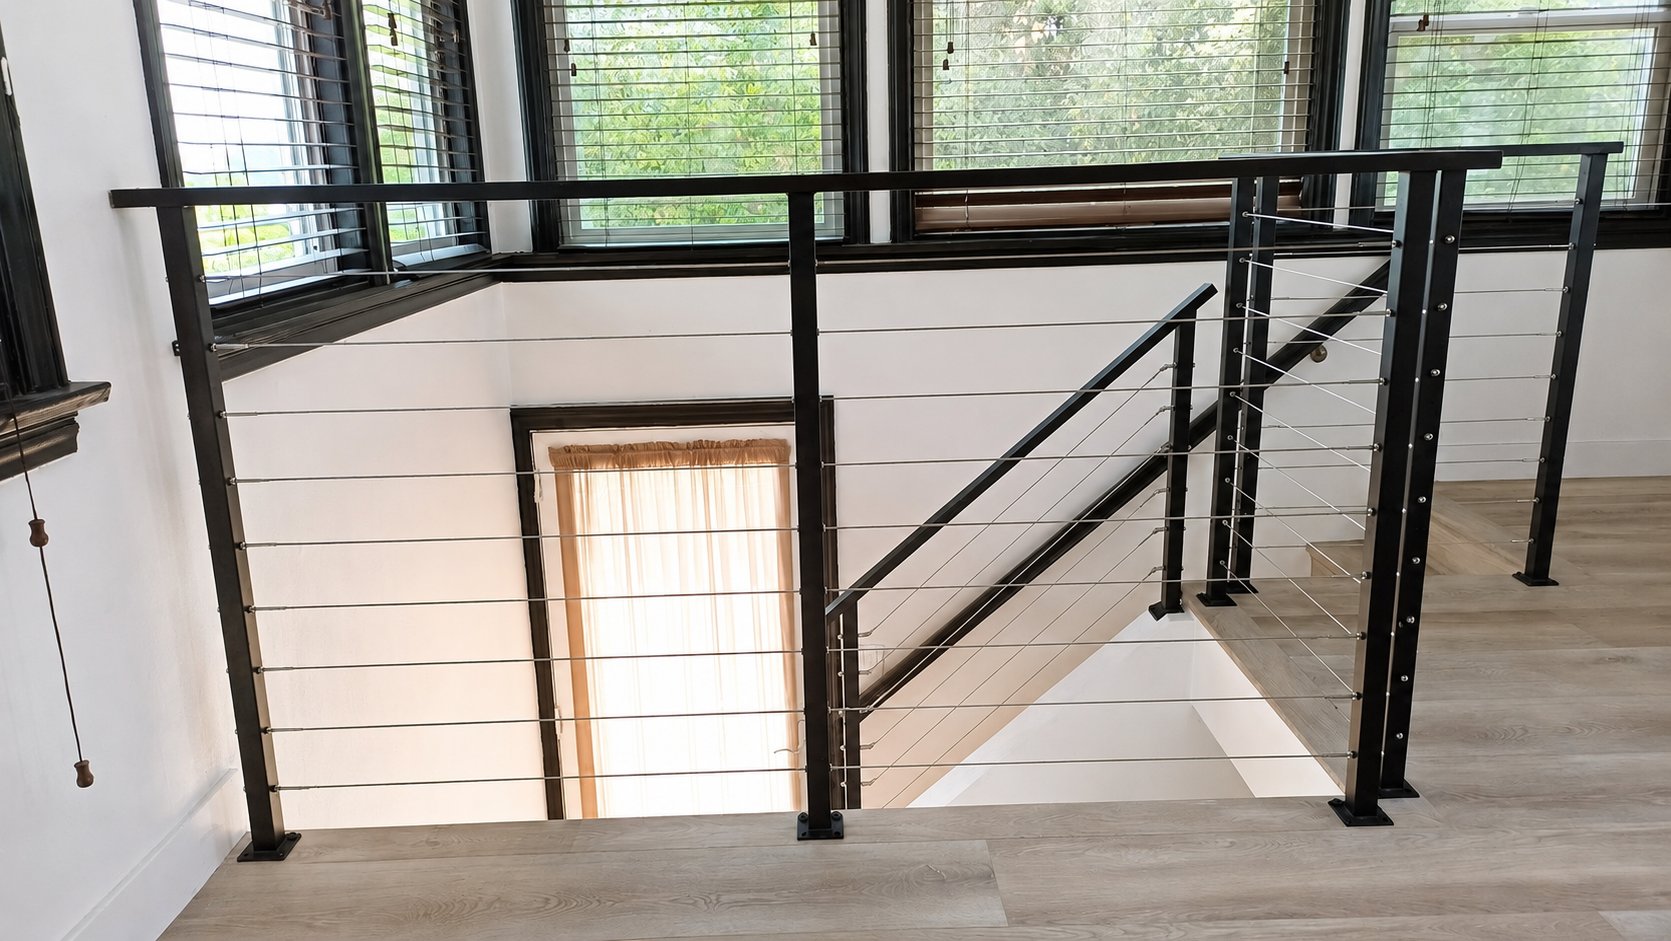
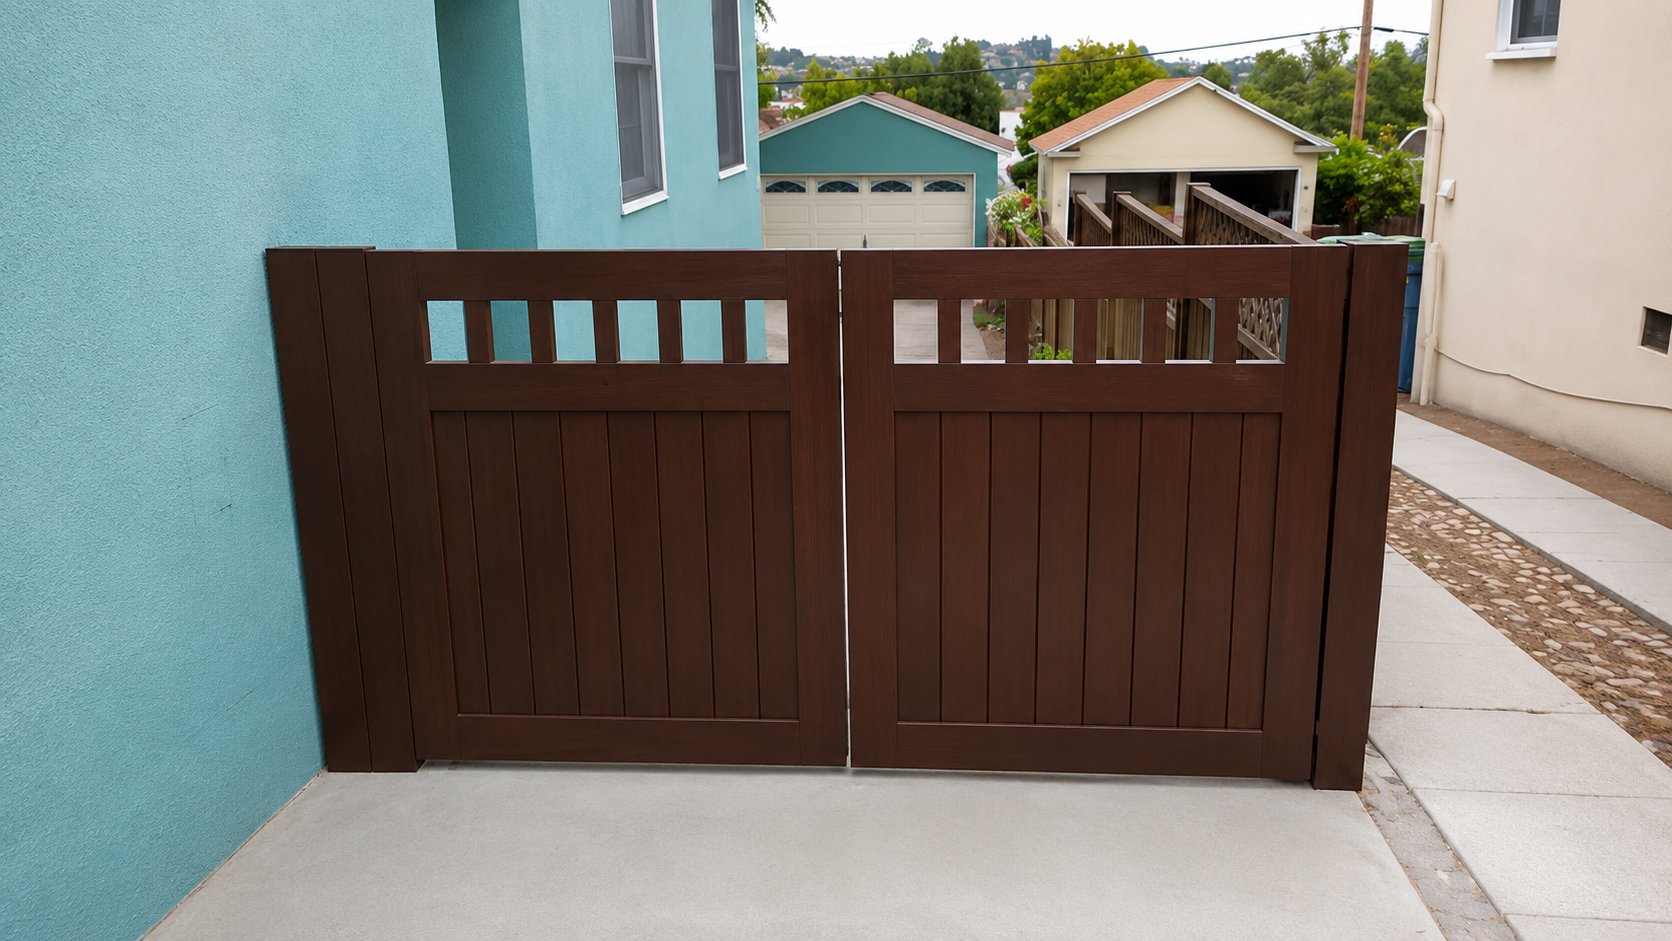
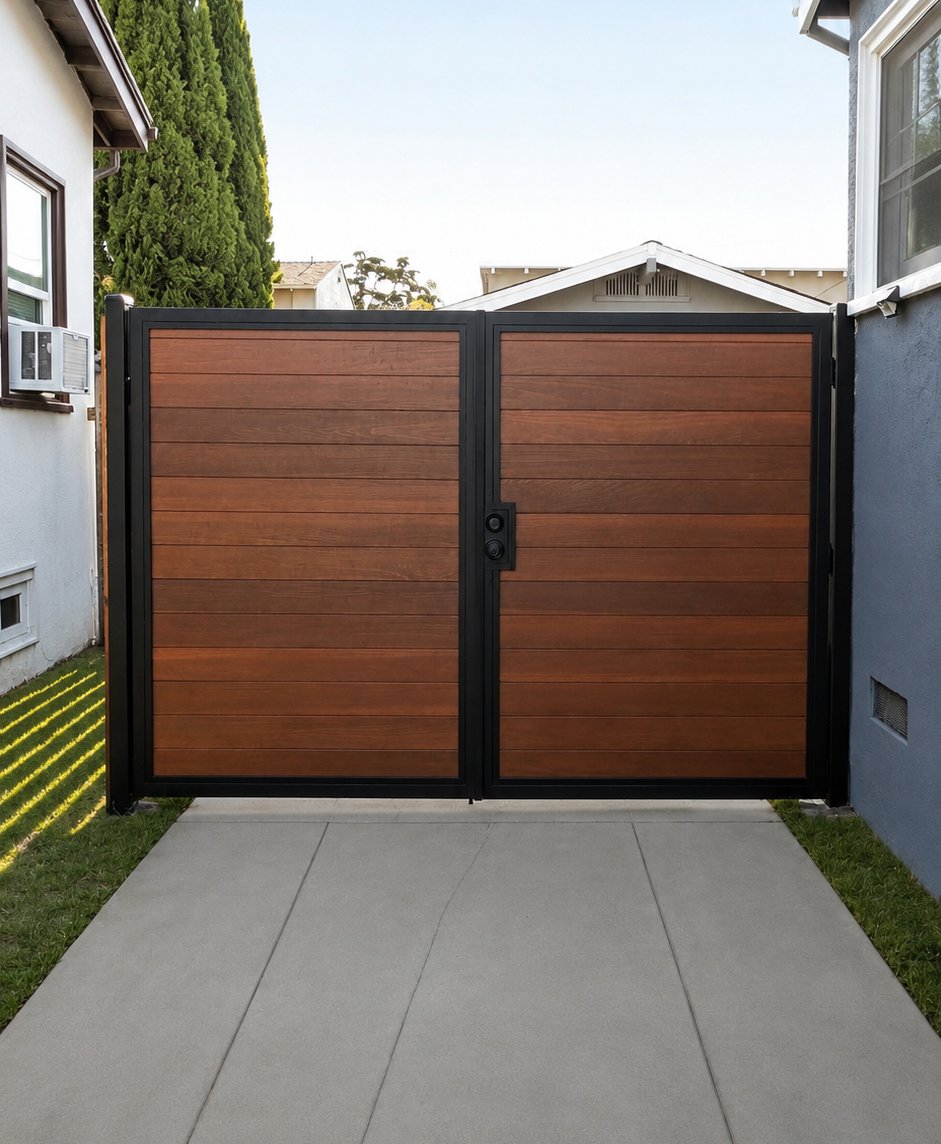
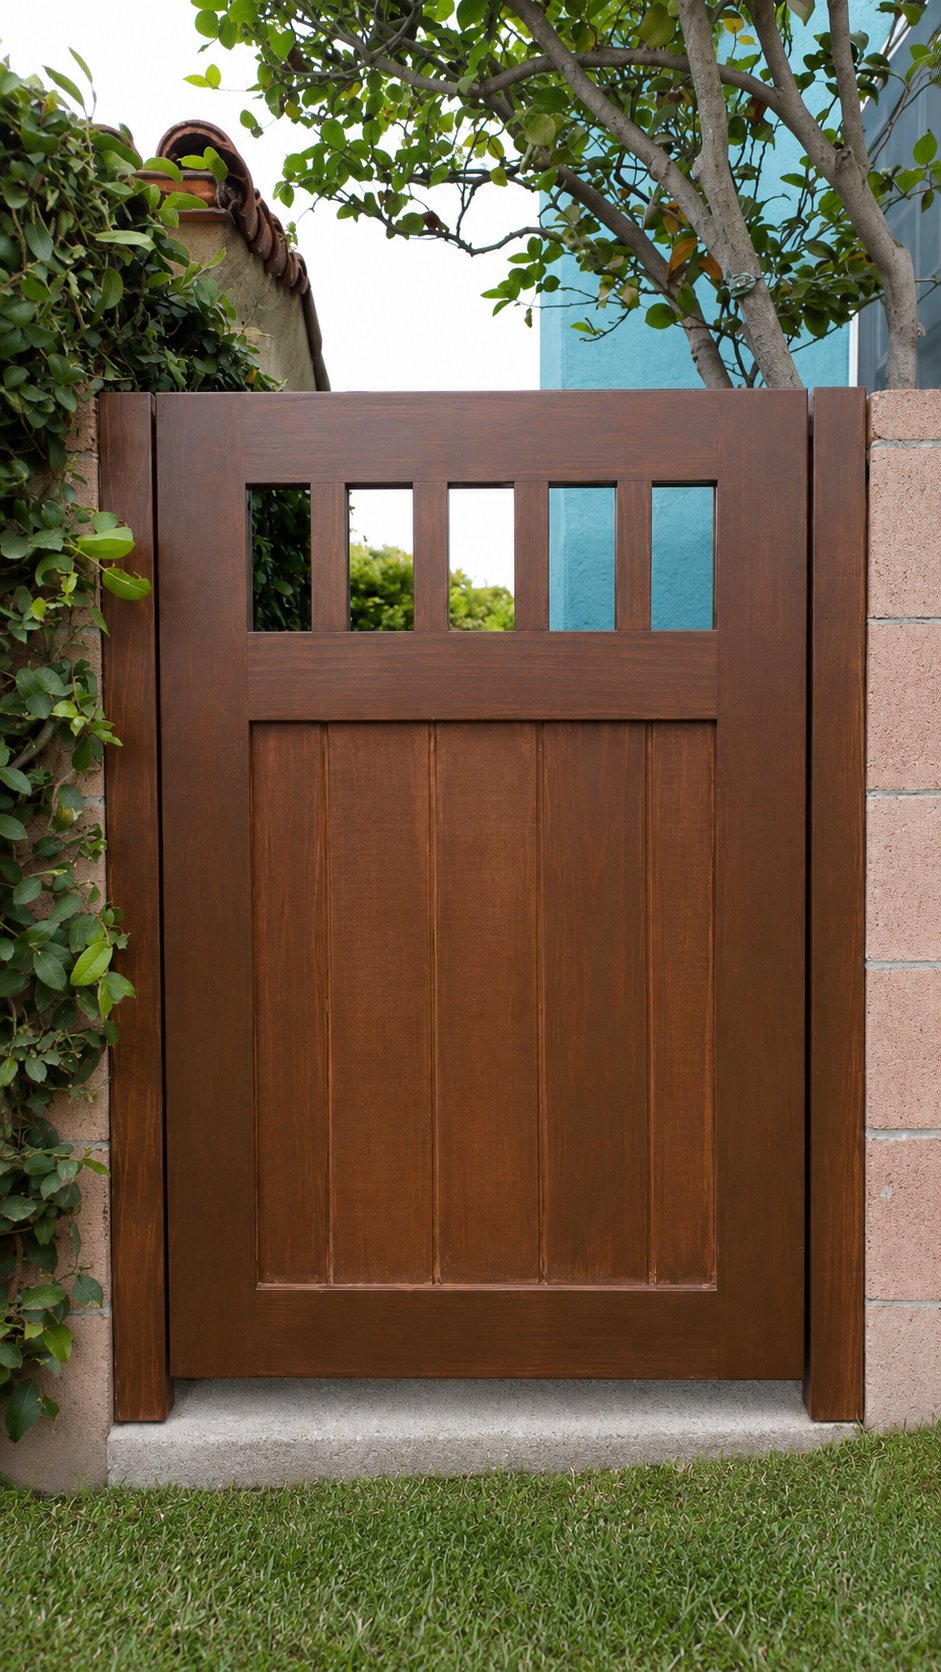
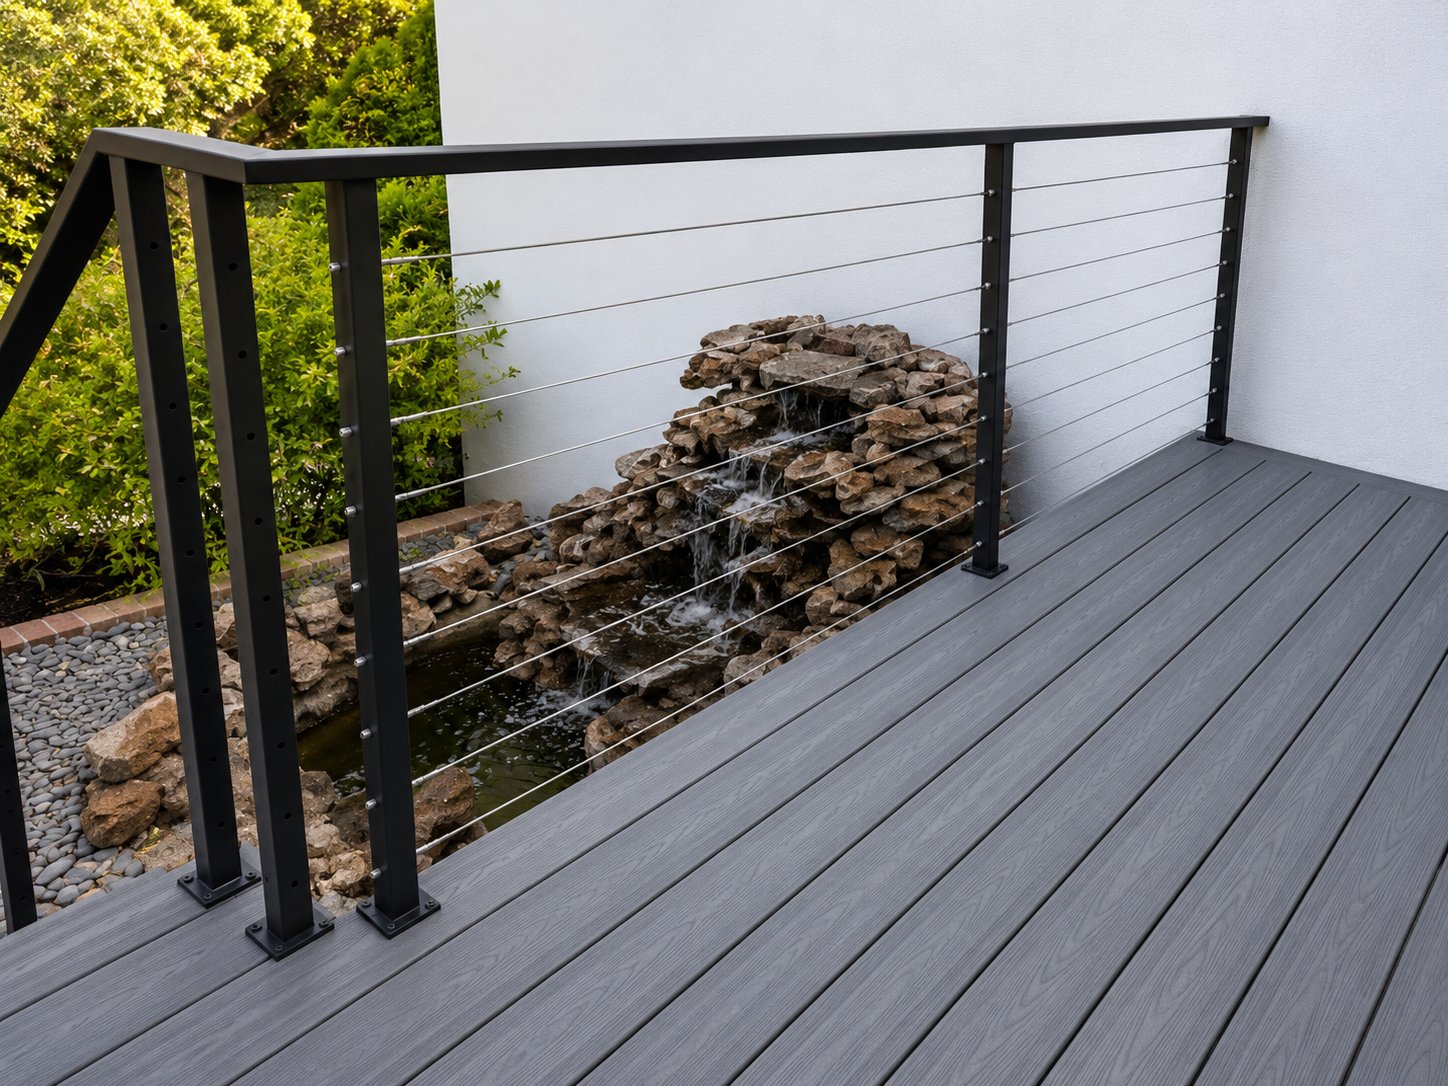
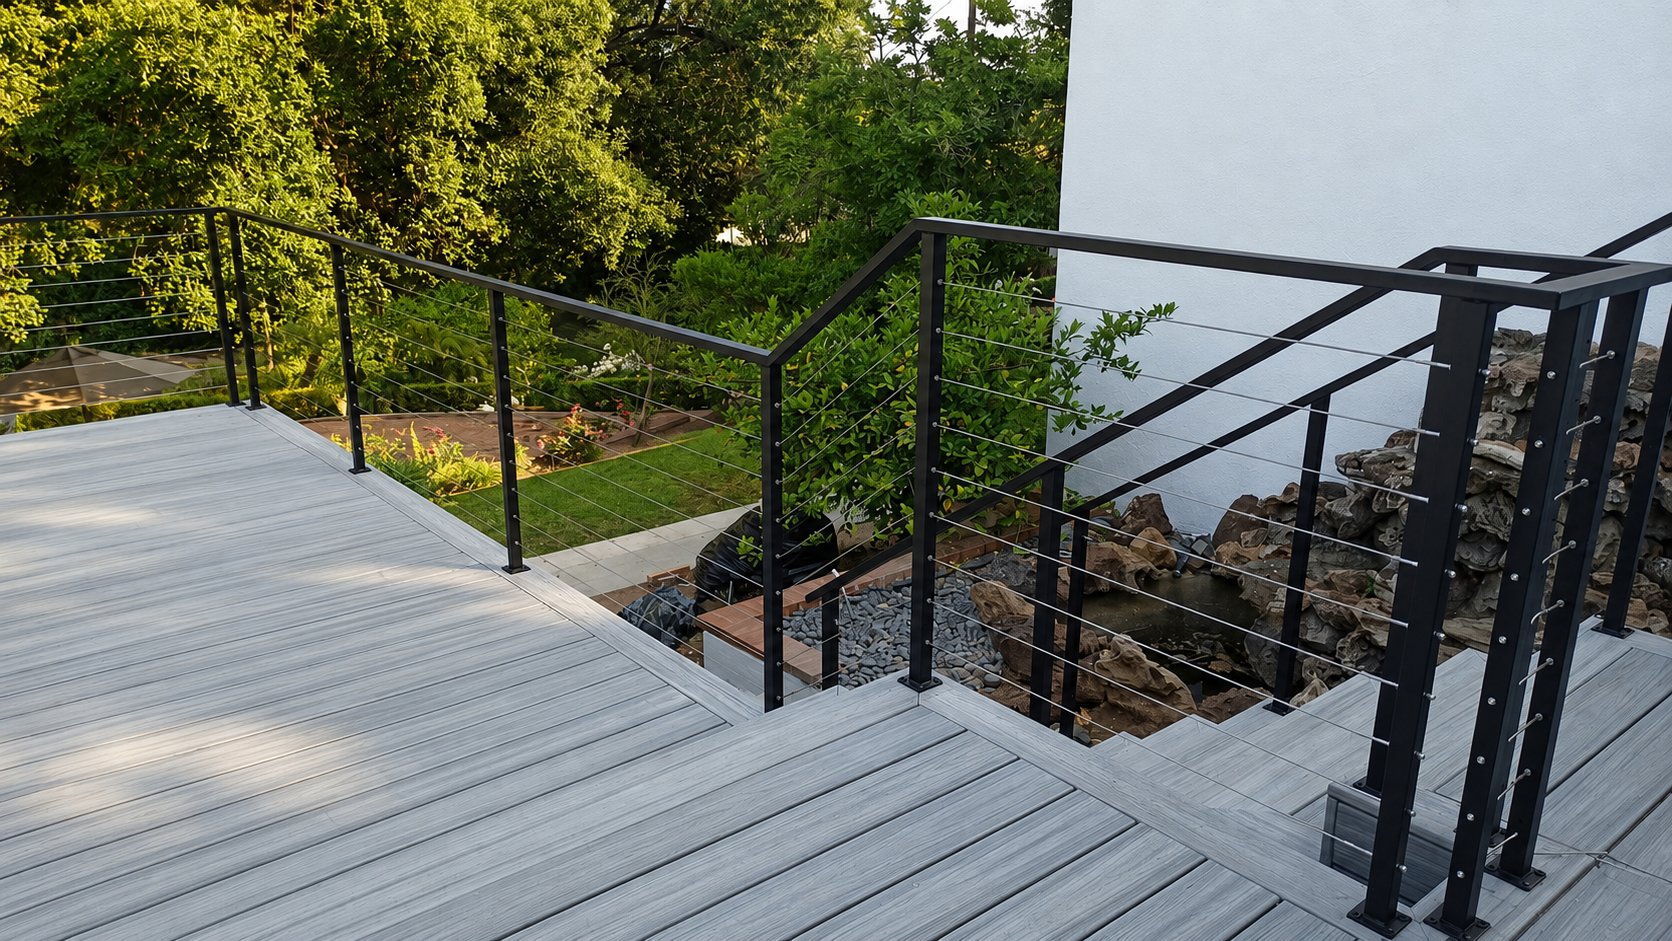
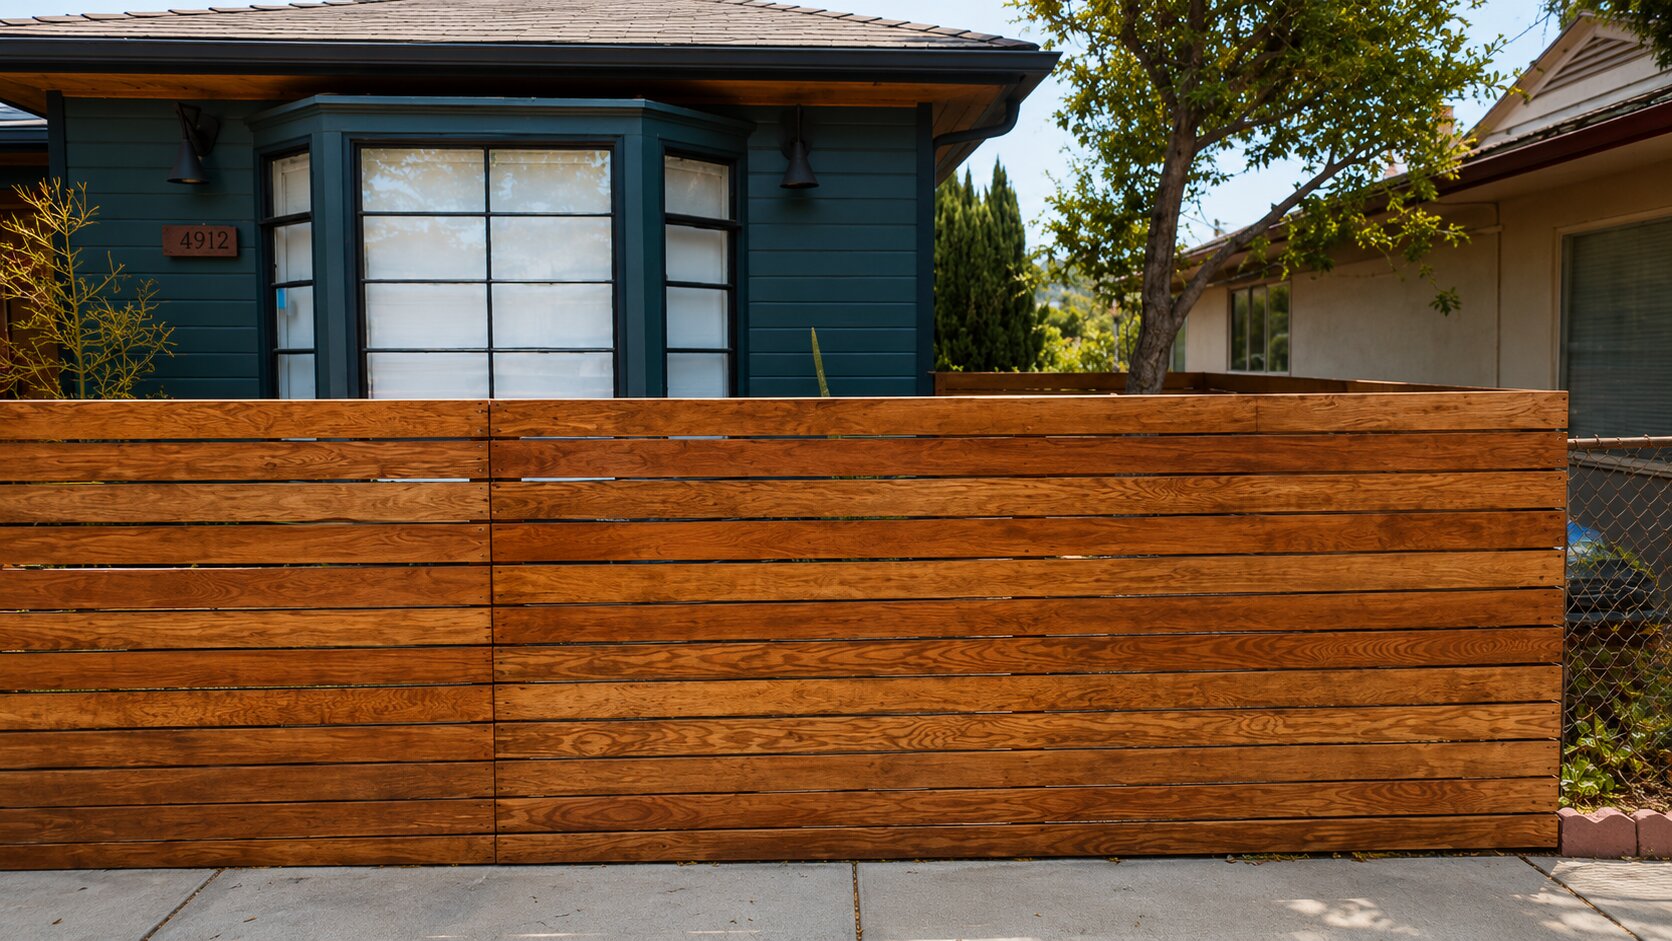
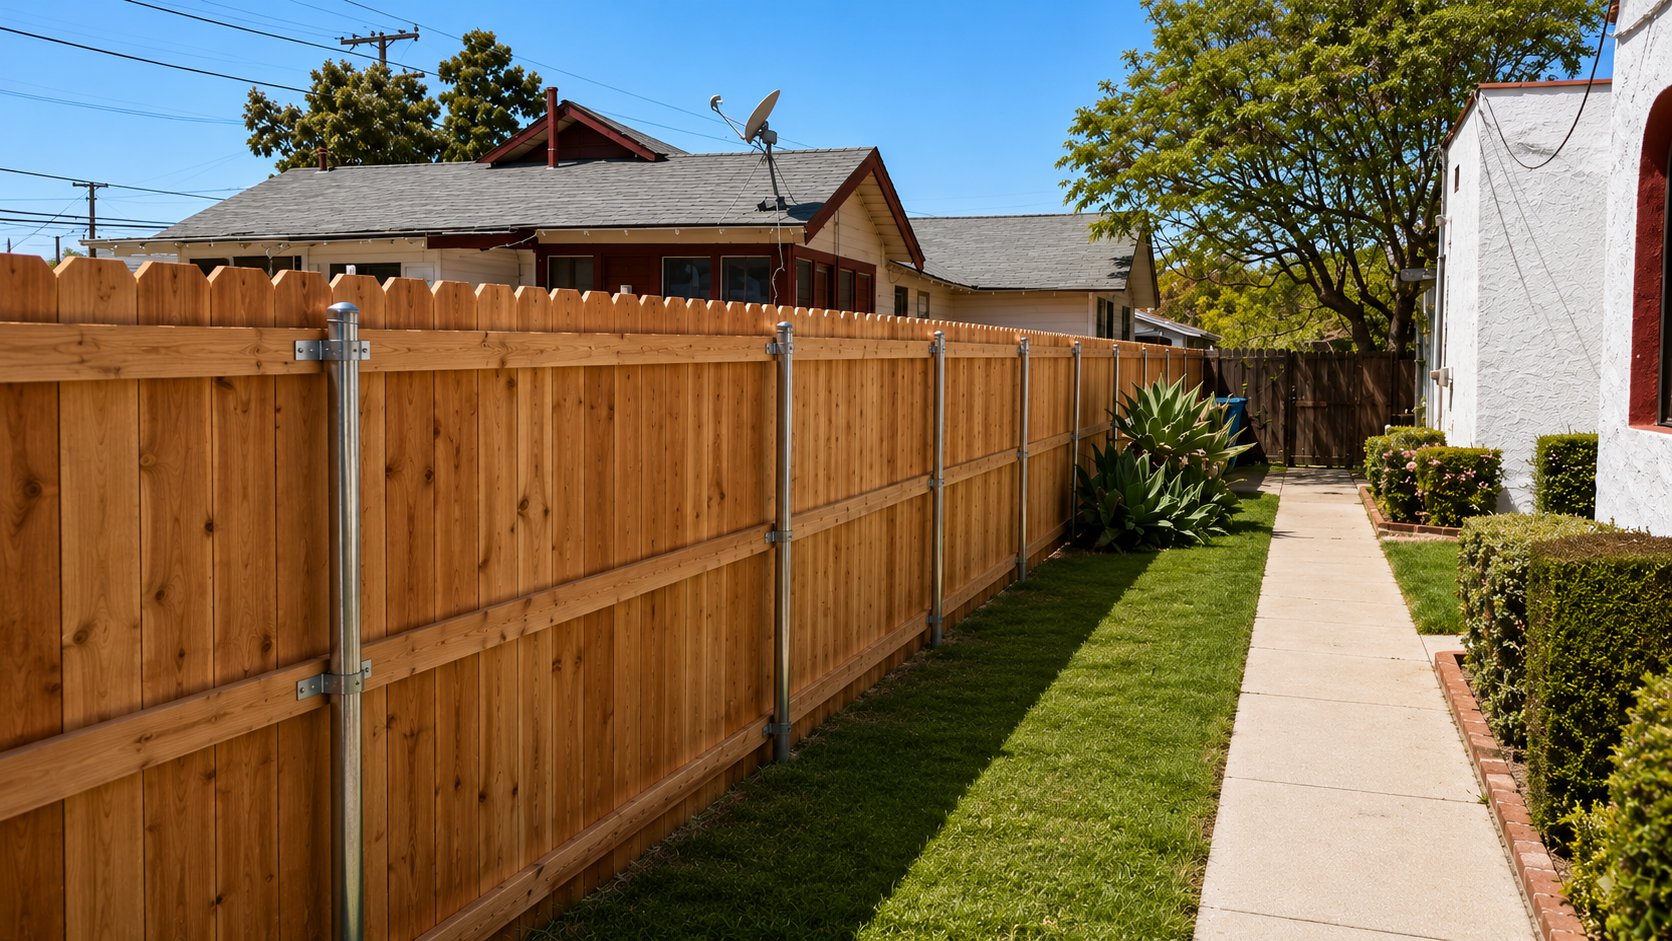
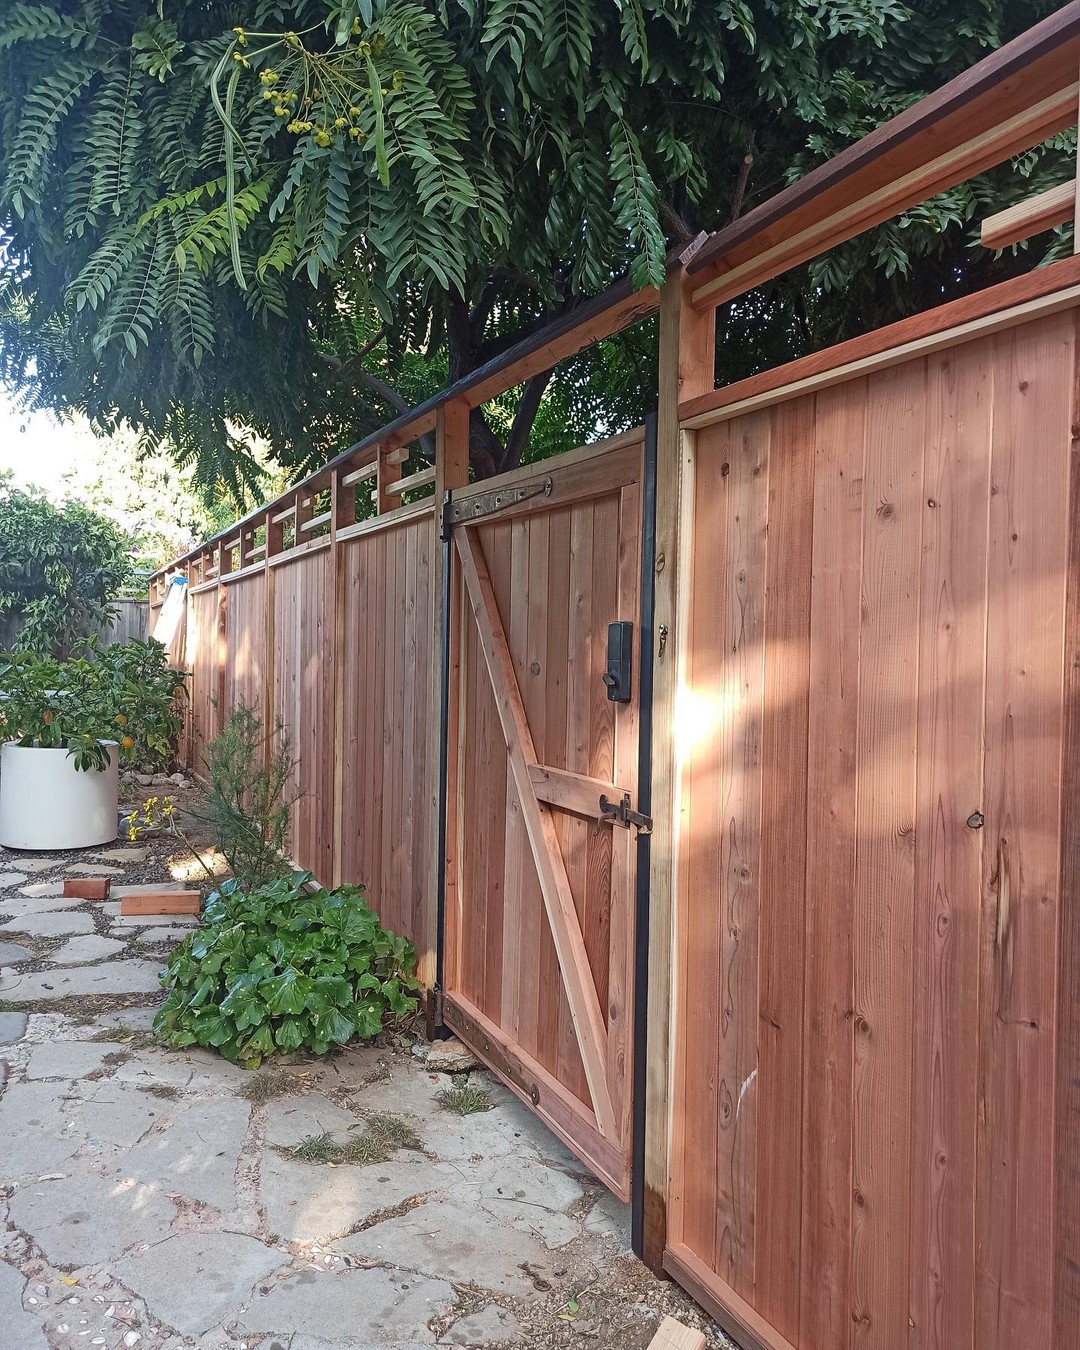
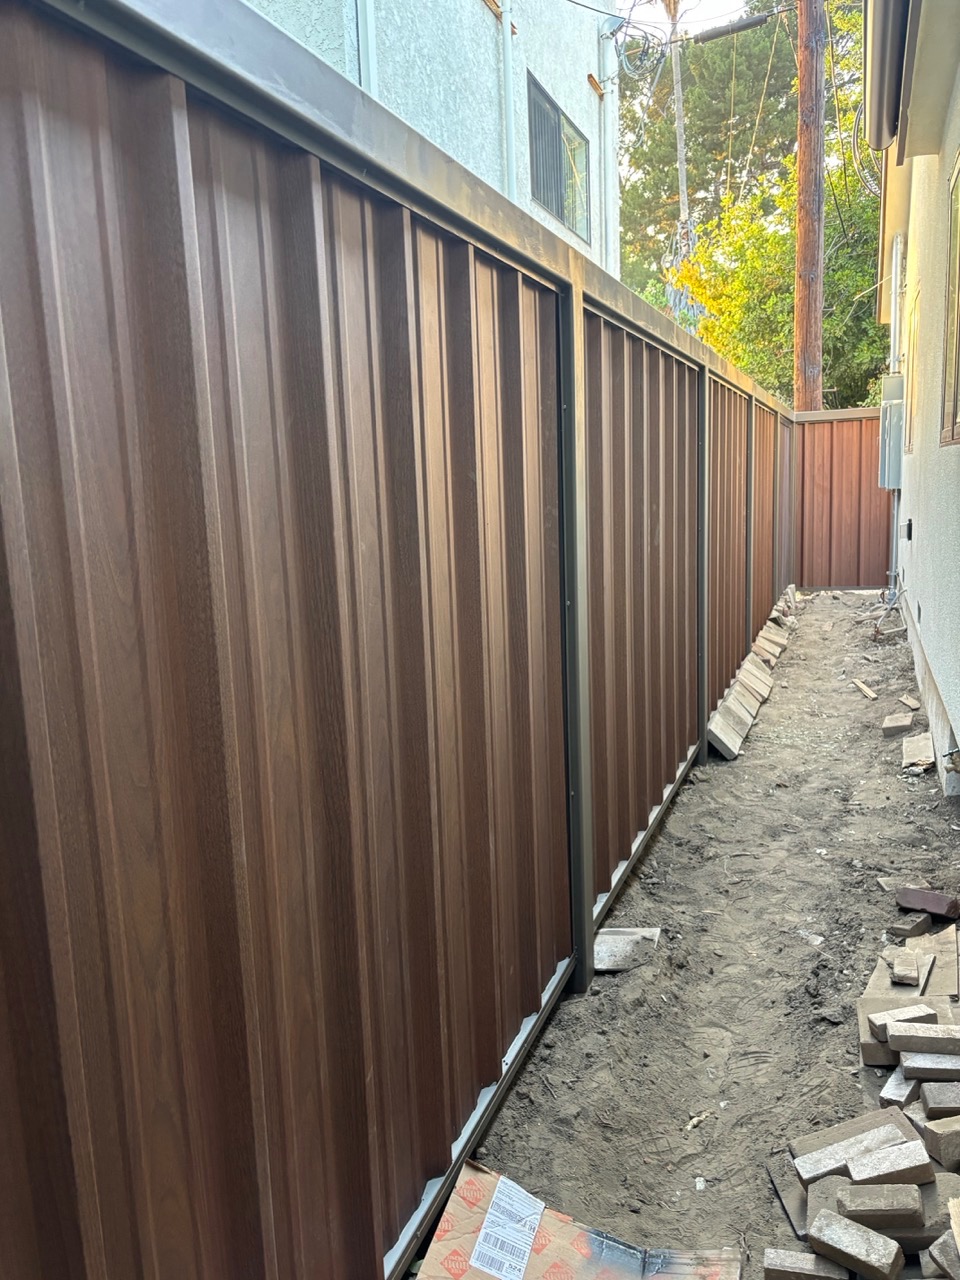
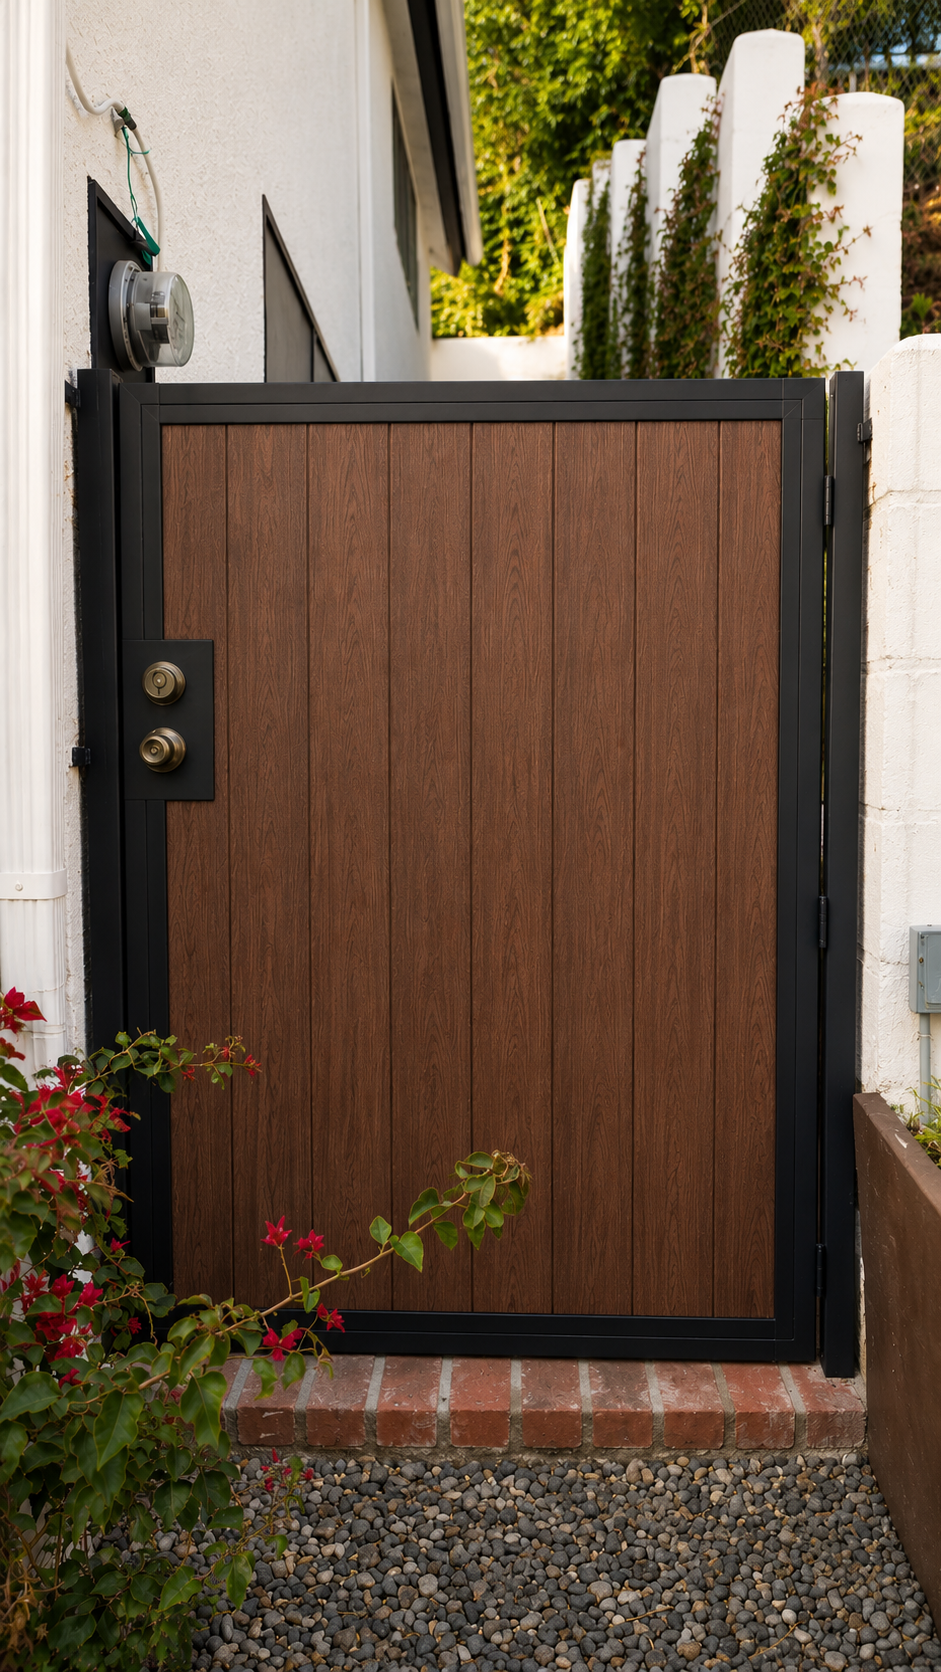
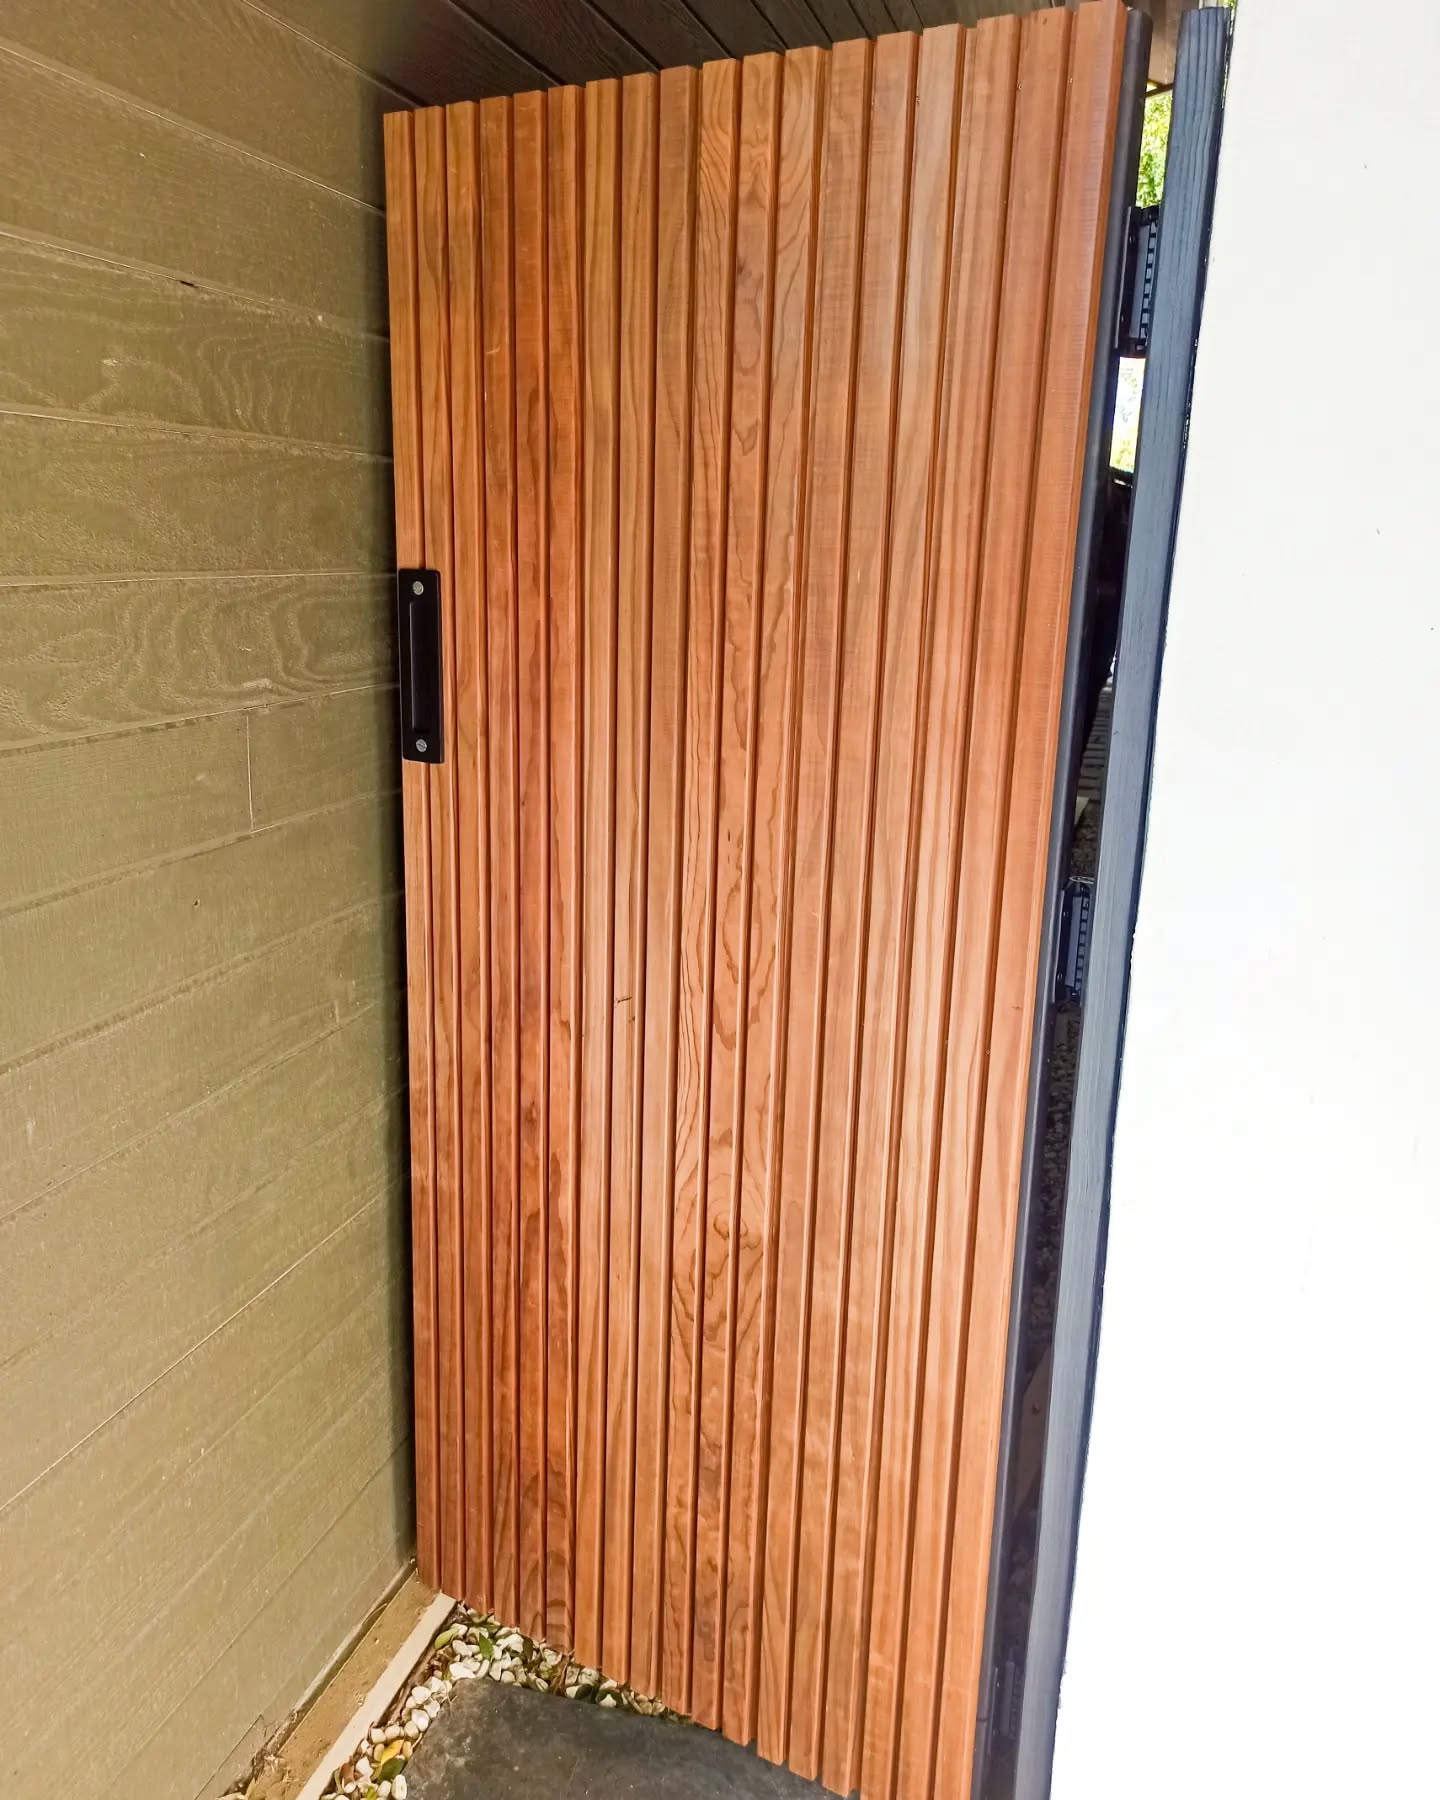
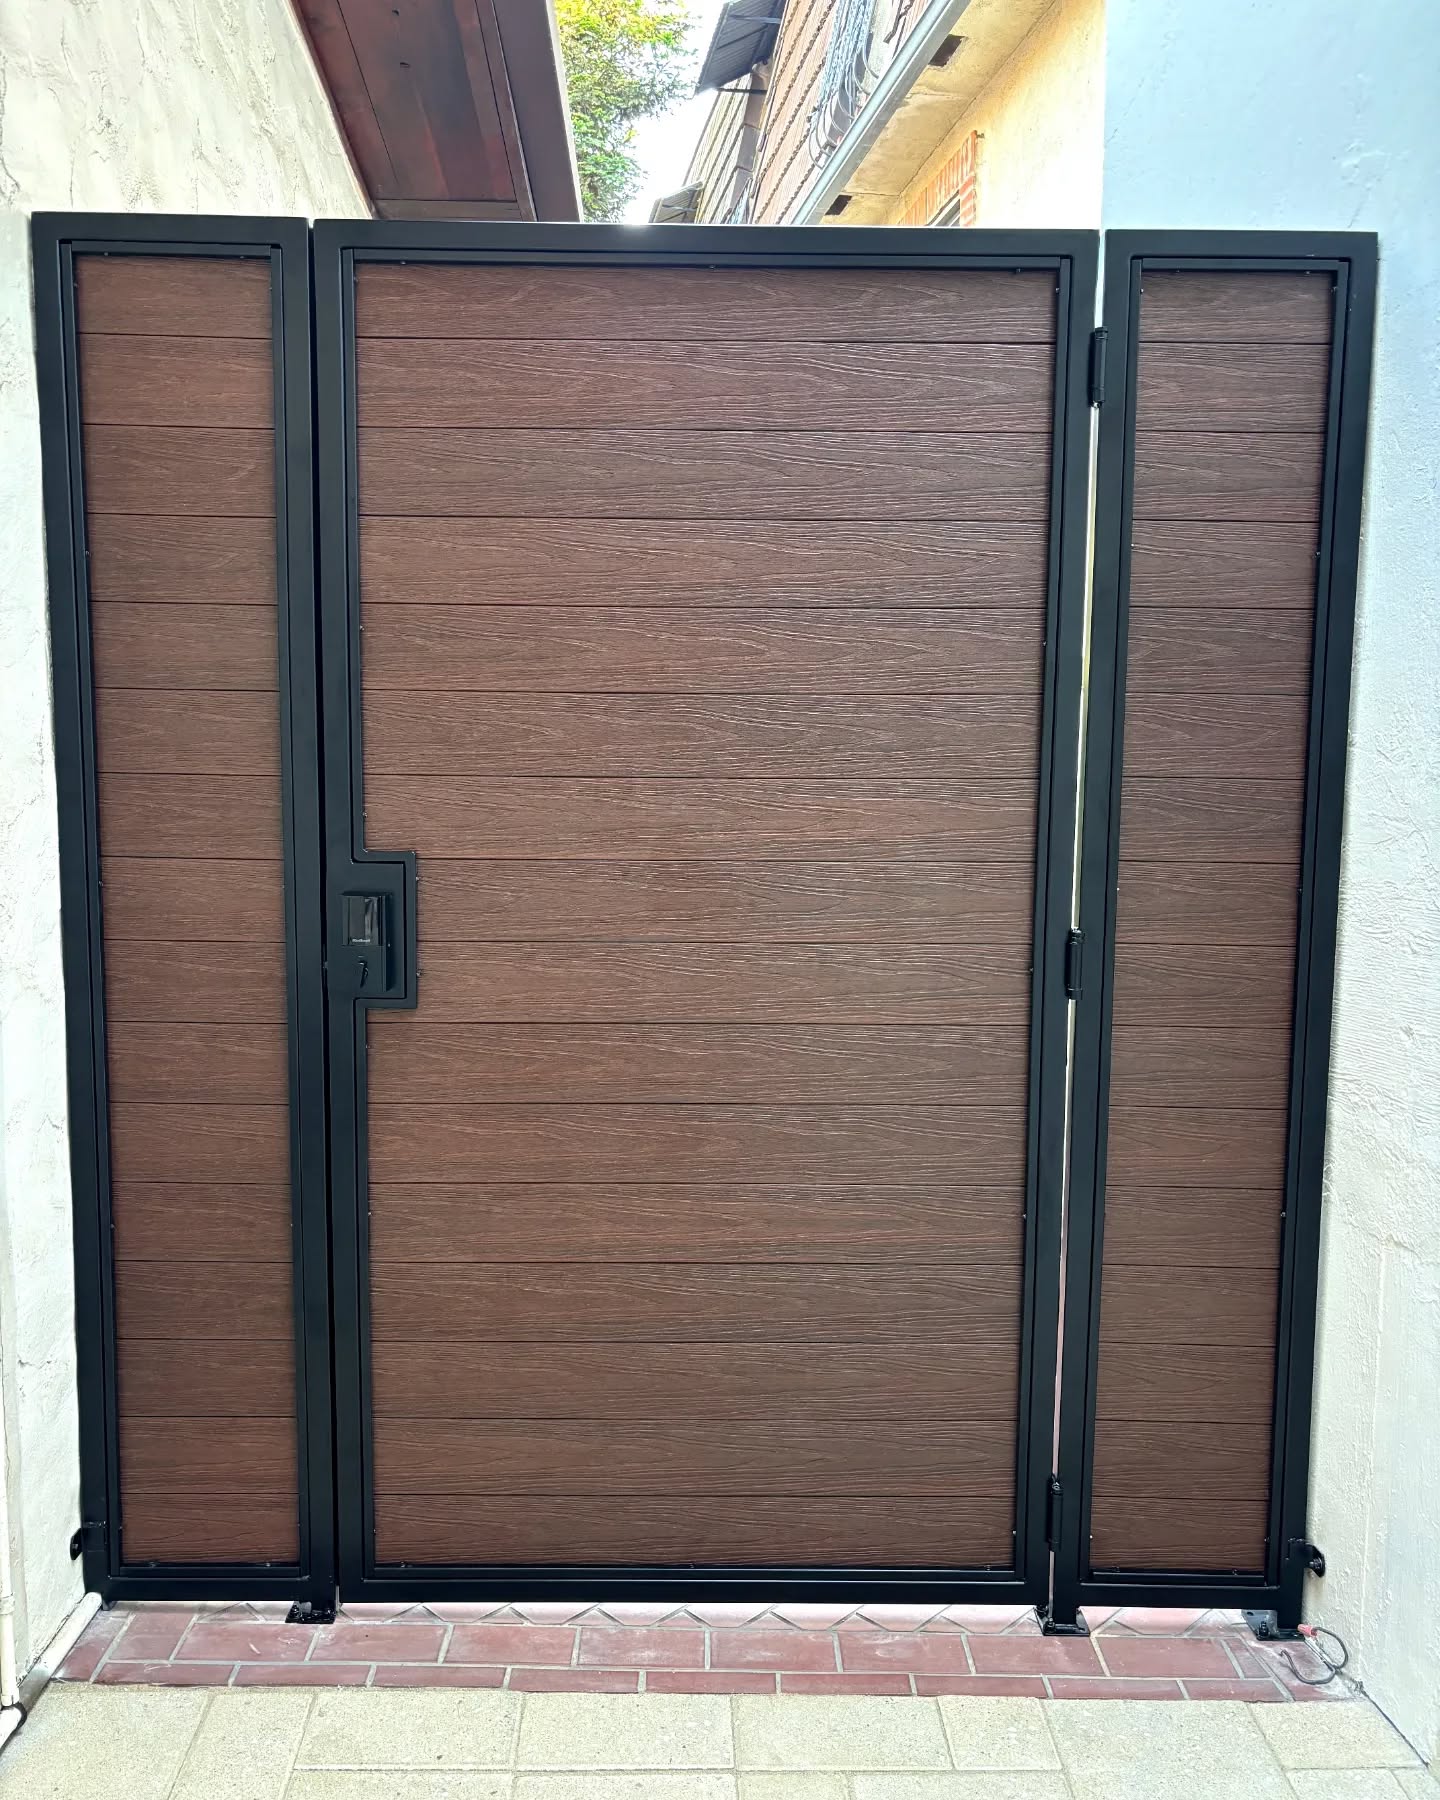
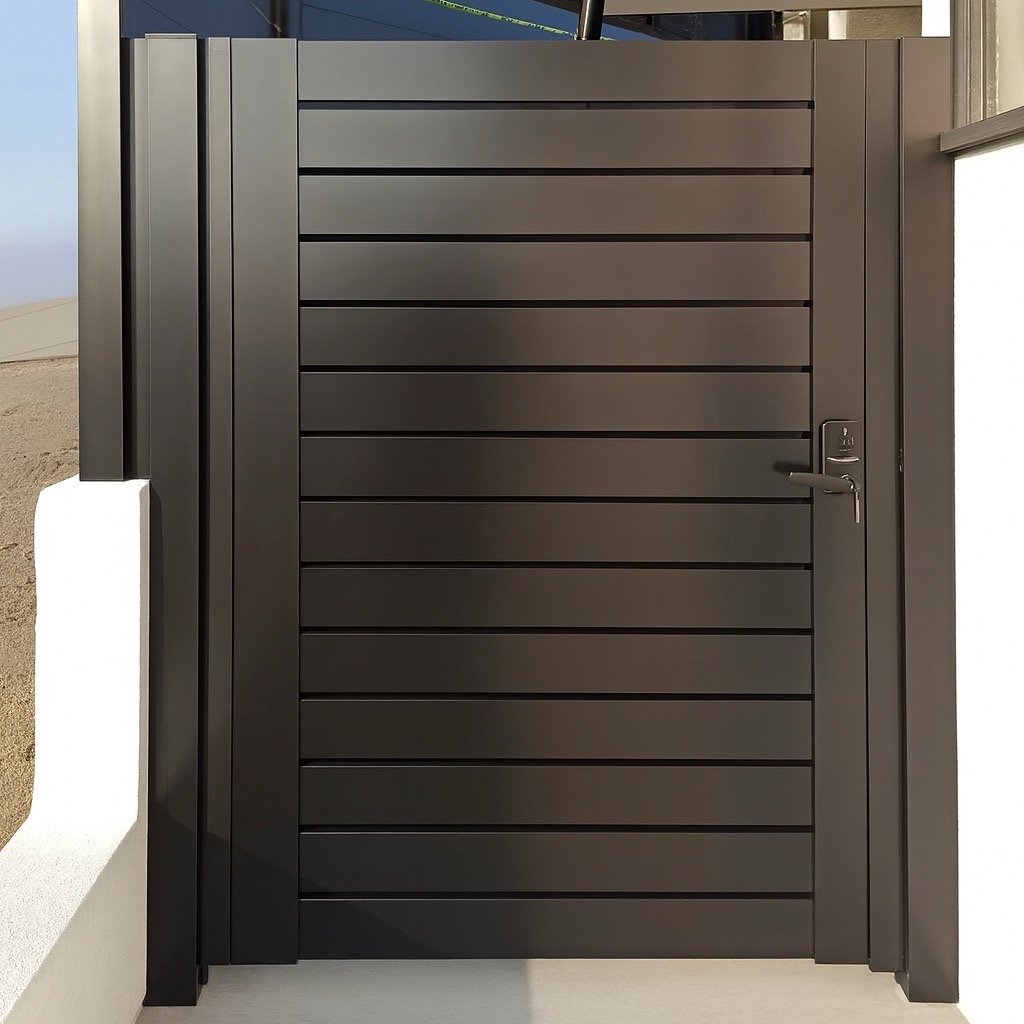
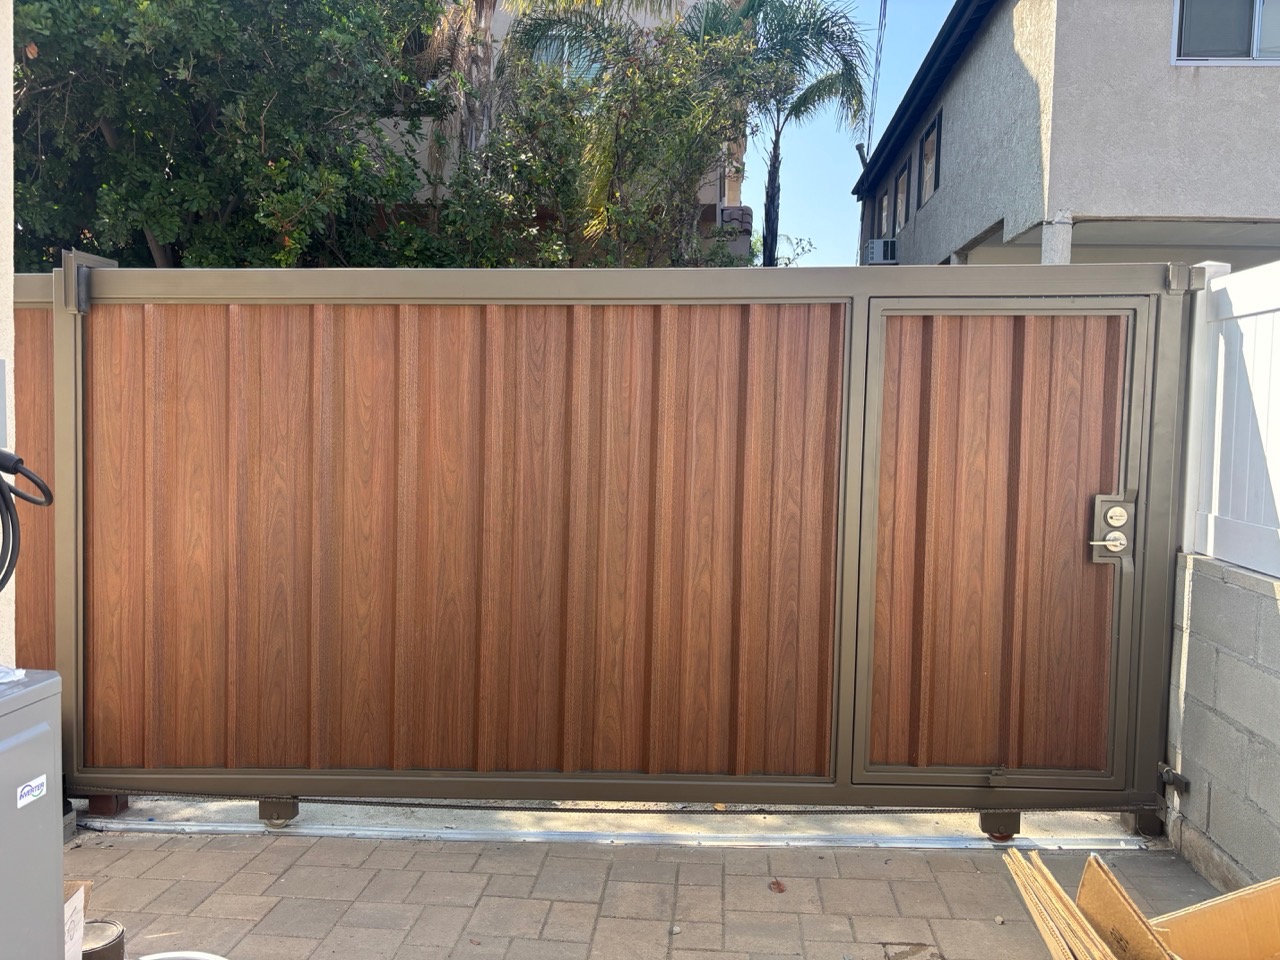
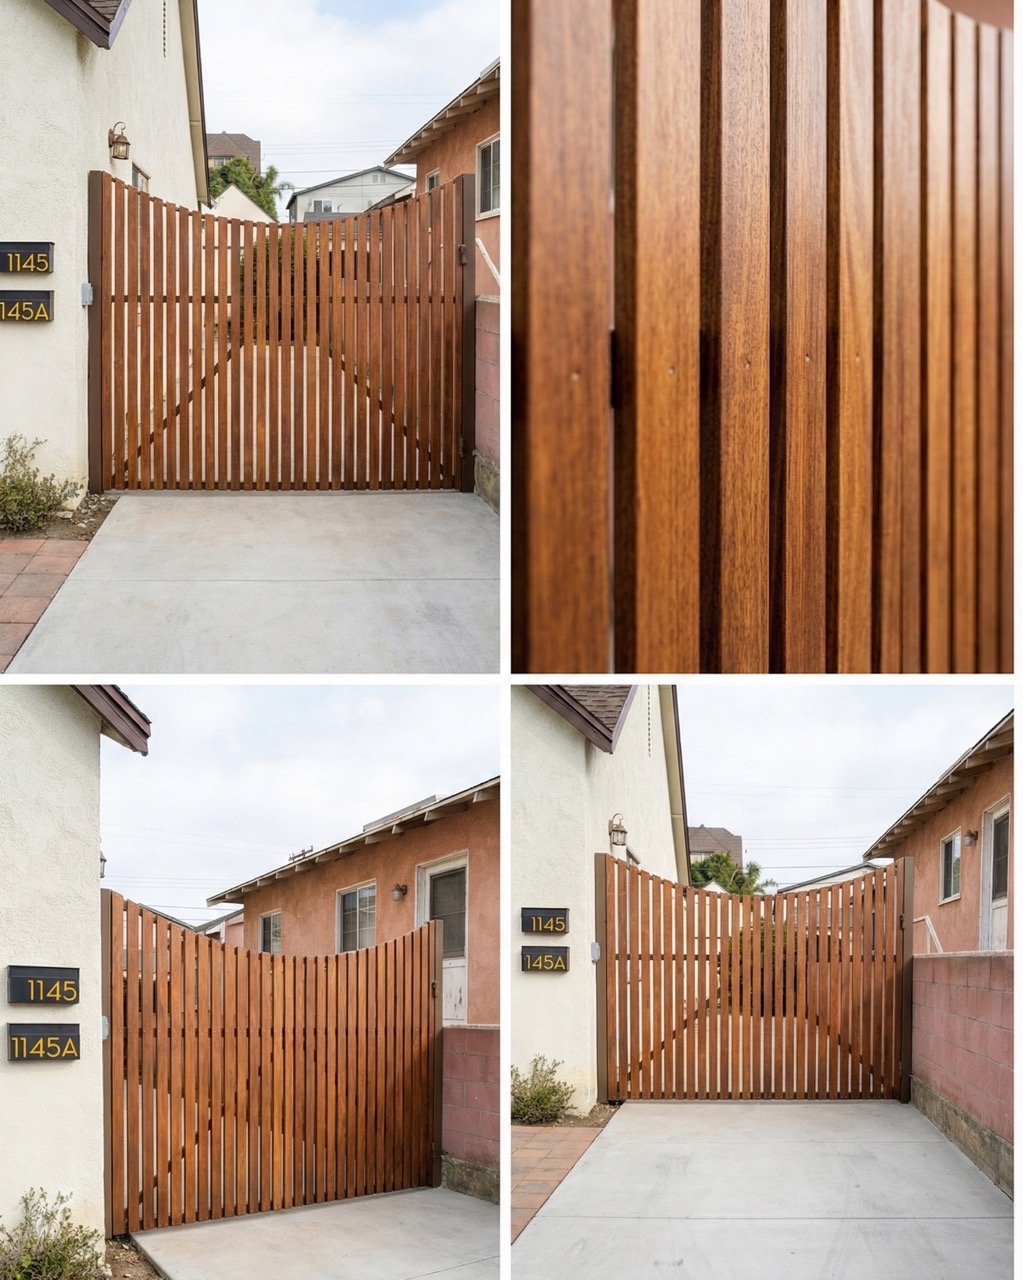
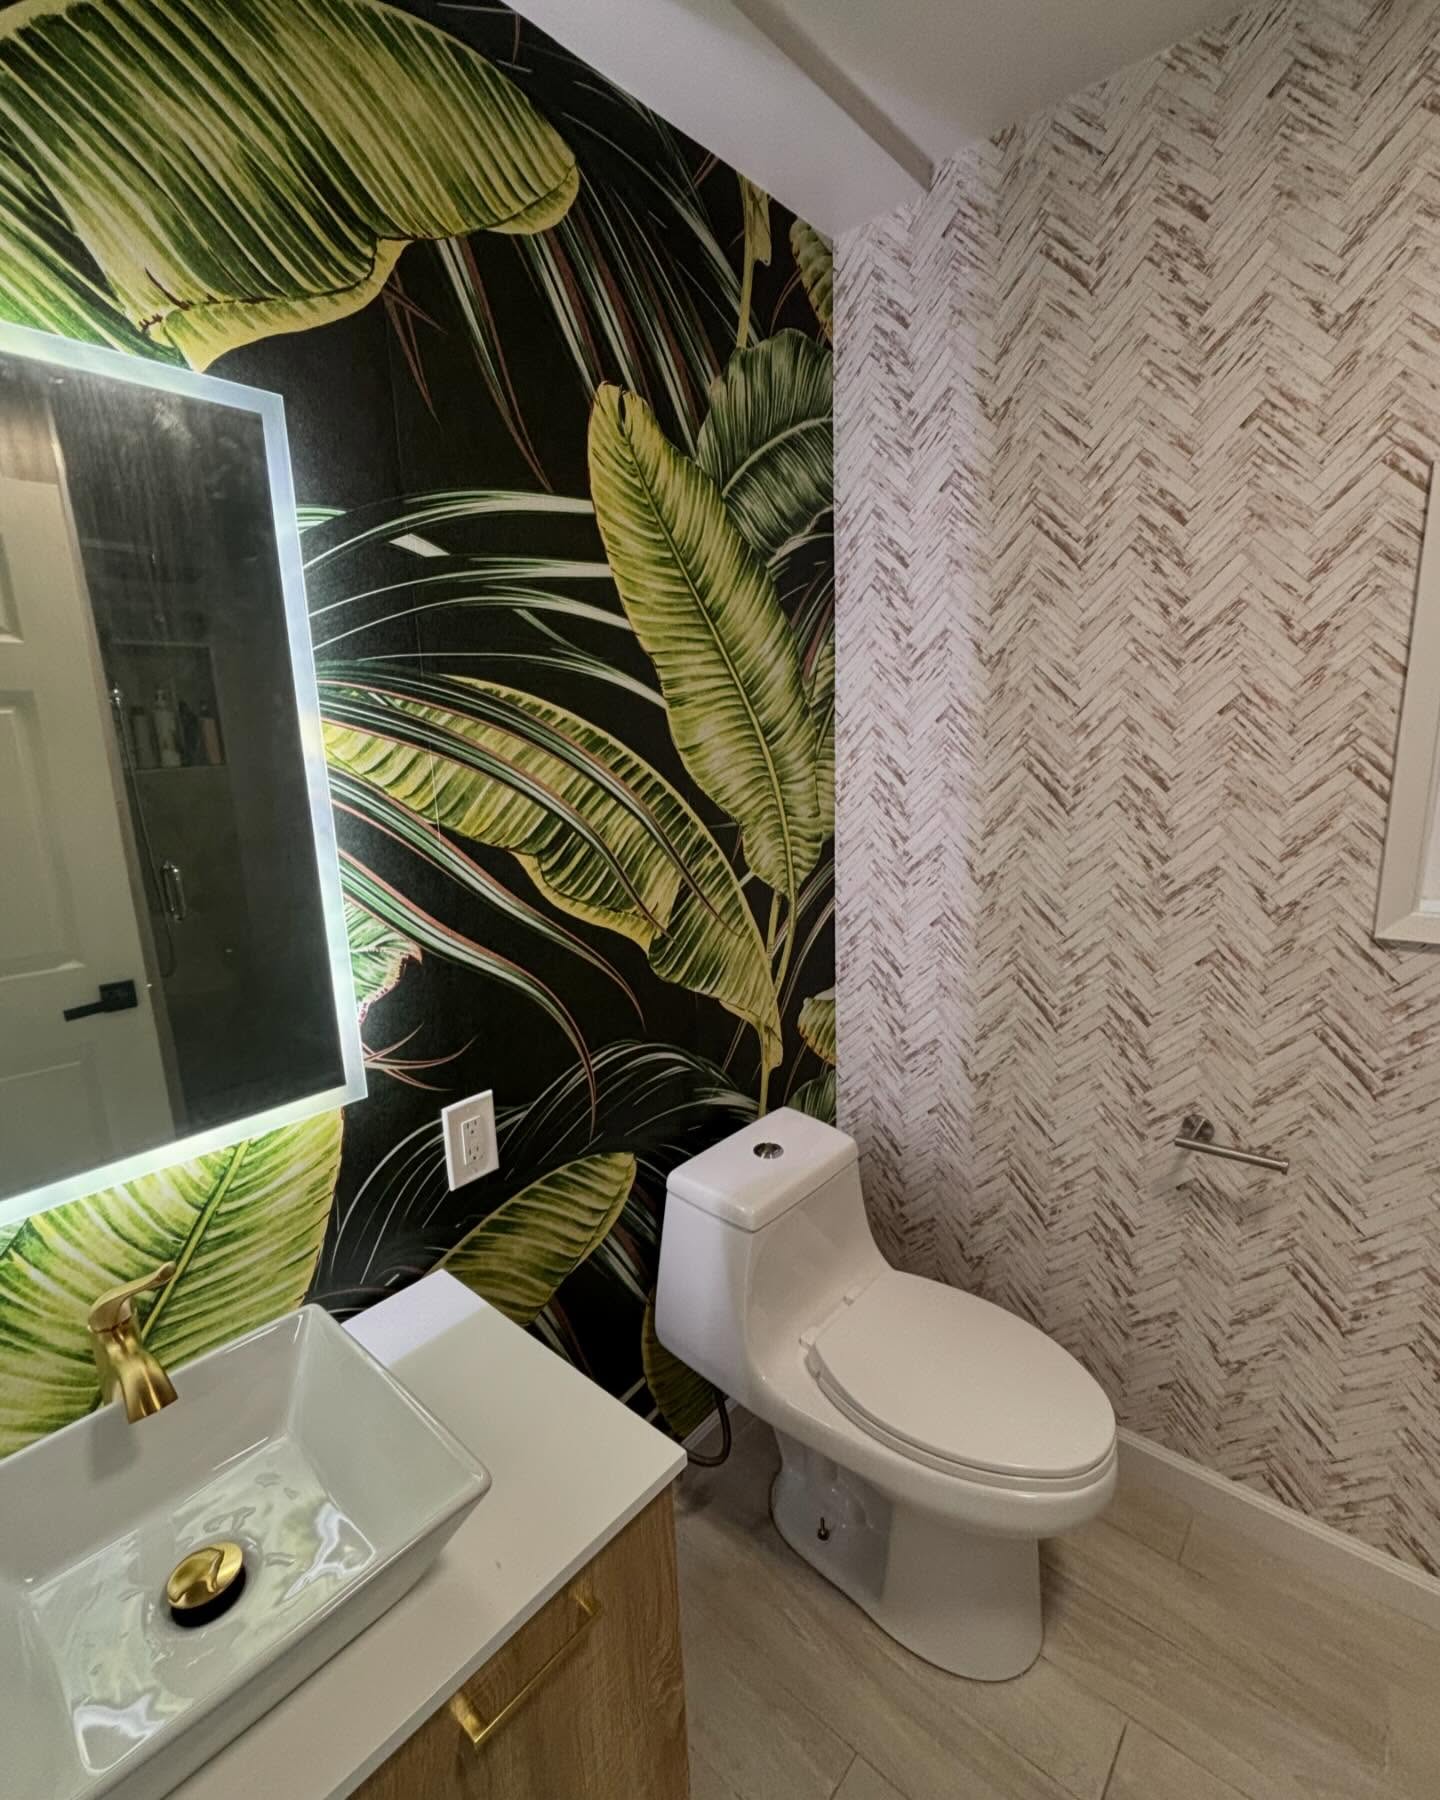
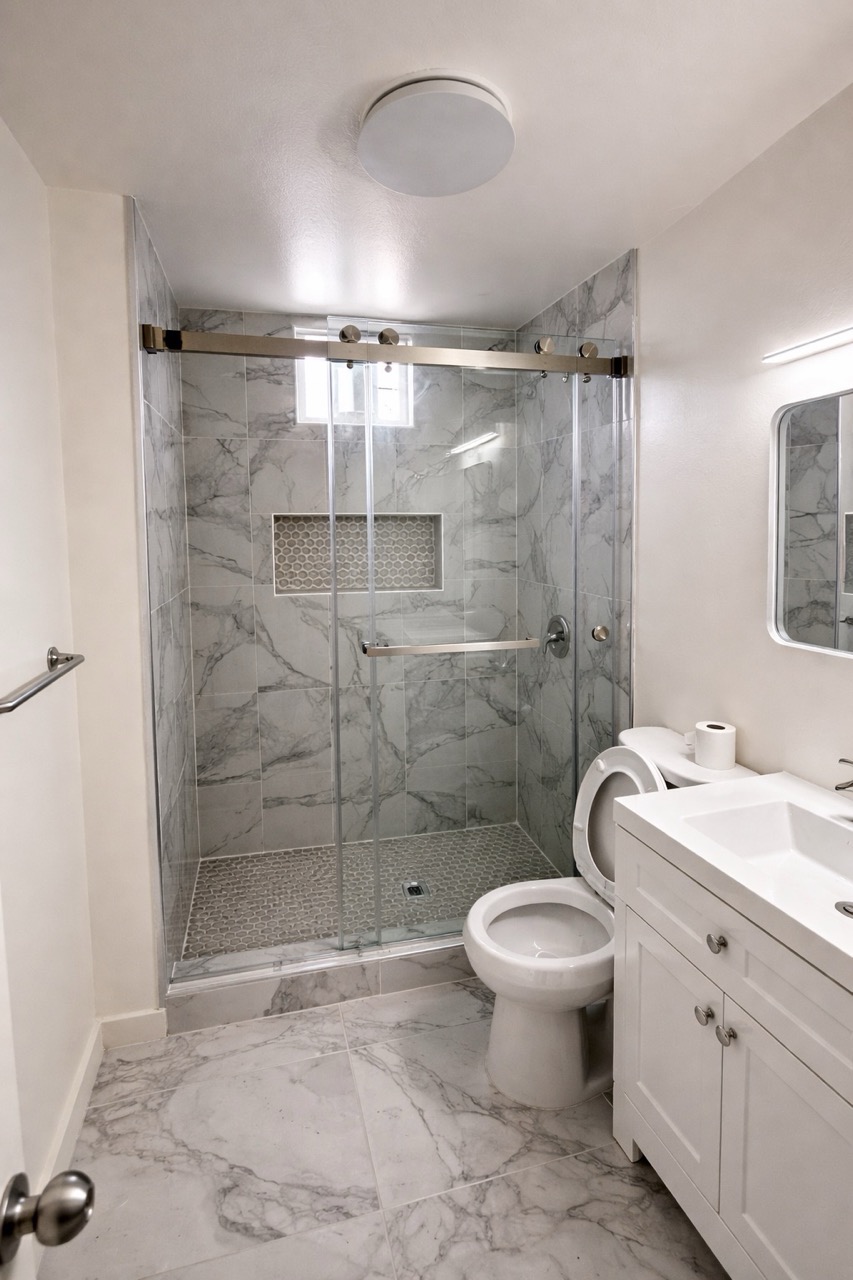
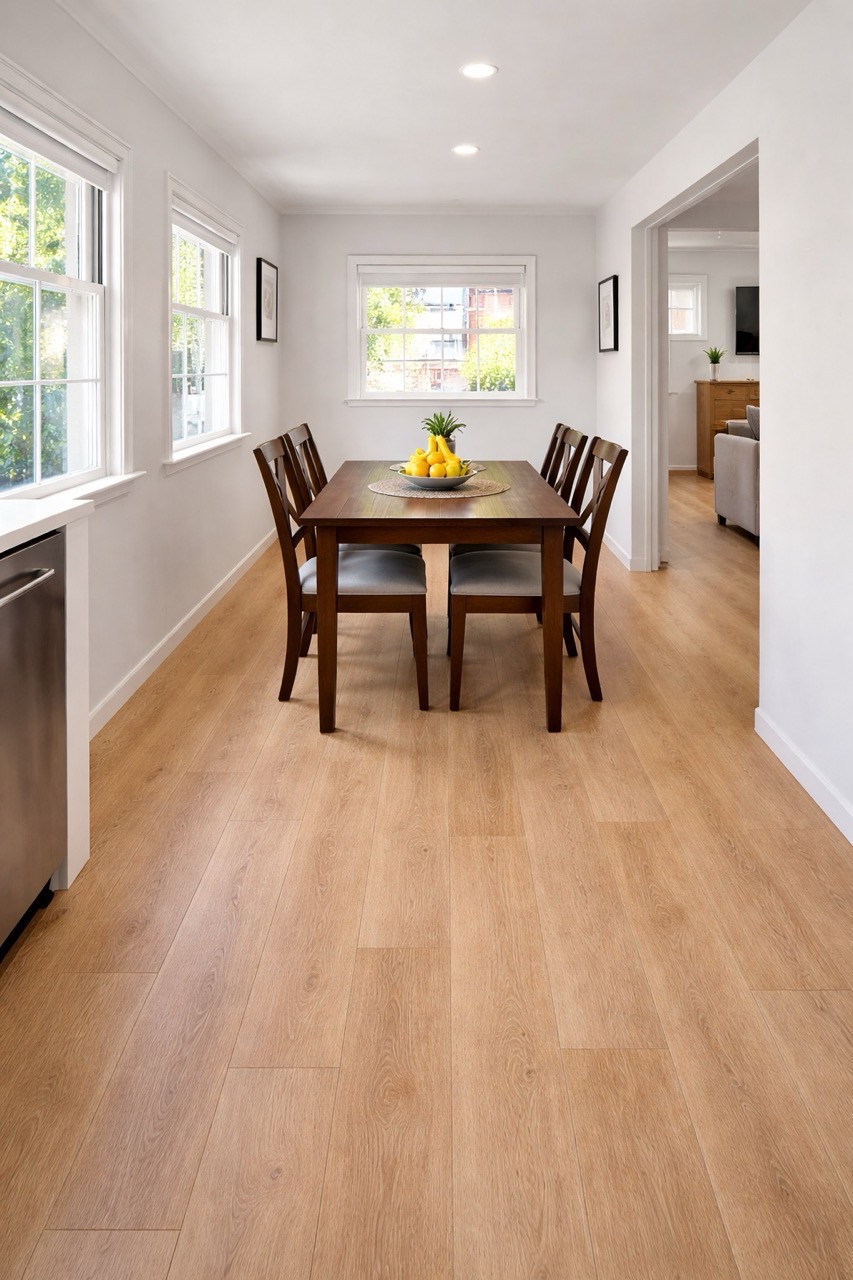
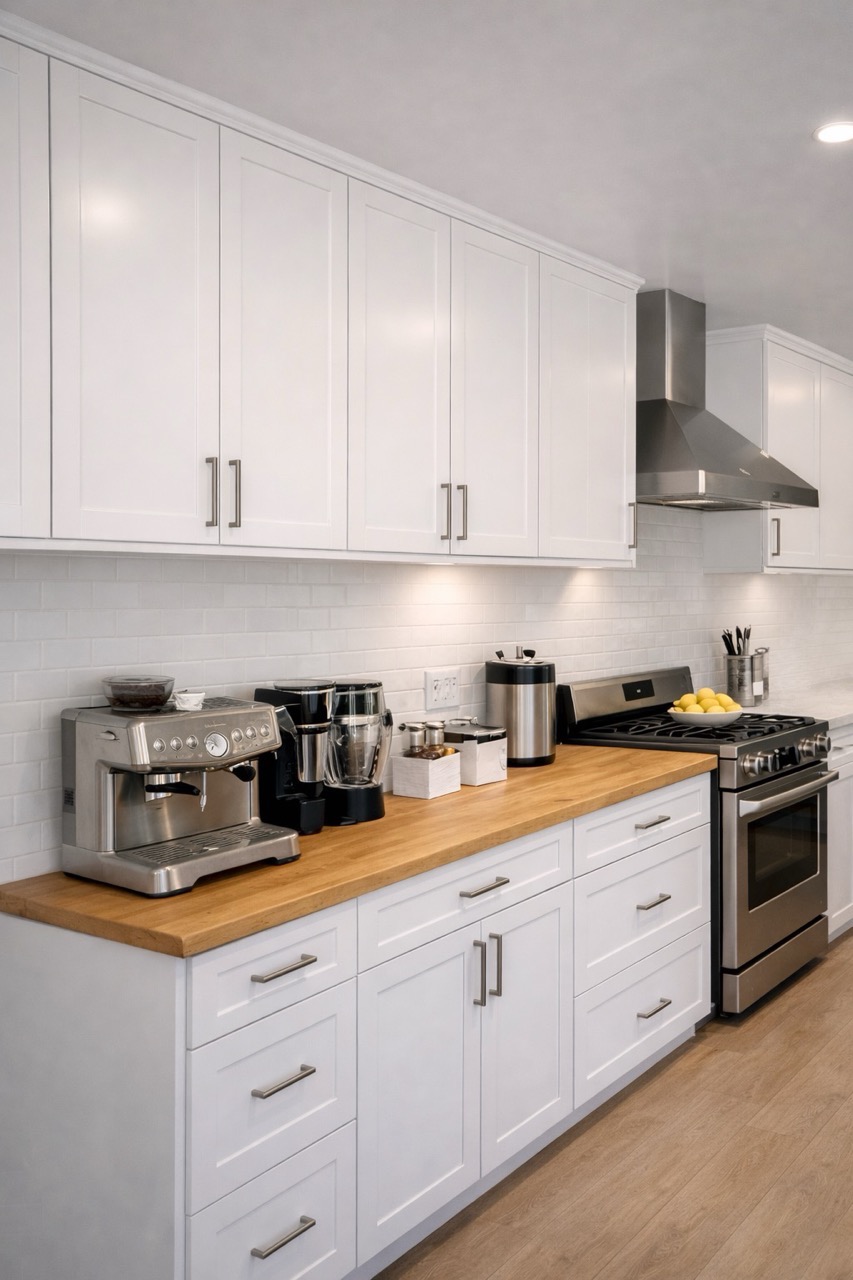
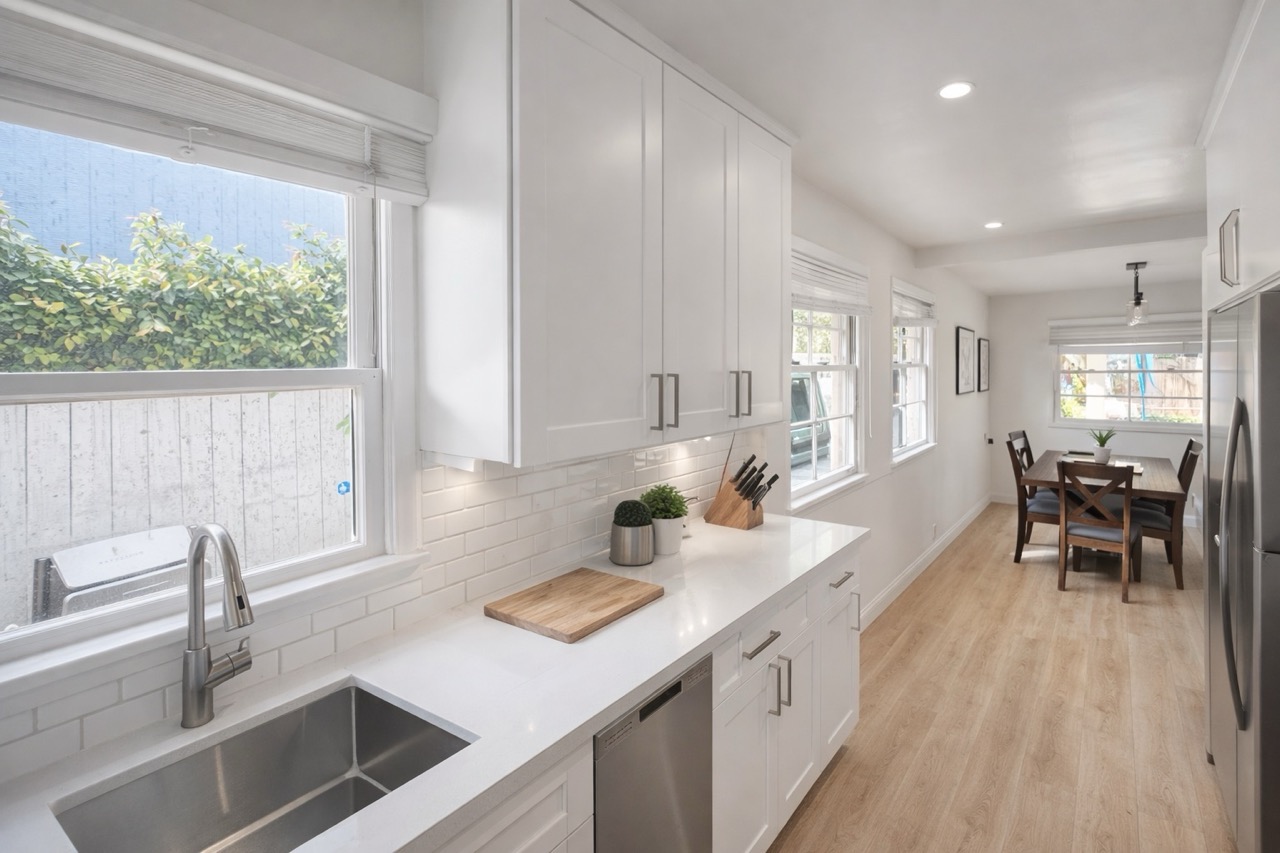
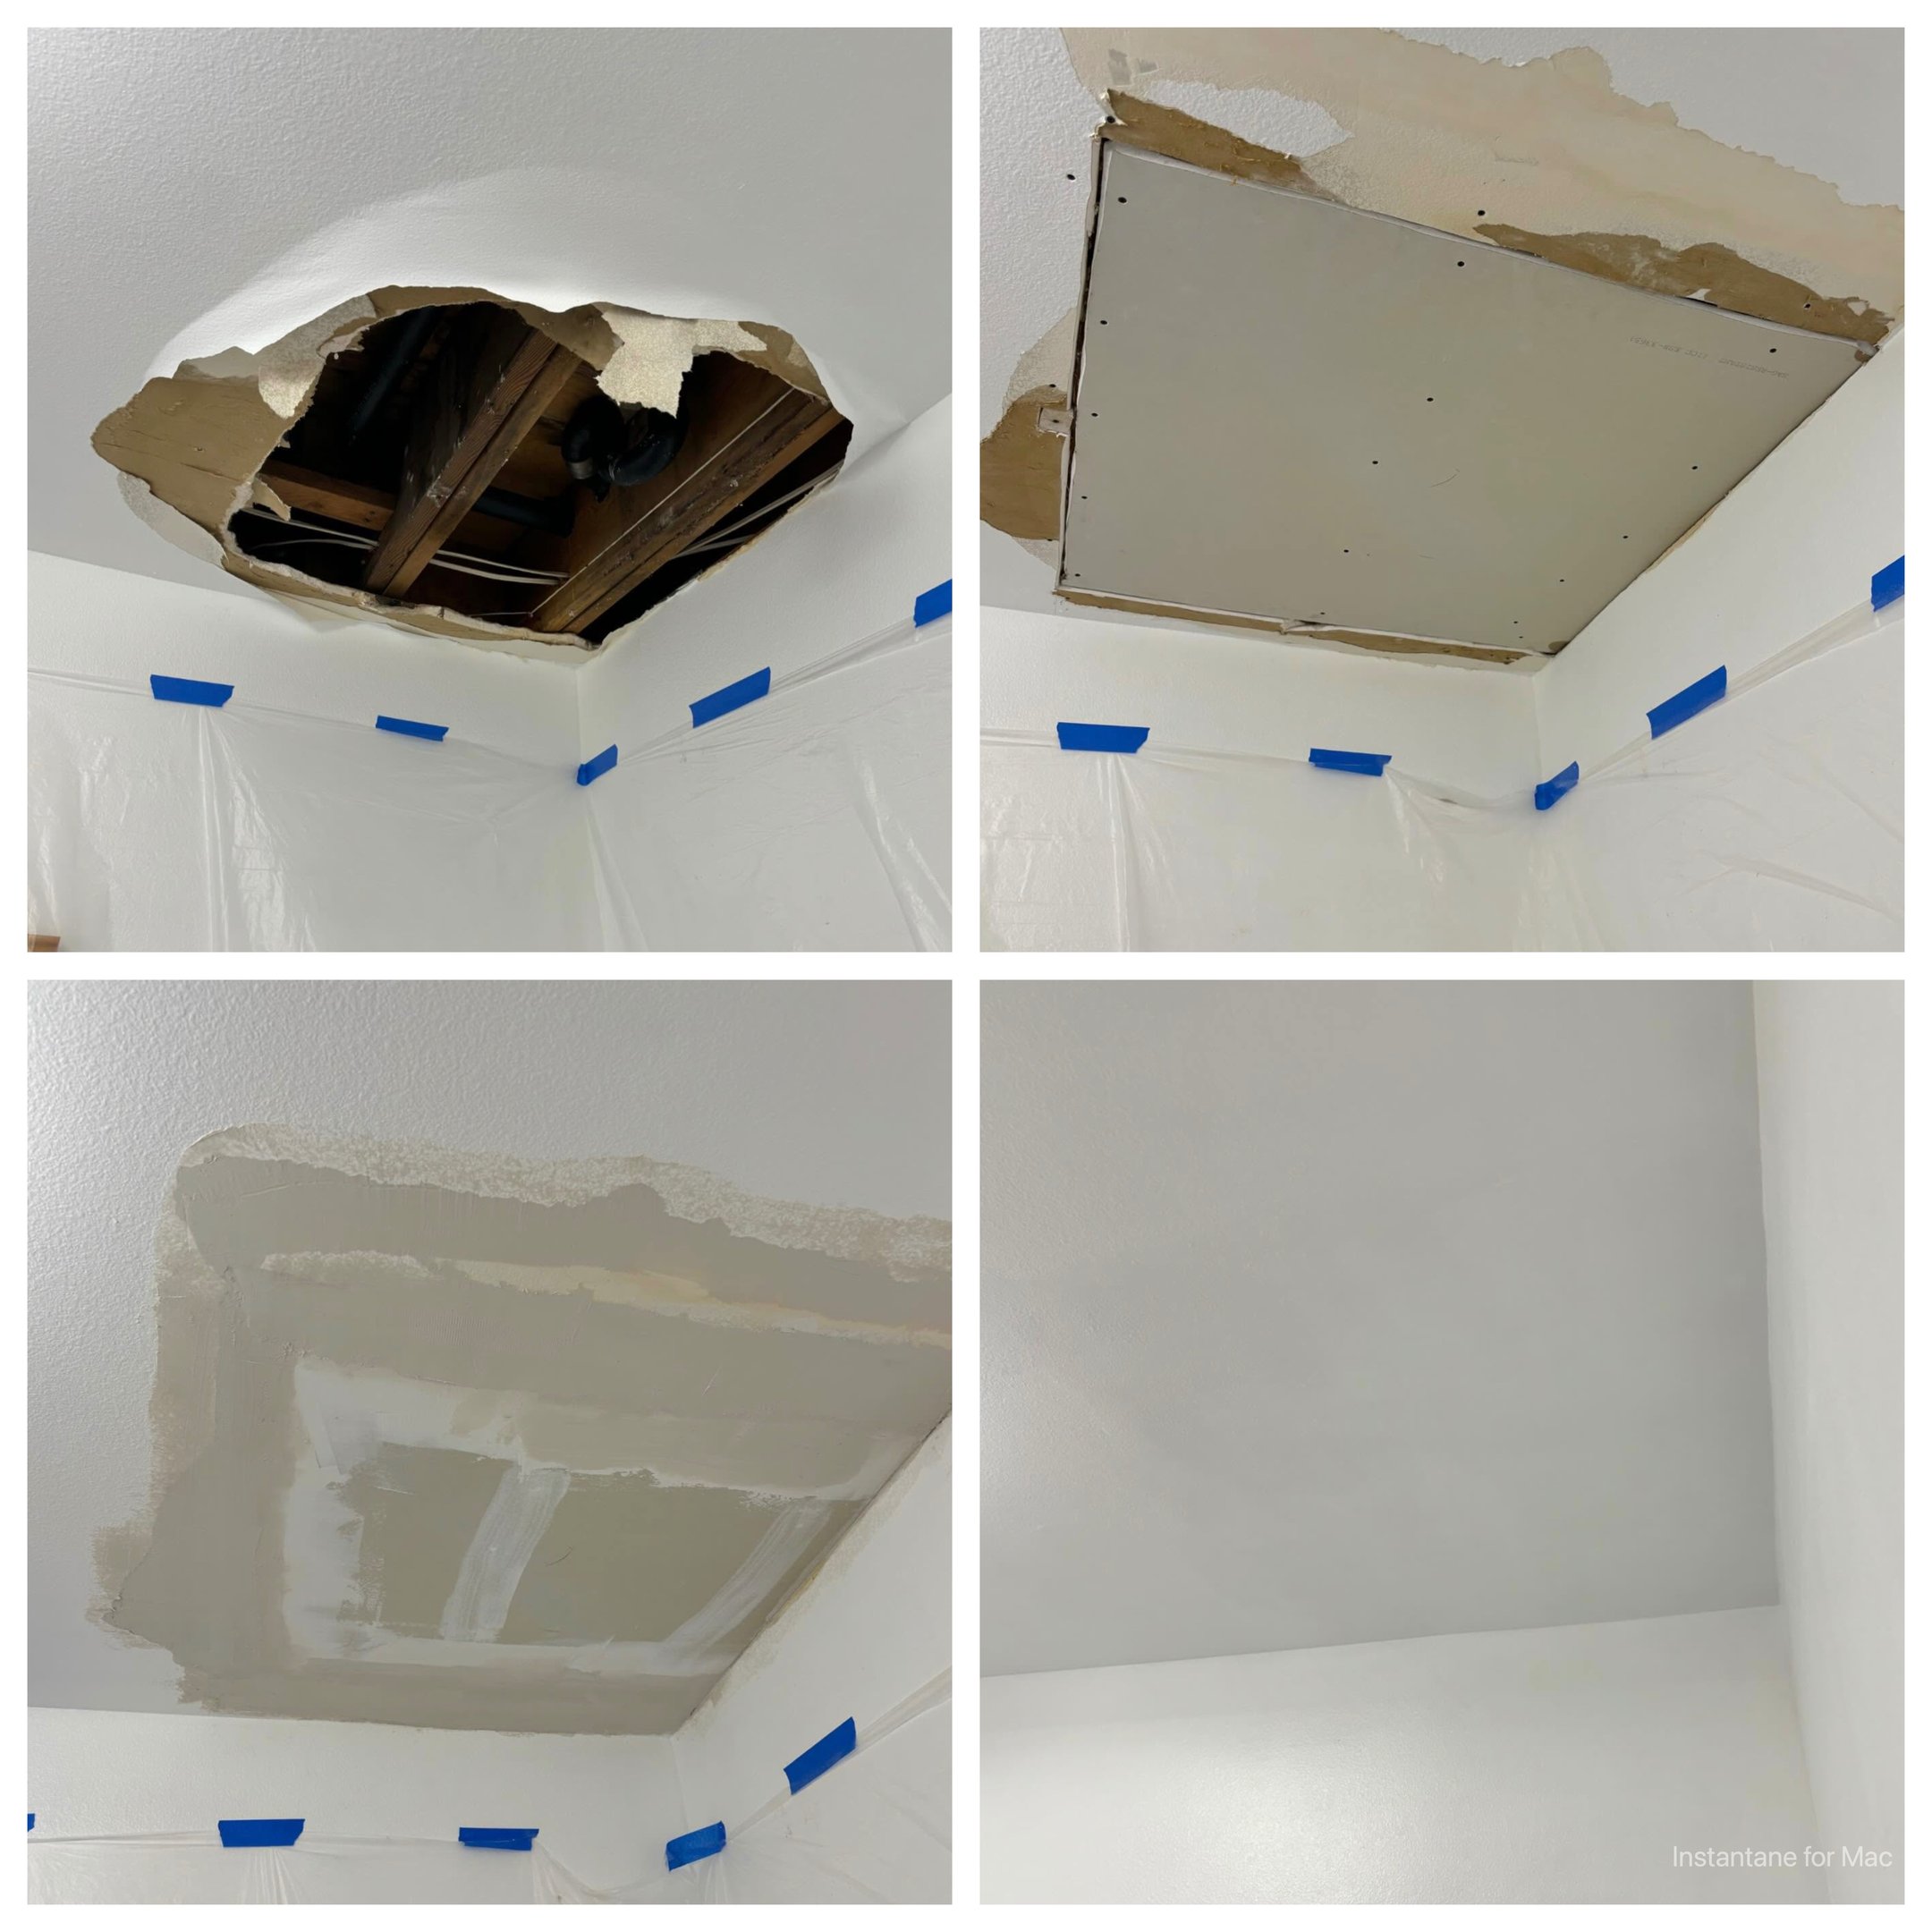
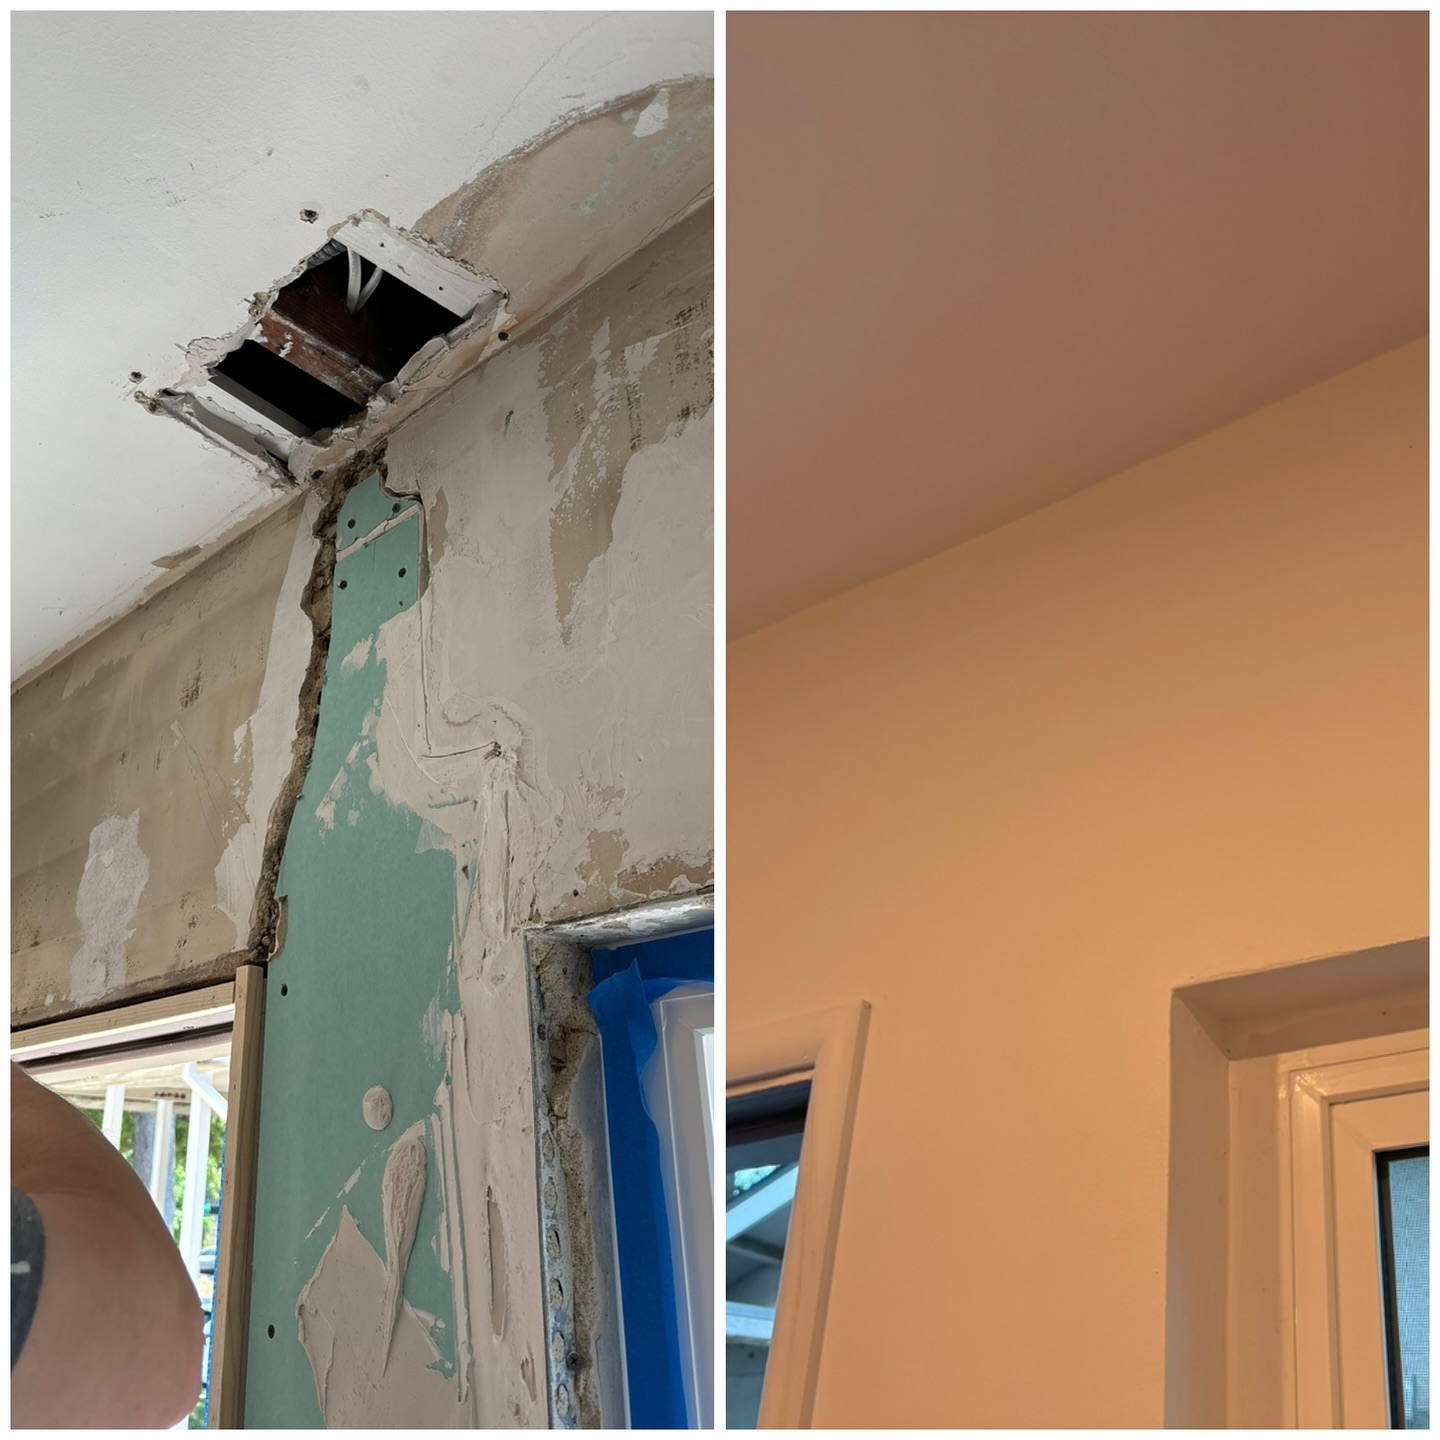
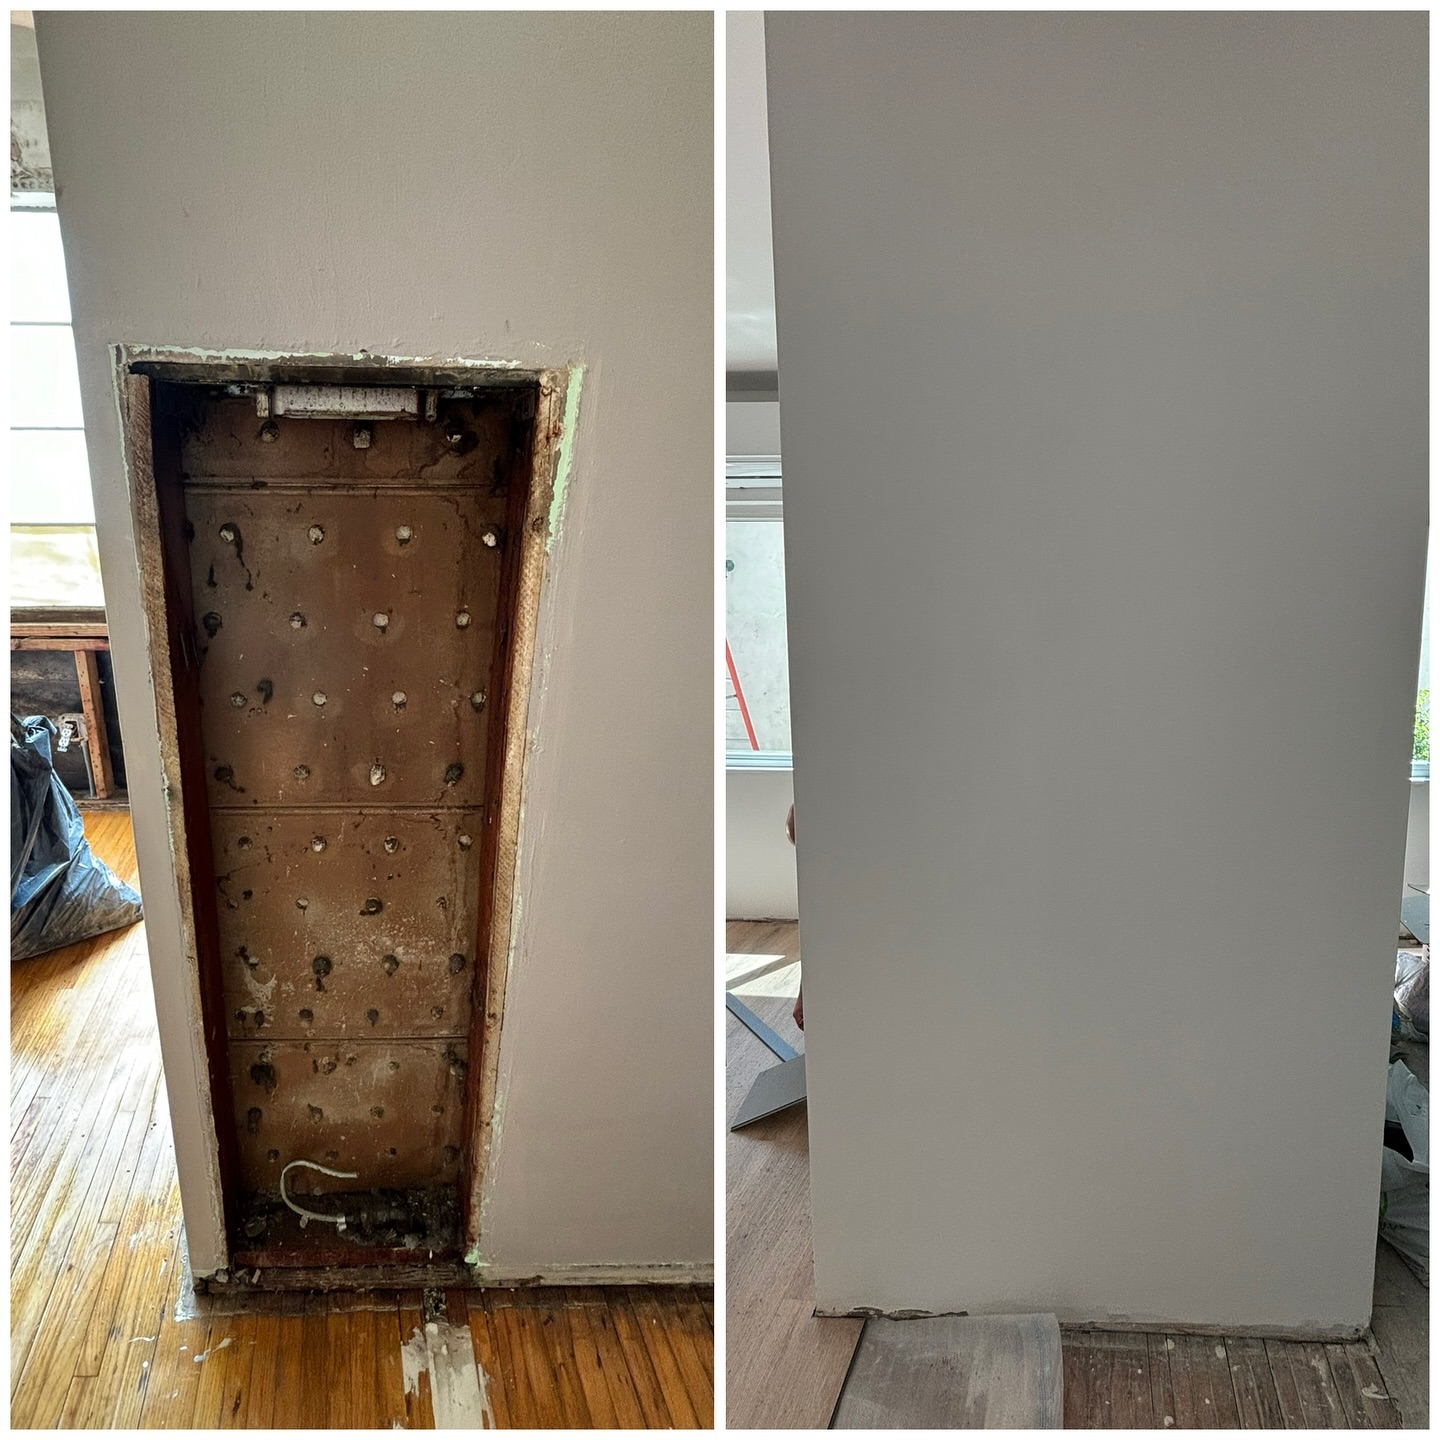
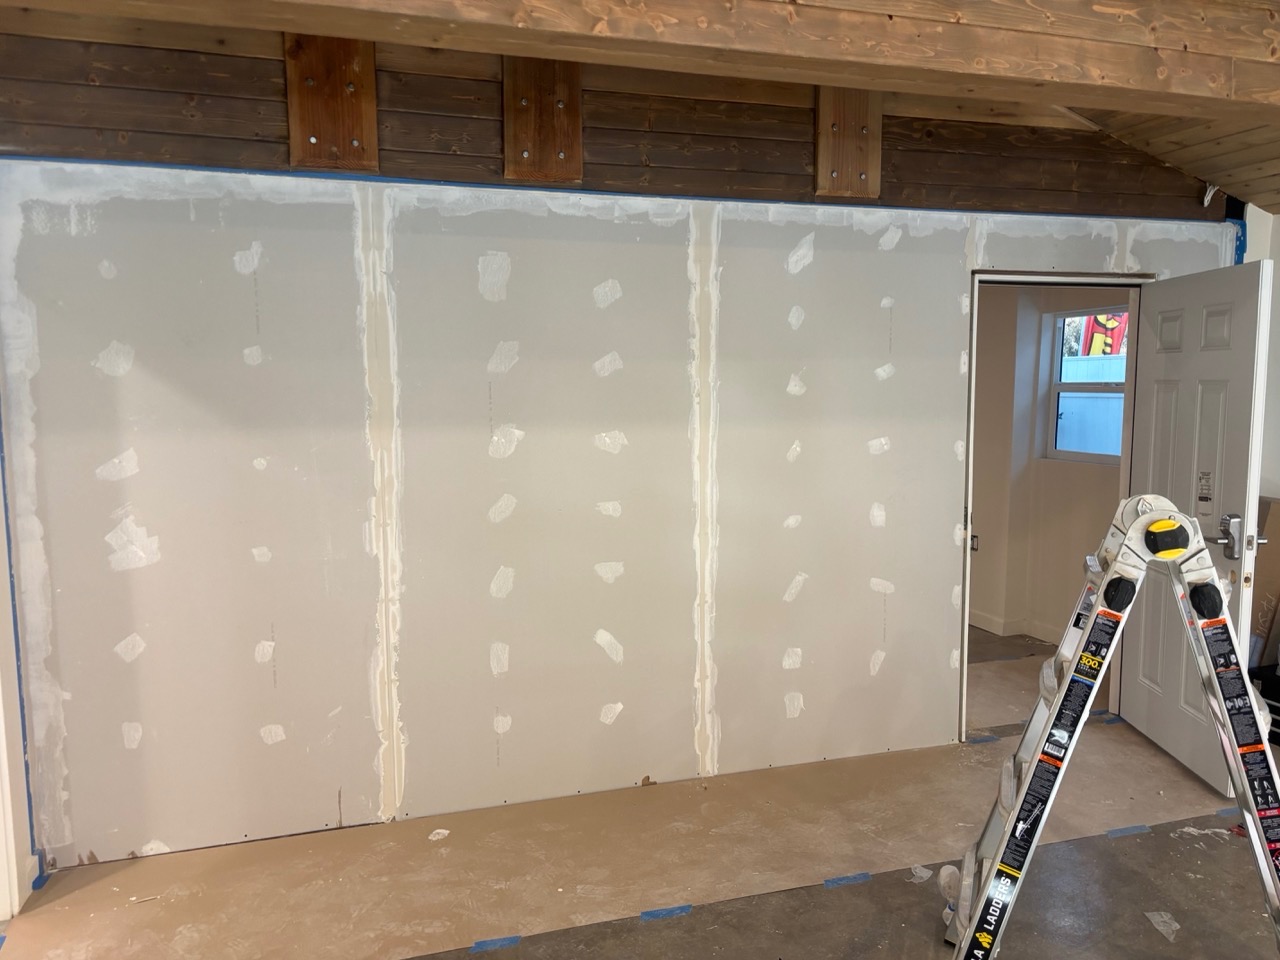
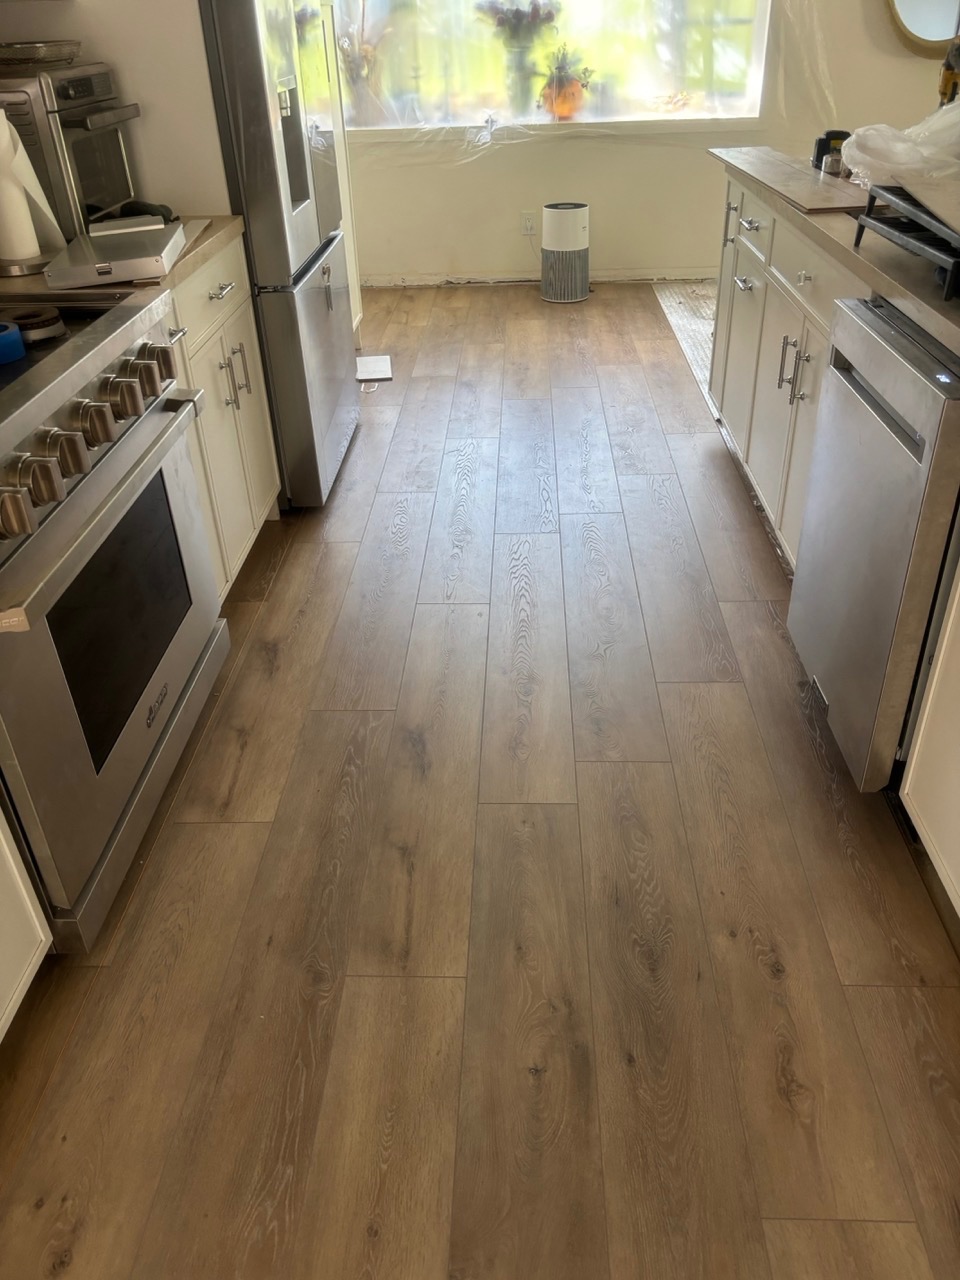
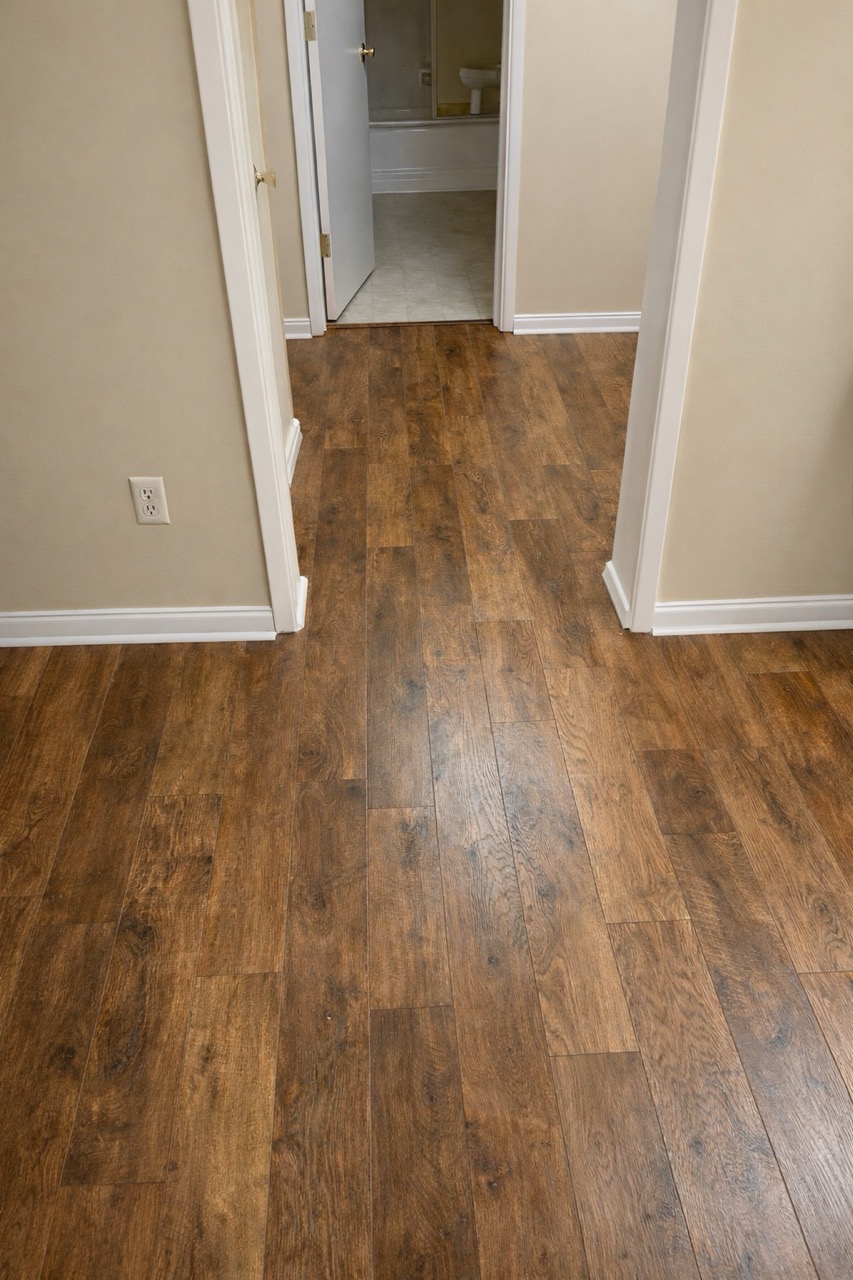
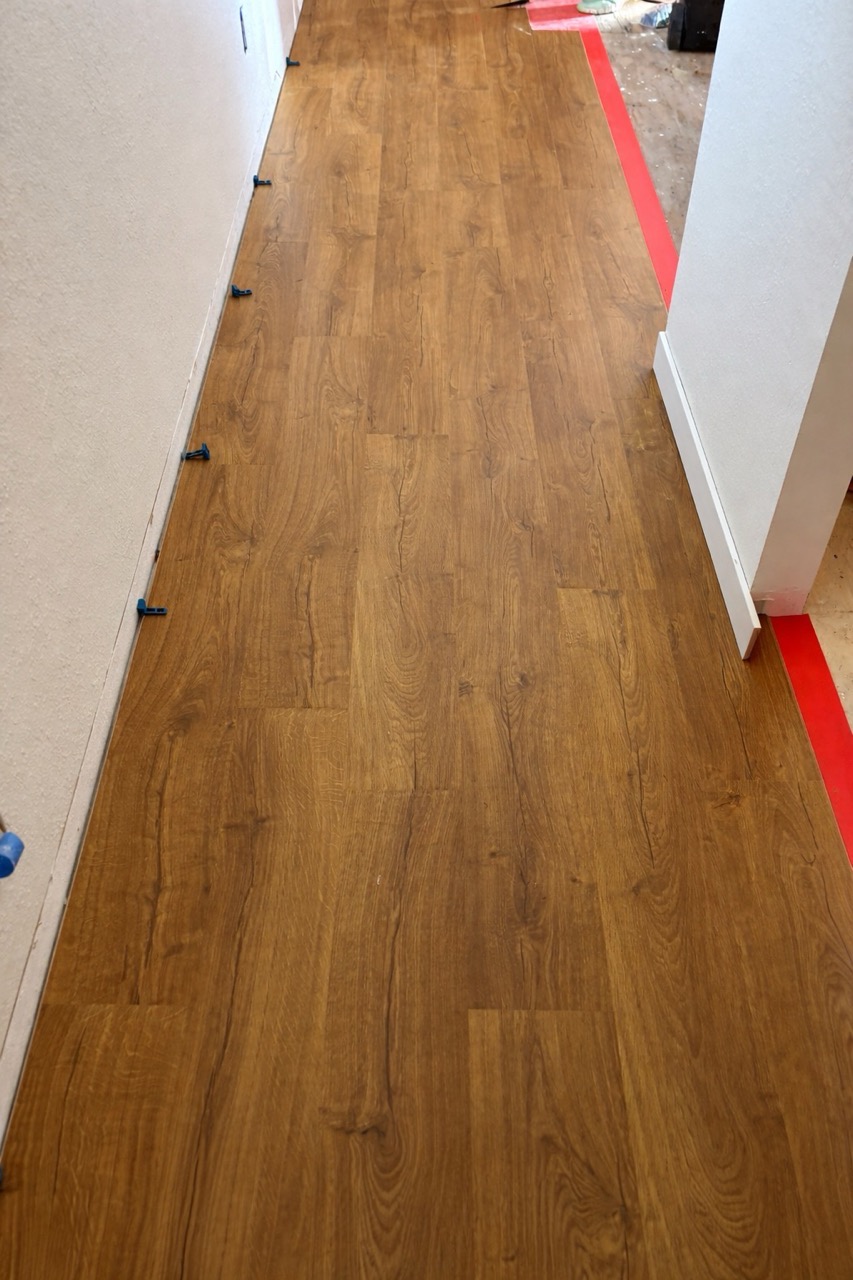
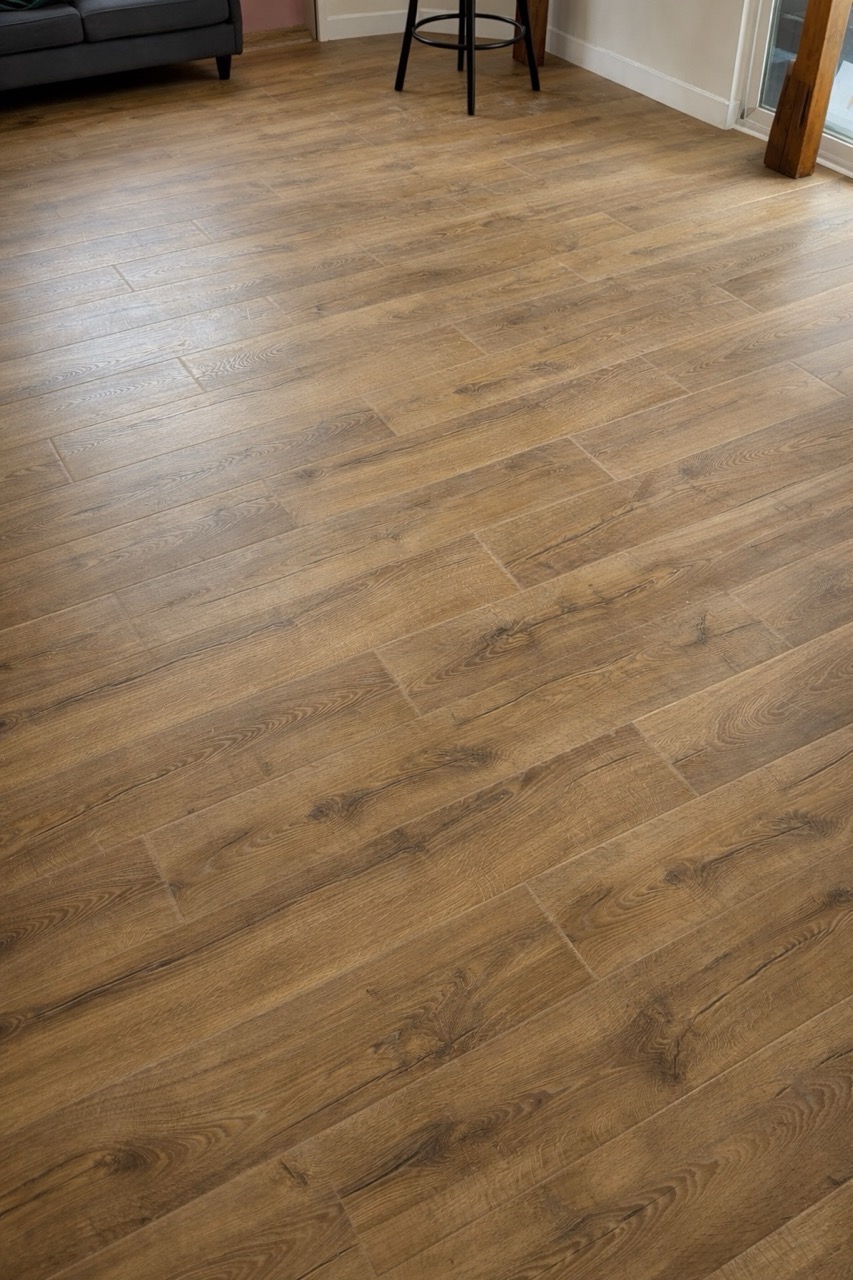
Fences, Railings & GatesView photosInterior RemodelingView photosDecks & PergolasView photosPainting & StainingView photosFlooringView photosDrywallView photos
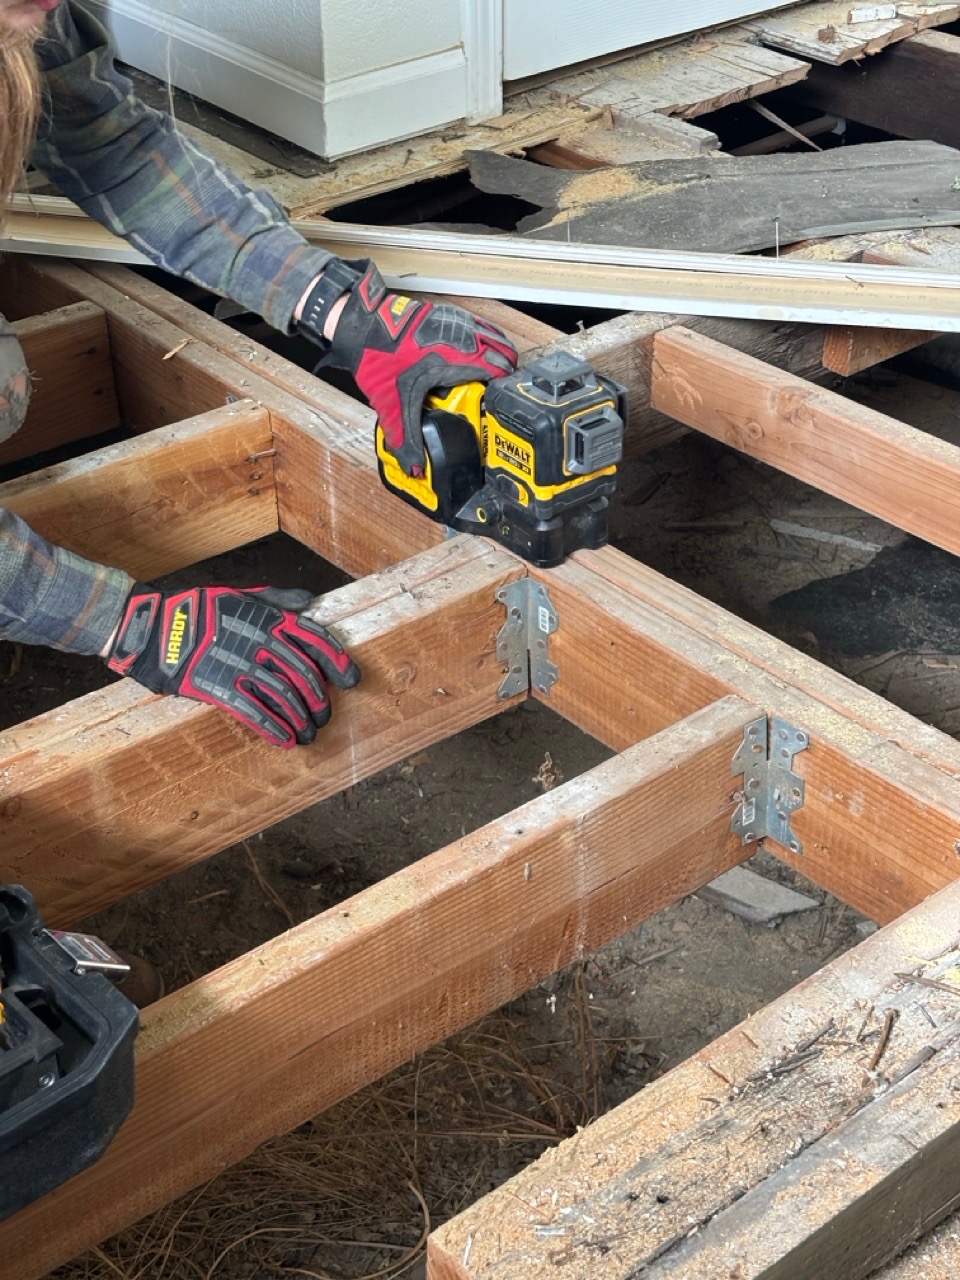
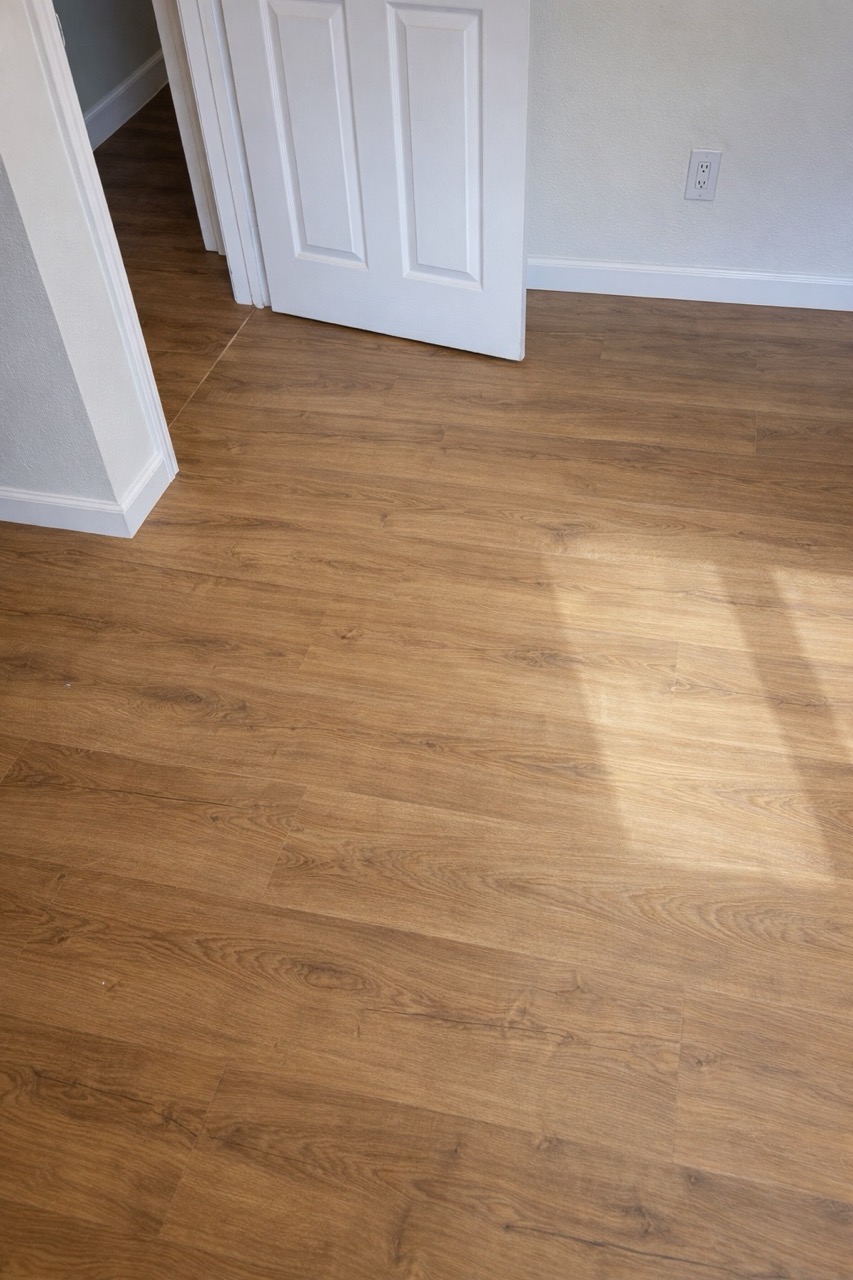
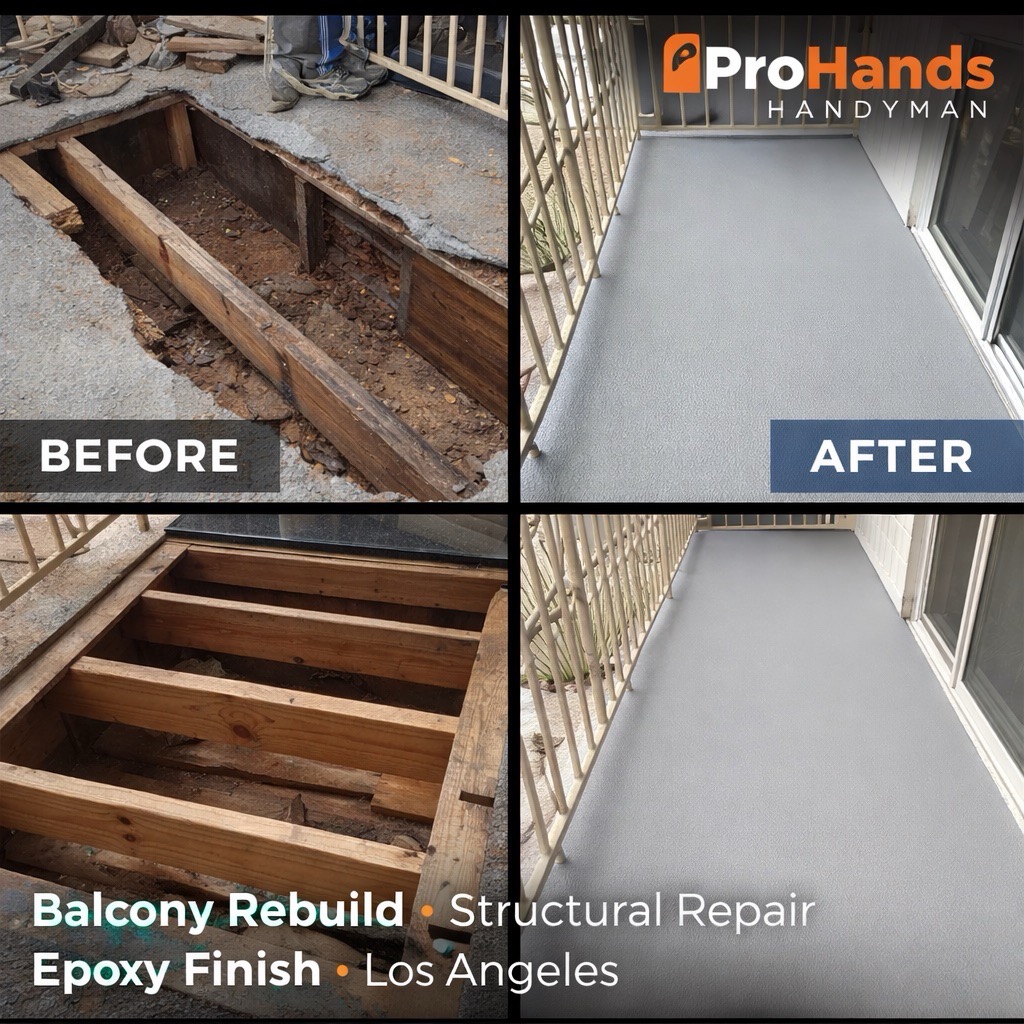
Examples of our work across Los Angeles, Glendale, Burbank, and Pasadena: fences and gates, interior remodeling, decks and pergolas, painting and staining, drywall, flooring, and more. Click any image to view full size.