
How to Apply Caulk Like a Pro: A Step-by-Step Guide
Caulking is an essential skill for home maintenance, sealing gaps, and preventing water damage. Whether you’re working in the kitchen, bathroom, or windows, knowing how to apply caulk properly ensures a clean, professional finish.
ARTICLES
2/11/20252 min read
Tools and Materials Needed:
Caulk gun
Caulk (silicone, acrylic, or latex, depending on the surface)
Utility knife or caulk removal tool
Painter’s tape
Damp cloth or sponge
Caulk smoothing tool or your finger
Bucket of warm water (for cleanup)
Step-by-Step Guide:
1. Choose the Right Caulk
Select the appropriate caulk for your project. Silicone caulk is best for areas exposed to moisture, such as bathrooms and kitchens, while acrylic or latex caulk is ideal for trim and baseboards because it can be painted over.
2. Prepare the Surface
Ensure the area is clean, dry, and free of old caulk. Use a utility knife or caulk removal tool to scrape off any existing caulk. Wipe the surface with a damp cloth and let it dry completely.
3. Apply Painter’s Tape (Optional)
For clean and precise lines, apply painter’s tape along the edges of the joint you are caulking. This will help create a smooth finish and prevent excess caulk from spreading onto surrounding surfaces.
4. Cut the Caulk Tube Tip
Use a utility knife to cut the tip of the caulk tube at a 45-degree angle. The size of the opening should match the size of the gap you are filling. A smaller cut allows for better control.
5. Load the Caulk Gun
Insert the caulk tube into the caulk gun and press the release trigger until the caulk begins to flow evenly.
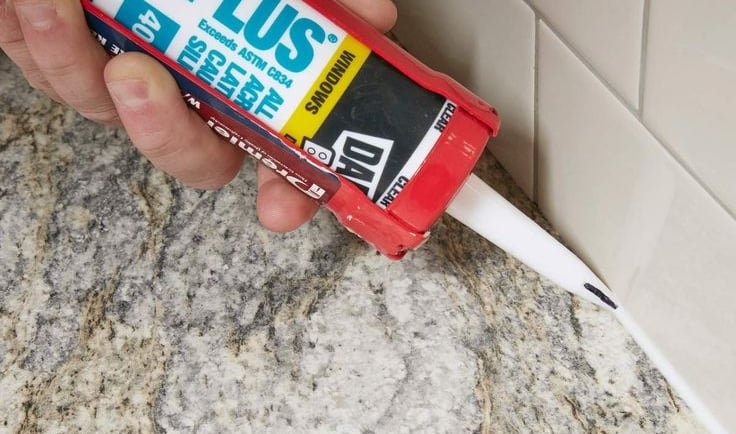
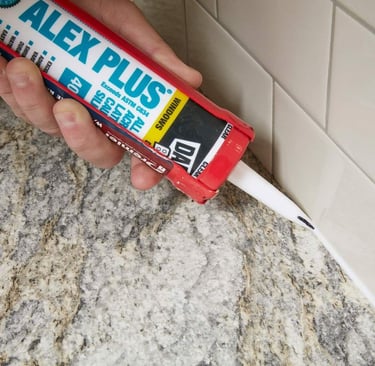
6. Apply the Caulk
Hold the caulk gun at a 45-degree angle and apply steady pressure to the trigger while moving the gun along the seam. Try to maintain a consistent bead of caulk for a smooth, uniform line.
7. Smooth the Caulk
Use a caulk smoothing tool or a damp finger to smooth out the caulk before it dries. This step ensures that the caulk properly adheres to the surface and fills the gap effectively.
8. Remove Painter’s Tape (If Used)
Carefully remove the painter’s tape while the caulk is still wet to create sharp, clean lines.
9. Allow the Caulk to Cure
Check the manufacturer’s instructions for drying times. Most caulk types take 24 hours to fully cure. Avoid touching or exposing the area to moisture during this time.
10. Clean Up
Wipe away any excess caulk with a damp cloth and clean your tools immediately after use.
Final Tips:
For best results, apply caulk in a smooth and continuous motion.
If you make a mistake, quickly wipe away the excess before it dries.
Use a caulk specifically designed for mold and mildew resistance in wet areas.
If you need professional help with caulking or any home improvement project, feel free to reach out. Call or text at 818-401-7766 for expert assistance!