Custom Wooden Fence Installation: A Step-by-Step Process
A beautifully crafted wooden fence not only enhances the appearance of your property but also adds a layer of privacy and security.
OUR WORKSFENCESOUTDOOR WORKPAINTING & STAININGWOOD
10/5/20242 min read
A beautifully crafted wooden fence not only enhances the appearance of your property but also adds a layer of privacy and security. At ProHands Handyman, we ensure that every fence we build is tailored to fit the unique layout of your outdoor space. Here’s how we bring a custom wooden fence project to life, step by step.
Step 1: Planning and Measurements
Every successful fence installation begins with a detailed plan. We start by measuring the area where the fence will be installed, taking into account the terrain, existing structures, and any design preferences. Accurate measurements are key to ensuring a perfectly fitted fence that complements the property’s layout.
Step 2: Installing the Posts
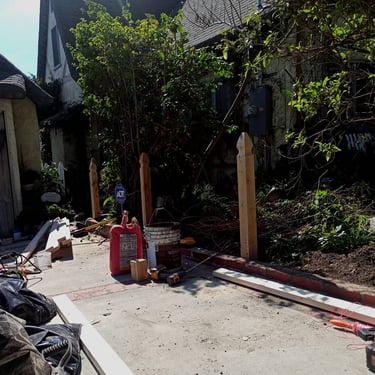
With the plan in place, the next step is installing the main fence posts. We dig precise holes and set each post securely in the ground, ensuring they are perfectly aligned and level. This provides a sturdy framework for the rest of the fence. The posts are then anchored in place using concrete to guarantee long-term stability.
Step 3: Building the Fence Panels
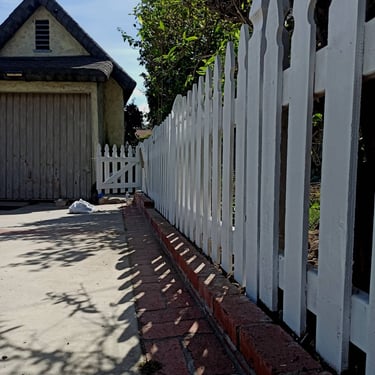
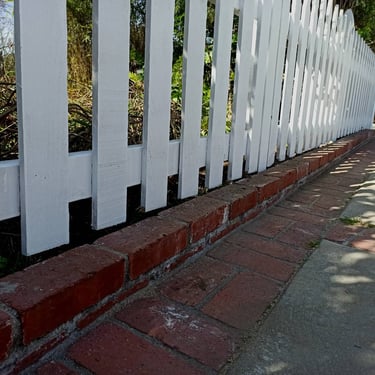
Once the posts are set, we begin crafting the wooden fence panels. Each panel is custom-built, with careful attention to spacing and design to match the desired style. The wood is cut and shaped to create uniform pickets, which are then securely attached to the horizontal rails between the posts. This creates a seamless and visually appealing fence.
Step 4: Adding the Gate
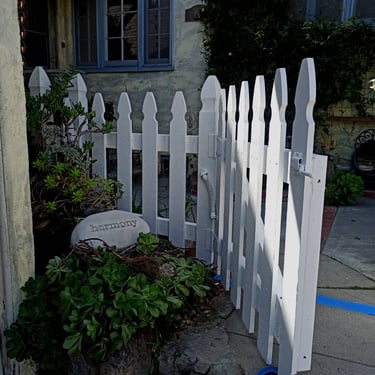
A fence is not complete without a functional and stylish gate. We design and install the gate to match the rest of the fence, ensuring a smooth swing and secure latch. The gate is built with the same craftsmanship and attention to detail as the fence panels, providing both ease of access and a consistent look.
Step 5: Preparation for Painting
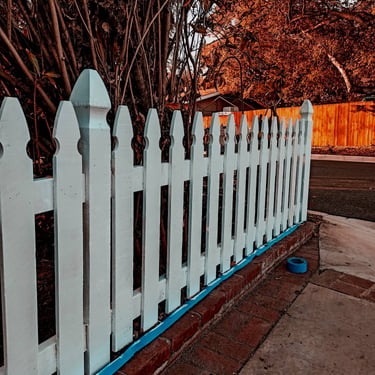
Before painting, we thoroughly inspect the fence and gate to address any rough edges or imperfections. The wood is sanded and prepped to ensure the paint adheres smoothly, creating a uniform finish. This step is crucial to protect the wood and enhance the fence's appearance.
Step 6: Painting the Fence
The final step in the process is painting the fence. We use high-quality, weather-resistant paint to ensure a durable and attractive finish. The paint not only adds a beautiful touch to the fence but also protects the wood from moisture and UV damage, extending its lifespan. The result is a clean, polished look that elevates the entire property.
Why Choose ProHands Handyman for Your Fence Installation?
From planning and installation to the final coat of paint, we take pride in delivering quality craftsmanship at every stage of the fence-building process. A custom wooden fence installed by ProHands Handyman not only enhances the beauty of your property but also provides lasting privacy and security. Contact us for a free estimate, and let’s bring your vision of the perfect fence to life.
