Custom Faux Beams Installation: Step-by-Step Process
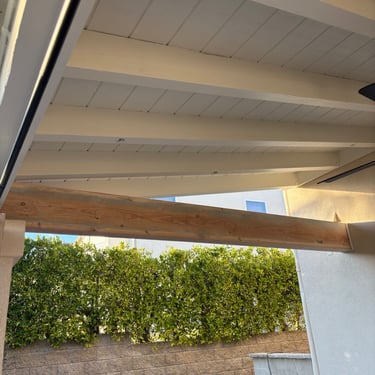
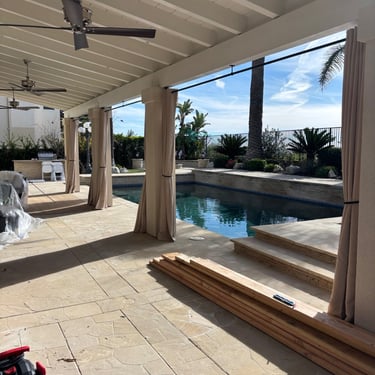
Transforming an outdoor living space requires not just creativity but precise craftsmanship and a step-by-step approach. In this project, we designed, built, and installed custom faux beams, each measuring 6x12 inches in width and standing 12 feet long. These beams were created to add a striking architectural feature to a luxurious patio area. Here’s how we brought this vision to life:
OUR WORKSDECKS, PERGOLAS & GAZEBOSOUTDOOR WORKPAINTING & STAININGWOOD
1/16/20252 min read
Step 1: Planning and Measurements
Every successful project begins with meticulous planning. We measured the patio area to determine the precise length and placement of the beams. The client wanted the beams to seamlessly integrate with the existing architecture while adding a bold statement to the space.
Step 2: Material Selection
We chose high-quality wood for its durability and natural aesthetics. Selecting the right material was essential to ensure the beams could withstand outdoor conditions while maintaining a premium look.
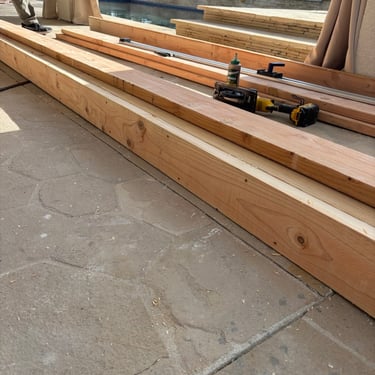
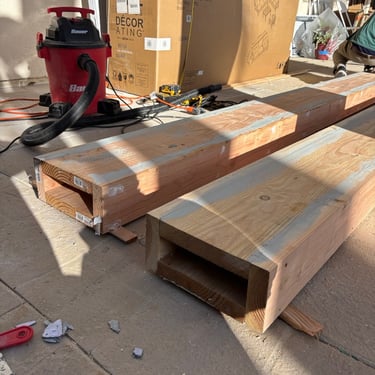
Step 3: Beam Fabrication
Each faux beam was custom-fabricated in our workshop:
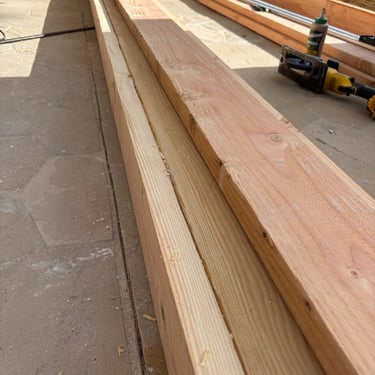
• Cutting: The wood was cut into the exact dimensions (6x12 inches, 12 feet long).
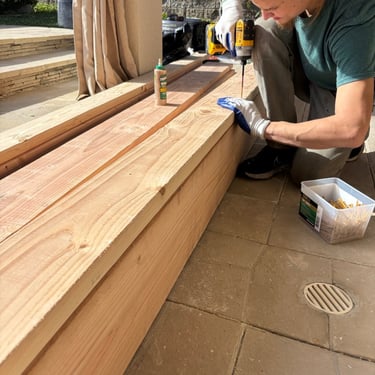
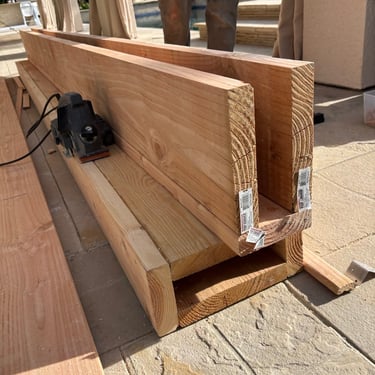
• Joining: For structural integrity, we carefully joined the wood pieces using professional-grade adhesives and fasteners. The edges were sanded to ensure a smooth finish.
• Detailing: To mimic solid beams, we added precise detailing, including grooves and finishes that match natural timber.
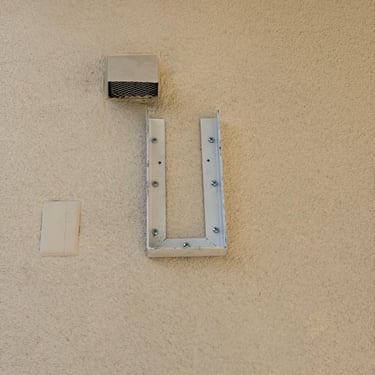
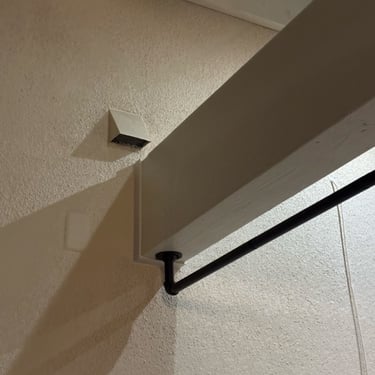
Step 4: Custom Connectors Design
Since the beams needed to attach to the house, we fabricated custom metal connectors. These were designed to:
• Provide secure attachment points.
• Support the weight of the beams.
• Blend into the overall design without being intrusive.
The connectors were welded, polished, and powder-coated for weather resistance and durability.
Step 5: Pre-Installation Preparation
Before installation:
• The beams were sanded and prepped for finishing.
• We applied a weather-resistant coating to protect the wood from moisture, UV rays, and pests. This step also enhanced the natural grain of the wood.
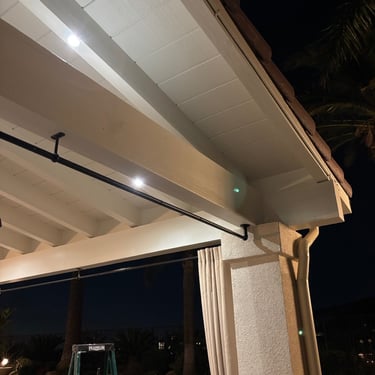
Step 6: Installation
The installation process was executed with precision:
1. Mounting Connectors: We securely fastened the custom connectors to the house’s structure, ensuring they aligned perfectly with the design plan.
2. Placing Beams: Each beam was lifted and carefully placed into position using the connectors. Precision was key to achieving a uniform and balanced look.
3. Securing Beams: The beams were bolted into the connectors, ensuring a solid and stable fit.
Step 7: Finishing Touches
Once the beams were installed, we conducted the final finishing:
• Painting: The beams were painted to match the color scheme of the patio and blend seamlessly with the existing design.
• Touch-ups: Any minor imperfections were sanded, filled, and re-painted to ensure a flawless finish.
Step 8: Final Inspection
Before completing the project, we conducted a thorough inspection:
• Checked the stability and alignment of the beams.
• Ensured all connectors were securely fastened.
• Verified the beams’ finish matched the client’s vision.
Step 9: Client Walkthrough
After the installation, we gave the client a walkthrough of the completed project. They were thrilled with how the beams transformed the space, adding elegance and functionality.
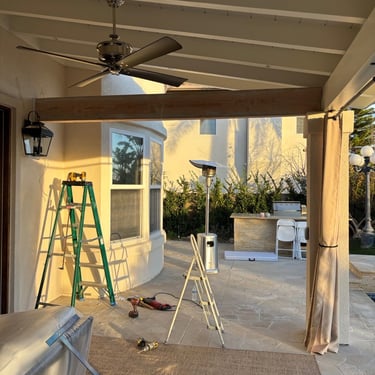
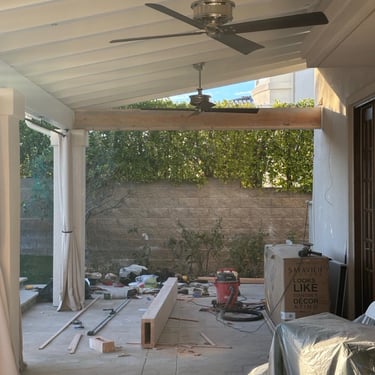
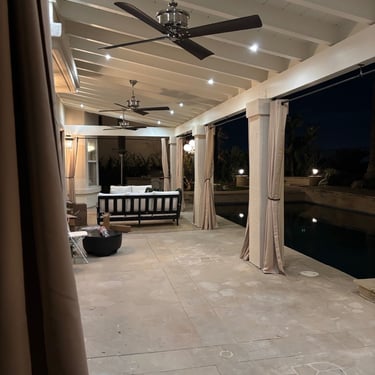
Final Result
The custom faux beams created a stunning focal point for the patio, enhancing both its aesthetics and structural appeal. The client now has a beautifully designed space perfect for outdoor relaxation and entertaining.
For projects like this and more, contact ProHands Handyman Services:
📞 818-401-7766
Let us bring your dream spaces to life with expert craftsmanship and attention to detail!